Ever opened your bike bag and been hit with that unmistakable smell of sweaty cycling gloves? Trust me, I’ve been there! It’s easy to tear up cycling gloves if you’re not used to maintenance. I finally learned the hard way that these aren’t just regular gloves you can toss in the washing machine without a second thought.
And I hope you’re not using regular gloves, and I can tell you a lot about the idea of cycling gloves vs no gloves. Cycling gloves require specific care to maintain their grip, padding, and structural integrity.
Whether you’re dealing with leather palms, gel padding, or synthetic materials, the wrong approach to wash cycling gloves can destroy the very features that make your gloves worth wearing. This article was underway for a few months, and I’m happy to share with you what I do and how I do it.
Understanding Your Cycling Glove Materials – What You’re Working With
The first pair of cycling gloves I used was a gift given to me. I didn’t use it much, but after all my injuries from my chin to palming the ground with bleeding, it was time! I thought all gloves were basically the same and could be treated identically. Boy, was I wrong. After ruining this expensive $40+ pair of gloves, I learned the hard way that material composition is everything when it comes to proper care.
Synthetic vs Natural Materials: The Foundation of Care
The biggest mistake most cyclists make is not checking what their gloves are made of before cleaning them. I’ve seen people treat synthetic gloves like cotton t-shirts and leather palms like synthetic materials, and both approaches end in disaster. Your glove care routine needs to match your specific materials, period.
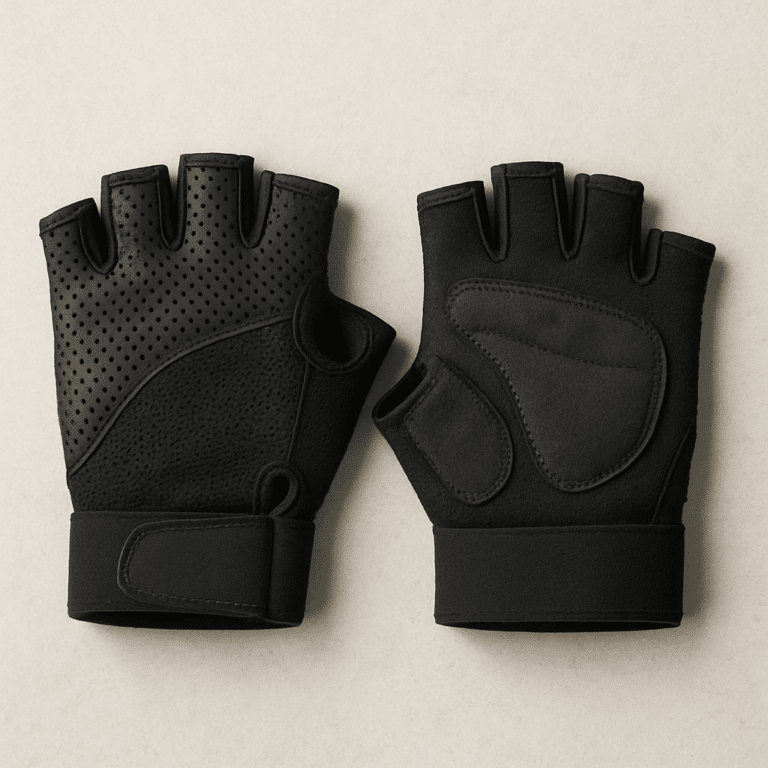
Synthetic palm materials are usually the most forgiving. These are typically made from polyester blends or specialized synthetic leather that can handle more aggressive cleaning. But here’s the catch: even synthetic materials can break down if you use the wrong detergents or water temperatures.
Leather palms require completely different treatment. Real leather cycling gloves need gentle care because harsh detergents can strip the natural oils that keep leather supple and grippy. I don’t personally own my own leather gloves, but I’ve seen them and have in my time passing heard some nasty stories online & heard about it in passing in a group.
Padding Systems: The Delicate Components
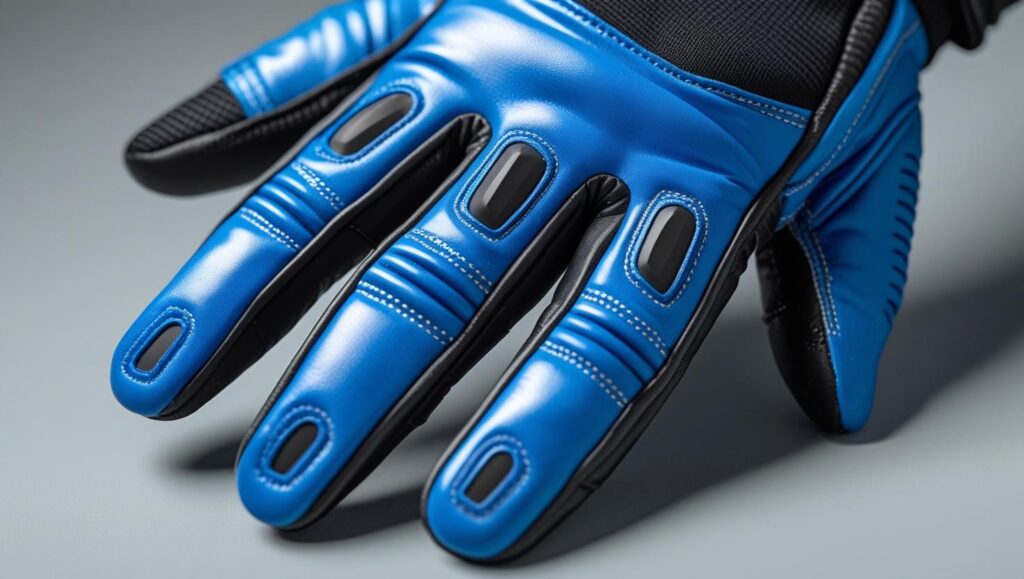
Gel padding is probably the trickiest component to deal with during cleaning. These gel inserts can separate from the glove fabric if exposed to high heat or aggressive agitation. I discovered this the hard way when my favorite padded gloves developed weird lumps after a hot water wash; the gel had shifted around inside the palm padding, you know, the thing that makes it worth wearing.
Foam padding is more durable but still requires careful handling. Memory foam inserts can compress permanently if they’re not dried properly, which completely defeats the purpose of having padded gloves in the first place.
Closure Systems and Hardware
Velcro straps collect dirt and debris like magnets, and if you don’t clean them properly, they’ll lose their grip strength over time. I’ve learned to use an old toothbrush to gently scrub Velcro before washing to remove embedded particles.
The Pre-Wash Assessment – Setting Yourself Up for Success
I used to just toss my cycling gloves into whatever cleaning routine I felt like that day, and honestly, it was a disaster waiting to happen. After destroying several pairs through careless pre-wash preparation, I developed a systematic approach that has saved me hundreds of dollars in replacement costs. Trust me, spending five minutes on assessment before you start washing can mean the difference between clean, functional gloves and expensive trash.
Damage Check: What You Can’t See Will Hurt You
The first thing I learned was to always inspect my gloves thoroughly before any cleaning begins. Look for loose stitching, small tears, or areas where padding might be separating from the fabric. I once missed a tiny tear in the palm area and ended up with gel padding oozing out after a wash cycle – completely ruined a $45 pair of gloves.
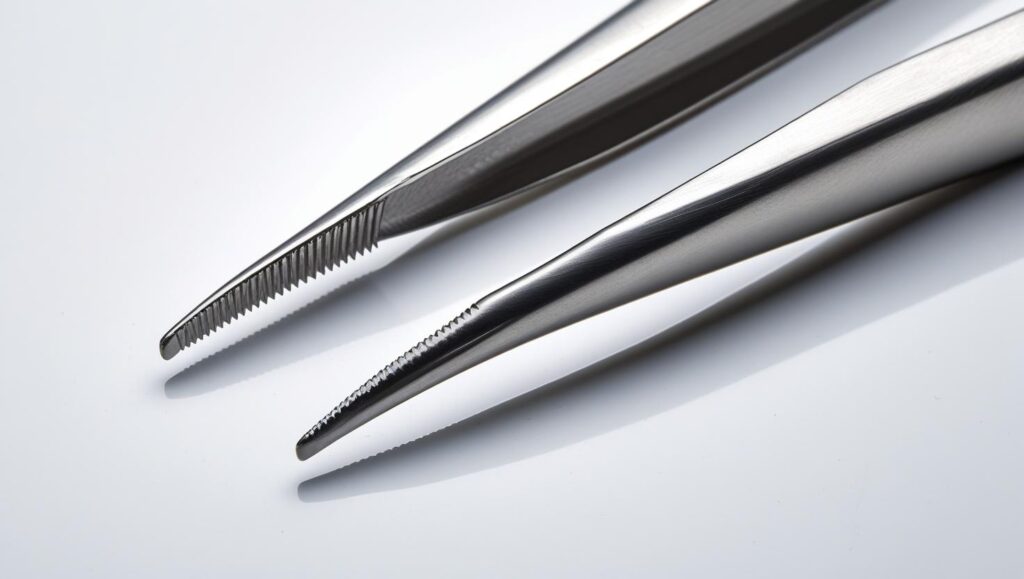
Check the Velcro closures carefully, too. If the hook side has fabric fibers stuck in it, those need to be removed before washing, or they’ll just get more embedded during the cleaning process. I use the same tweezers that I use for fixing my phone for stubborn debris, which may look ridiculous, but it works.
Pay special attention to seam integrity around the fingertips and palm edges. These high-stress areas are where most glove failures start, and aggressive washing can turn a small weakness into a major problem.
Debris Removal: The Foundation of Good Cleaning
Road grime, chain oil, and embedded dirt need to come off before any serious cleaning happens. I learned this lesson when I skipped this step and ended up grinding particles deeper into the fabric during washing. Now I always start with a dry brush to remove surface debris.
For stubborn oil stains, I pre-treat with a small amount of dish soap applied directly to the stain. Let it sit for about 10 minutes before proceeding with your chosen washing method. This has saved me from permanent staining more times than I can count.
Setting Up Your Workspace
Having the right environment makes everything easier and more effective. I always work in a well-lit area where I can see exactly what I’m doing. Good lighting helps you spot problems and ensures thorough cleaning.
Gather all your supplies before starting – nothing’s more frustrating than realizing halfway through that you don’t have the right soap or cleaning tools. I keep a dedicated glove care kit with gentle detergent, soft brushes, and clean towels specifically for this purpose.
Hand Washing Method – The Safest Approach for Most Gloves
Hand washing became my go-to method after I learned that it gives you complete control over every aspect of the cleaning process. Yeah, it takes more time than tossing gloves in the washing machine, but I’ve never damaged a pair using this approach. After destroying three pairs of gloves with machine washing gone wrong, I decided that the extra effort was worth protecting my investment.
Water Temperature: Getting the Basics Right
I always start with lukewarm water – about the same temperature you’d use for washing your face. Hot water can cause materials to shrink, fade, or deteriorate, while cold water won’t effectively remove oils and bacteria. I learned this through trial and error, including one memorable incident where hot water caused my gel padding to become permanently lumpy.
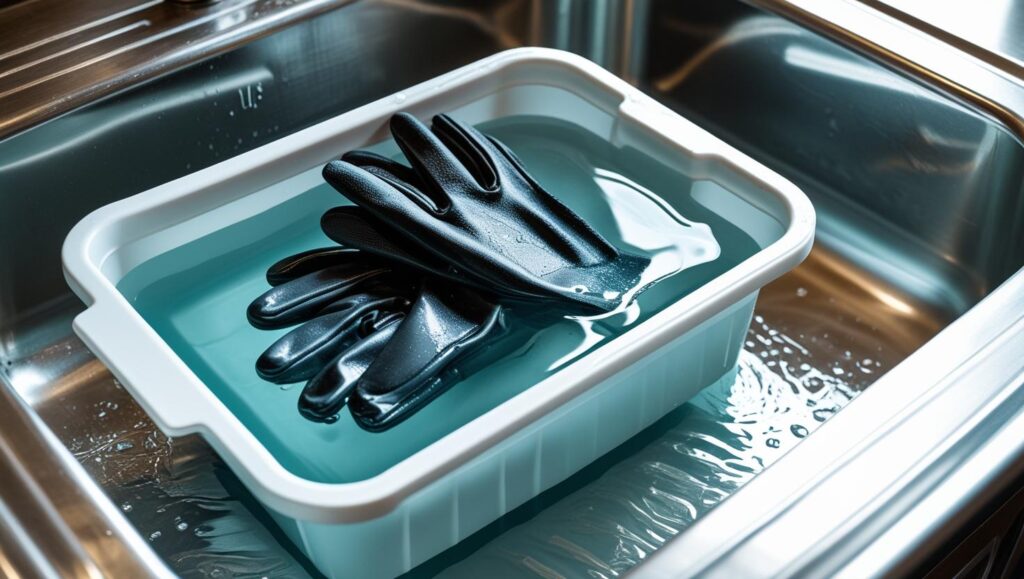
Fill a clean basin with enough water to completely submerge your gloves. I use my kitchen sink, but a large bowl works just as well. Make sure whatever container you’re using is completely clean – you don’t want to transfer grease or other contaminants to your cycling gear.
Soap Selection and Application Technique
Gentle detergent is crucial for hand washing success. I won’t speak for me but for others, they use either Woolite or a specialized sports gear detergent, never regular laundry soap. The harsh chemicals in standard detergents can break down synthetic materials and strip natural oils from leather components.
Use about half the amount of detergent you’d normally use for regular clothes. Cycling gloves are small and don’t require much soap to get clean. Too much detergent creates excessive suds and can be difficult to rinse out completely, leaving residue that affects grip and comfort.
The Washing Process: Gentle but Thorough
I start by gently agitating the gloves in the soapy water, working the solution through all the fabric areas. Pay special attention to the palm areas where most dirt and oils accumulate. Use your fingers to work soap into any heavily soiled spots, but avoid aggressive scrubbing that could damage padding or stitching.
For stubborn odors or staining, I let the gloves soak for 10-15 minutes before proceeding. This gives the detergent time to break down embedded oils and bacteria without requiring aggressive mechanical action.
The rinsing phase is just as important as the washing. I rinse under cool running water until the water runs completely clear and there are no soap bubbles visible. Incomplete rinsing leaves detergent residue that can cause skin irritation and reduce the effectiveness of grip-enhancing palm materials.
Machine Washing Guidelines – When and How to Use Your Washer
Okay, I’ll admit it – sometimes hand washing just isn’t practical, especially when you’re dealing with multiple pairs of gloves or you’re pressed for time. I’ve learned through some expensive mistakes that machine washing can work, but only if you follow specific guidelines and use the right protective measures. The key is knowing which gloves can handle machine washing and which ones absolutely cannot.
Gloves That Can Handle Machine Washing
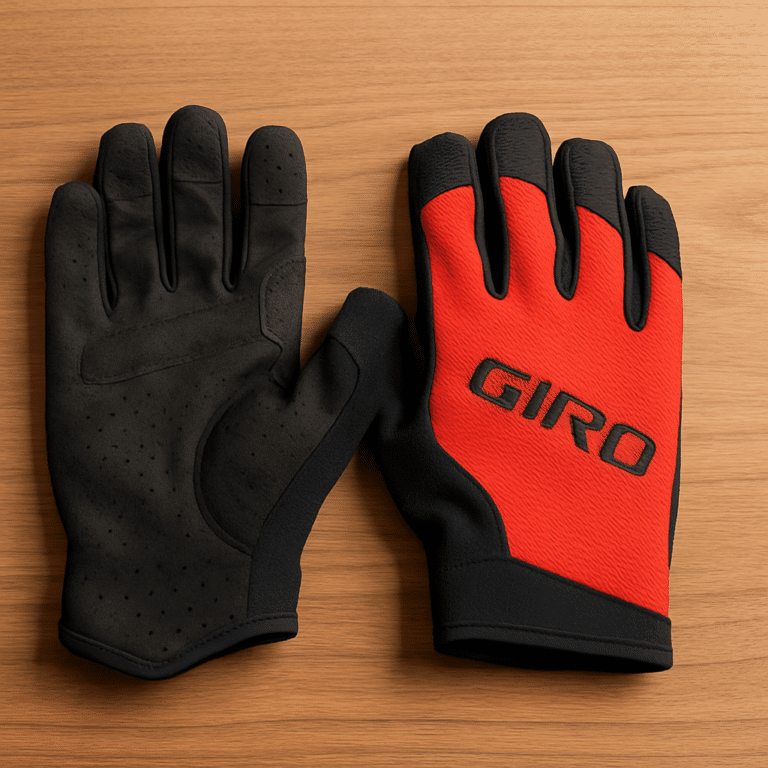
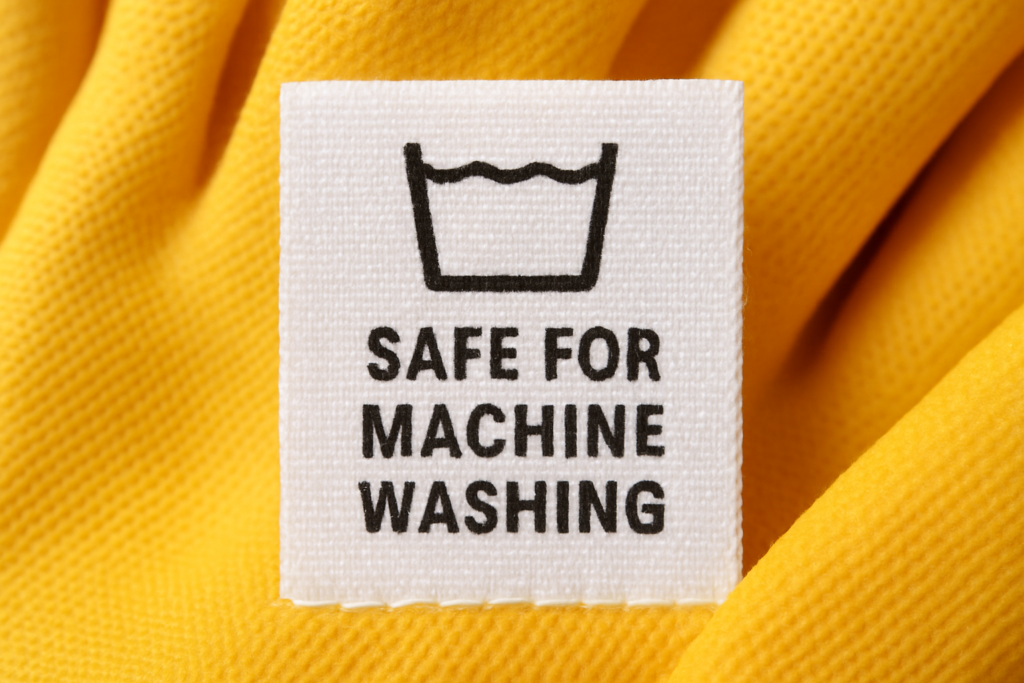
Synthetic cycling gloves with basic foam padding are usually safe for machine washing, but I always check the care label first. If there’s no care label or it’s worn off, I default to hand washing rather than risk it. Basic commuter gloves and budget synthetic gloves tend to handle machine washing better than premium models with specialized materials. Usually, there’s a tag in the glove that will tell you.
I don’t recommend machine washing leather gloves, gel-padded gloves, or any gloves that cost more than $40. The risk just isn’t worth it when you’re dealing with expensive gear that has specialized components.
Protective Measures: Your Safety Net
The mesh laundry bag became my best friend once I started machine washing cycling gloves. I use a small, fine-mesh bag that keeps the gloves contained and prevents them from getting tangled with other items or caught on the agitator. Never wash cycling gloves loose in the machine – I learned this lesson when one glove got stretched out of shape after getting caught on something during the spin cycle, and became misshapen.
I always wash gloves with similar items – other cycling gear, athletic clothes, or items that require gentle treatment. Washing them with heavy items like jeans or towels can cause damage from the extra agitation and weight.
Machine Settings That Work
Cold water is non-negotiable for machine washing cycling gloves. I use the gentlest cycle available on my machine, which is usually labeled “delicate” or “hand wash.” The reduced agitation and shorter cycle time minimize the risk of damage while still providing effective cleaning.
Skip the fabric softener completely. It can reduce the grip effectiveness of palm materials and may interfere with the moisture-wicking properties of the fabric. I learned this after making a cheap pair of gloves feel slippery and weird following a wash with fabric softener.
What Never Goes in the Machine
Anything with gel padding stays out of the washing machine, period. The agitation can cause gel inserts to shift, clump, or separate from the fabric backing.
Leather components and machine washing don’t mix either. The combination of water agitation and detergent can cause leather to stiffen, crack, or lose its natural flexibility and grip properties.
Dealing with Stubborn Odors and Bacteria – Advanced Cleaning Techniques
Let’s be real here, cycling gloves can get disgusting. I’ve had pairs that could clear a room just by opening my gear bag. The combination of sweat, bacteria, and trapped moisture creates some seriously funky odors that regular washing just can’t handle. Especially if you’re a mountain biker like me who hits these trails in Florida. After years of dealing with this issue, I’ve developed some advanced techniques that work for even the most stubborn smell problems.
Understanding the Root Cause
The smell problem starts with bacteria that thrive in the warm, moist environment inside cycling gloves. These bacteria break down sweat and oils, creating compounds that smell terrible and can damage glove materials over time. Regular washing removes surface dirt but doesn’t always eliminate deeply embedded bacteria.
I learned that synthetic materials tend to hold odors more than natural fibers, especially in the palm areas, where synthetic leather or rubber coatings can trap bacterial growth. Gel padding creates additional problems because bacteria can grow in the interfaces between different materials.
Pre-Treatment Strategies That Work
As a recommendation, heavily soiled gloves, start with a vinegar pre-treatment that kills bacteria and neutralizes odors. Mix one part white vinegar with three parts water and soak the gloves for 30 minutes before washing. The vinegar smell dissipates completely during the washing process, taking the cycling glove funk with it.
Also, picking up baking soda paste works great for targeting specific problem areas. I make a thick paste with baking soda and a small amount of water, then apply it directly to the palm areas where odors are usually worst. Let it sit for 15 minutes before proceeding with normal washing.
Advanced Cleaning Solutions
When regular detergent isn’t cutting it, I use enzyme-based cleaners specifically designed for sports gear. These cleaners contain enzymes that break down the proteins in sweat and body oils that cause persistent odors. They’re more expensive than regular detergent, but worth it for severely funky gloves.
For really stubborn cases, I’ve used a diluted antibacterial solution as a pre-soak. Mix a capful of antibacterial mouthwash in a bowl of water and soak the gloves for 20 minutes. It sounds weird, but it works because the antibacterial agents kill the odor-causing bacteria directly.
Prevention: Stopping Problems Before They Start
The best odor control happens between rides, not during washing. I learned to always let my gloves air dry completely before storing them in my gear bag. Trapped moisture creates the perfect environment for bacterial growth, and then that’s when it gets that terrible smell we all hate.
I also rotate between multiple pairs of gloves when possible, which gives each pair time to dry thoroughly between uses. When I only had one pair, they never fully dried between rides, and the odor problem got progressively worse.
Antimicrobial spray designed for sports equipment has become part of my routine. I spray the inside of my gloves lightly after each ride and let them air dry. This prevents bacterial growth and extends the time between deep cleanings significantly.
Proper Drying Techniques – Preserving Shape and Function
I used to think drying cycling gloves was the easy part – just throw them somewhere and wait, right? Wrong! I’ve ruined more gloves through improper drying than through bad washing techniques. Heat damage, shape distortion, and mold growth are all real problems that can destroy expensive cycling gear if you don’t dry it correctly.
Air Drying: The Safe Default Method
Air drying became my standard approach after I learned that heat can permanently damage gel padding and synthetic materials. I always lay gloves flat on a clean towel in a well-ventilated area, making sure they’re not bunched up or folded in ways that could create permanent creases.
The key is maintaining the natural shape of the gloves while they dry. I learned to gently stuff the fingers with clean tissue paper or cloth to help them hold their shape during the drying process. This prevents the fingertips from curling up or developing permanent bends that affect fit and comfort.
Environmental Factors That Matter
Direct sunlight can fade colors and degrade synthetic materials, so I always choose a shaded location with good air circulation. A fan helps speed up the drying process without introducing heat that could cause damage.
Humidity levels make a huge difference in drying time and mold prevention. During humid summer months, I sometimes use a dehumidifier in the drying area to prevent extended drying times that can lead to mildew problems.
Timing and Expectations
Quality cycling gloves typically take 24-48 hours to dry completely when air-dried properly. Thicker padding and leather components take longer, while lightweight synthetic gloves may dry in 12-18 hours. I learned not to rush this process because incompletely dried gloves can develop mold and bacterial growth when stored. This is why it’s nice to own more than one pair.
I always do the squeeze test before considering gloves fully dry. Gently squeeze the padding areas – if any moisture comes out or the material feels damp, they need more drying time. Storing damp gloves is a recipe for odor problems and material deterioration.
Maintenance Schedule and Long-Term Care – Making Your Gloves Last
After going through way too many pairs of cycling gloves in my early riding years, I finally figured out that having a systematic maintenance approach saves serious money in the long run. I used to just wash gloves when they got unbearably smelly or visibly dirty, but that reactive approach led to premature wear and frequent replacements. Now I follow a proactive schedule that has more than doubled the lifespan of my cycling gloves.
Usage-Based Washing Schedule
The frequency of washing depends entirely on how much you sweat and how often you ride. I wash my primary riding gloves after every 3-4 rides during summer months when I’m sweating heavily, but I can go 6-8 rides during cooler weather before they need cleaning.
For really intense rides or hot weather cycling, I sometimes wash gloves after every ride. This might seem excessive, but allowing sweat and bacteria to build up breaks down materials faster than gentle, frequent washing. I learned this after comparing gloves that were washed frequently versus ones that were allowed to get really funky between cleanings.
Seasonal Deep Cleaning and Storage
At the end of each riding season, I do a thorough deep cleaning and inspection of all my cycling gloves before storing them. This involves the full vinegar pre-treatment, careful washing, and complete drying before storage. Storing dirty gloves over winter can lead to permanent odor problems and material deterioration.
I store clean, dry gloves in breathable cloth bags rather than plastic containers. Plastic can trap moisture and create mold problems, even with thoroughly dried gloves. I learned this after finding a pair of expensive winter gloves covered in mildew after a winter in a sealed plastic bag.
Regular Inspection Points
Every few washes, I do a detailed inspection of stitching, padding, and closure systems. I look for loose threads, thinning areas, or signs that padding is shifting or breaking down. Catching these problems early often means the difference between a simple repair and complete replacement.
The velcro closure systems need special attention because they wear out gradually and can fail suddenly. I clean the velcro thoroughly every few washes and check for signs that the hooks are wearing down or the fabric backing is pulling away.
Cost-Benefit Analysis: When to Repair vs Replace
I’ve learned to be realistic about when gloves are worth maintaining versus when replacement makes more sense. If the palm padding is compressed beyond recovery or if there are multiple structural issues, replacement is usually more cost-effective than attempting repairs.
For high-quality gloves with minor issues, repairs can extend usable life significantly.
The general rule I follow is that if repair costs would exceed 50% of replacement cost, or if multiple major components need attention, it’s time to buy new gloves. But for minor issues on expensive gloves, proper maintenance and timely repairs can add years to their functional life.
Conclusion
Proper cycling glove care isn’t just about cleanliness – it’s about protecting your investment and maintaining the performance features that keep you comfortable and safe on every ride. Through years of trial and error, I’ve learned that spending 10 minutes properly cleaning my gloves after every few rides saves me hundreds of dollars in premature replacements. The key is consistency and using the right techniques for your specific glove materials.
Start with hand washing until you’re confident about your gloves’ cleaning requirements, then graduate to appropriate machine washing when suitable. Remember, well-maintained cycling gloves not only last longer but perform better throughout their lifespan.
Clean gloves grip better, smell better, and feel more comfortable against your skin. Take care of your gear, and it will take care of you on countless future adventures. Your hands – and your riding buddies – will thank you for making glove care a regular part of your cycling routine!