Tire inserts are one of those mountain biking upgrades you don’t really appreciate until you’ve smashed your rim on a rock or blown a tire off the bead mid-ride. As someone who has learned through trial and error, I’m Caleb, and I’ve spent enough time on rocky singletrack to know that lower pressures work almost perfectly, but sadly, they don’t.
That’s why this guide breaks down everything you actually need to know about MTB tire inserts: what they do, how they work, and why they can completely change your traction and confidence on the trail. If you set them up correctly, inserts make riding smoother, safer, and way more controlled. Here’s everything you need to know to choose and install the right insert setup for your bike.
The Purpose
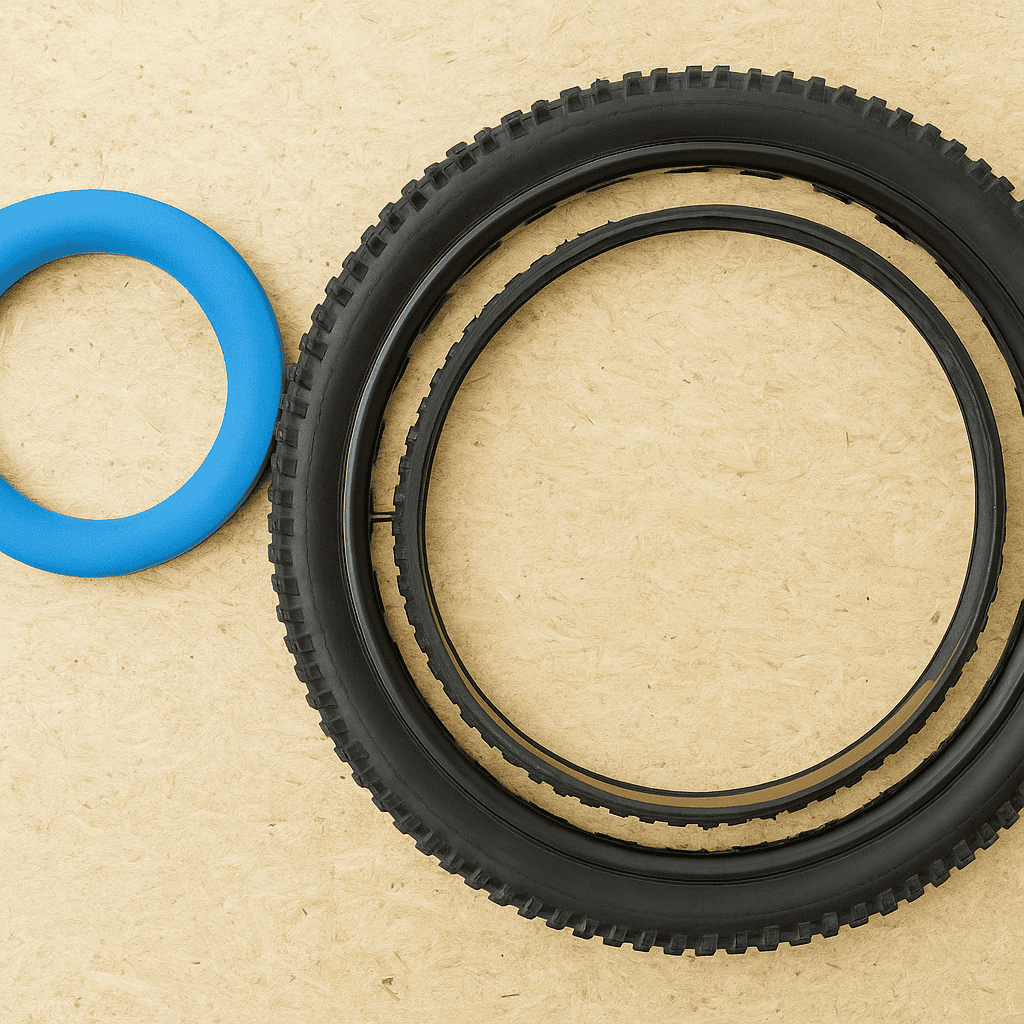
MTB tire inserts are foam rings that sit inside tubeless mountain bike tires, and if you don’t have tubeless, I still recommend trying them out on a tubeless bike. They cushion the rim, stabilize the tire bead, and support the sidewalls. Their main purpose is to protect rims, prevent pinch flats, and improve control at lower pressures.
The Amazing Thing About Them.
Inserts absorb impact energy before it reaches the rim, dang near preventing cracks or ruined gear. They press against the tire bead to improve lock, reducing burps and blow-offs. The foam also damps vibration, smoothing chatter and enhancing traction and comfort.
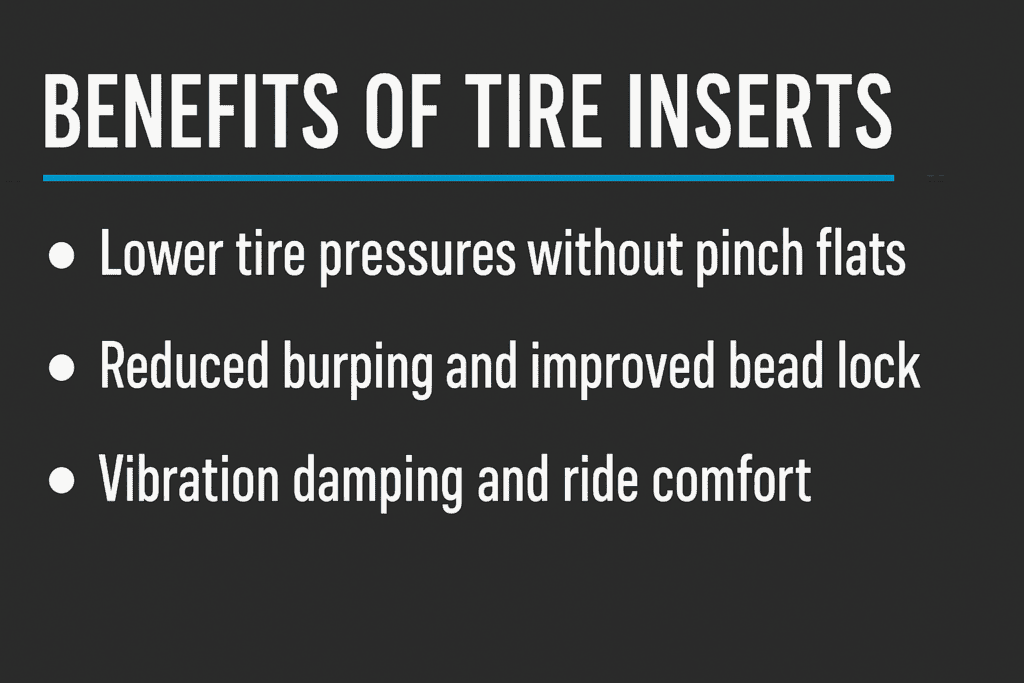
Benefits of Tire Inserts
Lower tire pressures without pinch flats
Inserts allow you to safely lower tire pressures by providing internal support. The foam bridges sharp edges and reduces casing collapse under load. This minimizes pinch flats and preserves sidewall integrity.
A foam barrier shields the rim from square-edge hits and rim strikes. This rids any small dings, flat spots, and cracked sidewalls. It also helps rims last longer in rocky terrain.
Lower pressures and added support enlarge the contact patch. The tire conforms to terrain without folding, boosting cornering stability. Braking feels sharper due to less skittering and more consistent grip.
Reduced Burping and Improved Bead Lock
Inserts wedge the beads outward, increasing bead retention. This reduces air loss when cornering hard or landing on an angle. It also lowers the chance of a sudden tire unseating.
With an insert, you can ride out slowly after a puncture. The foam supports the tire enough to protect the rim at reduced speed. It’s a get-you-home feature, not a performance mode.
Vibration Damping and Ride Comfort
Foam absorbs high-frequency chatter that tires and suspension miss. This reduces hand fatigue and improves control on rough trails. Riders feel a calmer, more planted bike.
Drawbacks and Trade-offs
Additional Weight and Potential Rolling Resistance
Inserts add a small heaviness of grams per wheel, depending on the model. Heavier systems can slightly increase rolling resistance.
The trade-off is protection and grip versus efficiency.
Installation Complexity and Mess
Fitting inserts can be tight and messy with sealant. Some combos need some type of strong tire levers, soapy water, and patience. Expect a steeper learning curve than standard tubeless.
Quality inserts cost as much as a midrange tire. The payoff is fewer damaged rims and fewer ride-ending flats. Value depends on terrain, riding style, and crash history.
Sealant absorption and maintenance
Some foams absorb sealant, reducing its availability to seal holes. They may require extra sealant initially and over time. Plan more frequent checks and top-ups.
Certain tires and rims create very tight tolerances. Inserts can make mounting difficult or, in rare cases, incompatible. Check brand fit charts and user reports before buying.
Compatibility and Sizing
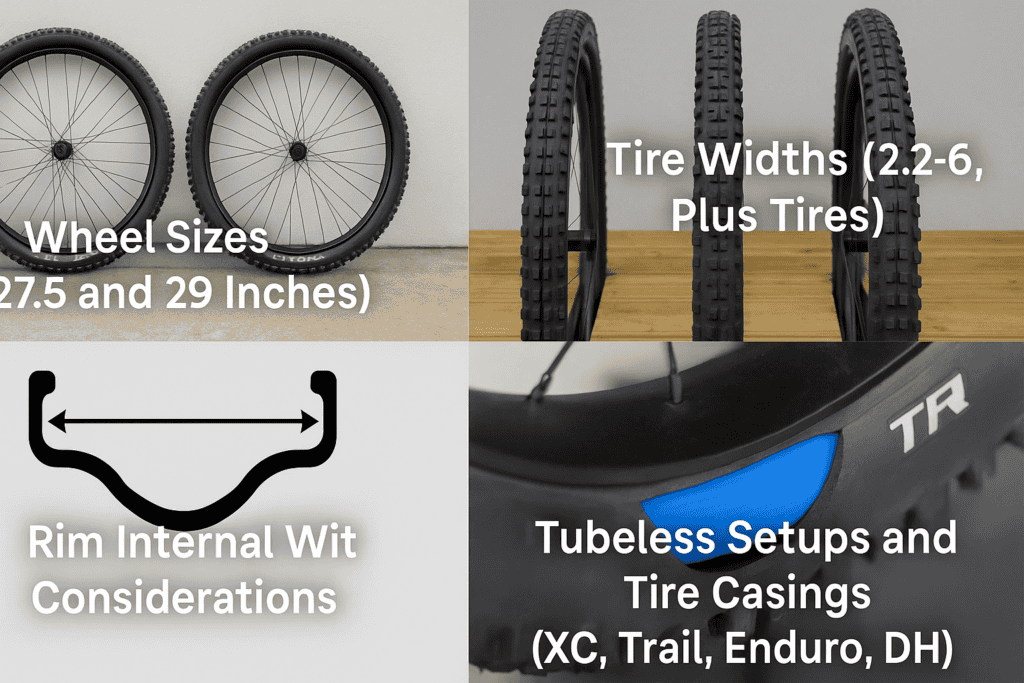
Wheel Sizes (27.5 and 29 Inches)
Most inserts come in 27.5 and 29-inch sizes. Some brands offer 26-inch or mixed-wheel (mullet) options. Choose the size that matches your rim diameter.
Tire Widths (2.2–2.6, Plus Tires)
Common insert sizes cover 2.2–2.6-inch tires. Select wider models for 2.6–2.8 plus tires where available. Match insert volume to the tire volume for proper support.
Rim Internal Width Considerations
Insert fit depends on internal rim width, typically 25–35 mm for MTB.
Too-narrow or too-wide rims can compromise performance. Follow brand charts to choose the correct insert size.
Tubeless setups and tire casings (XC, Trail, Enduro, DH)
Inserts work best with tubeless-ready tires and rims. Heavier casings pair well with inserts for maximum protection. XC casings benefit from stability; DH casings gain extra rim security.
Choosing the Right Insert for Your Riding
XC/Marathon (weight vs. protection)
Prioritize light inserts that still stabilize the bead. Aim to drop a few psi without a heavy penalty. Choose models that don’t overly absorb sealant.
Trail/All-Mountain (balanced performance)
Look for midweight inserts that blend support and comfort. They should reduce burps and rim hits on mixed terrain. Balance protection with rolling efficiency.
Enduro (aggressive protection, lower pressures)
Select dense inserts with strong bead lock and impact absorption. They allow significantly lower pressures for grip on rough terrain. Weight trade-offs are justified by speed and confidence.
Downhill/Park (maximum protection)
Go for the most robust, DH-rated inserts. Focus on rim protection, bead stability, and heat resistance. Weight is secondary to reliability under repeated big hits.
E-MTB (durability and heat considerations)
Choose inserts tuned for heavier bikes and sustained braking. Heat-resistant foams and reinforced profiles are key. Expect slightly higher weight and stiffer feel.
Rider weight and terrain factors
Heavier riders benefit from denser inserts and higher baseline pressures. Rocky, rooty terrain rewards more support and bead stability. Lighter riders on smoother trails can use lighter options.
Installation Guide
Tools and prep (tubeless tape, valves, levers, sealant)
Use fresh tubeless tape, insert-compatible valves, quality levers, and sealant. Warm the tire and have soapy water ready. Keep rags and a floor pump or compressor on hand.
Step-by-step install process
Tape and valve the rim, then mount one tire bead. Insert the foam evenly, tucking it around the rim. Mount the second bead, then inflate to seat before adding final pressure.
Sealant amounts and placement
Use 60–90 ml for XC/Trail and 90–120 ml for Enduro/DH per wheel. Add 10–30 ml extra to offset absorption, depending on foam type. Pour sealant after one bead is on, or inject through the valve.
Tips for stubborn beads and tight fits
Apply soapy water to reduce friction and help beads slide. Start seating at the valve and work around with hands before levers. Use a compressor burst or CO2 to pop the beads into place.
Troubleshooting leaks and burps
Shake and rotate wheels to distribute sealant to weeping spots. Re-seat beads at higher pressure if burping persists. Inspect tape, valve, and insert placement if leaks continue.
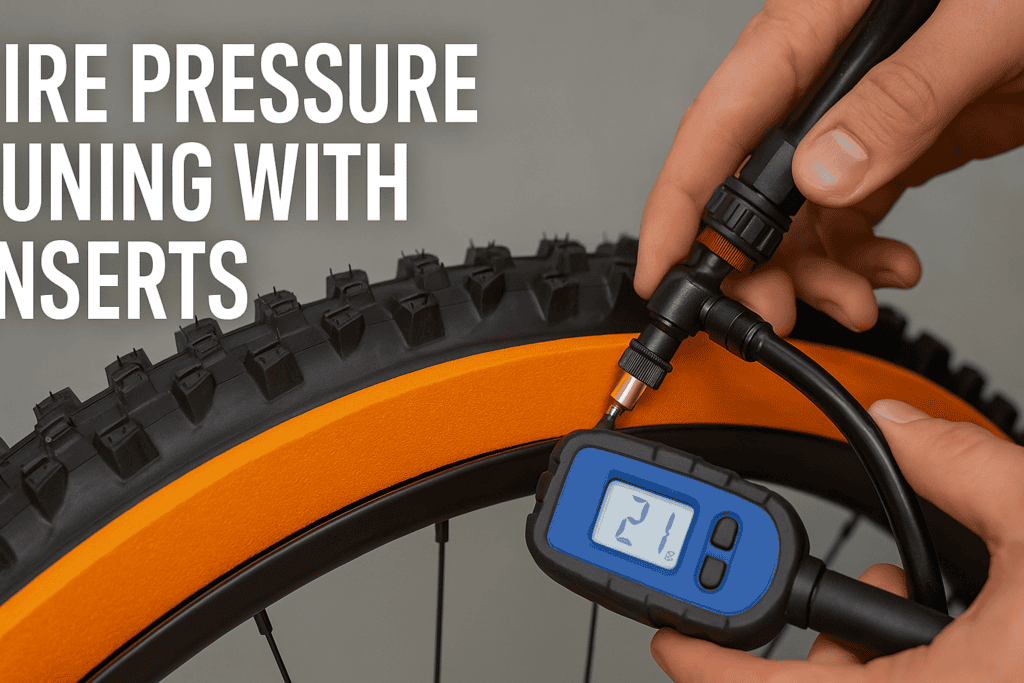
Tire Pressure Tuning With Inserts
Starting pressures by rider weight
As a baseline, 150–180 Weight-ish riders might start around 20–23 psi front, 22–25 rear.
Heavier riders add 2–4 psi; lighter riders drop 1–3 psi. Adjust in 1 psi steps after test rides.
Front vs. rear pressure strategy
Run the front 1–3 psi lower for grip and the rear higher for support. The insert helps keep the front stable at lower pressures. Tune based on cornering feel and rim strike frequency.
Adjustments for terrain (wet, loose, rocky, hardpack)
Lower pressures slightly for wet and loose trails to boost traction. Raise pressures for rocky or hardpack to reduce squirm and rim hits. Re-check after temperature changes and altitude shifts.
Measuring and tracking changes
Use a high-accuracy digital gauge for repeatable readings. Log pressures, conditions, and performance notes. Adjust systematically to find your sweet spot.
On-Trail Performance: What to Expect
Traction, cornering stability, braking feel
Expect a larger, more consistent contact patch. Cornering improves due to reduced tire roll and better bead lock. Braking becomes more predictable with less chatter.
Impact compliance and chatter reduction
Inserts absorb peak forces that normally shake the bike. This smooths small bumps and square edges alike. The result is less fatigue and better line holding.
Ride feels different across brands
Denser inserts feel more supportive and precise under load. Lighter designs feel more supple but offer less rim protection. Choose feel based on your terrain and preference.
Noise and feedback
Inserts reduce harsh “ping” noises from rim strikes. You may hear a muted thud on big impacts instead. Excess squish or slosh suggests low sealant or very low pressure.
Maintenance and Lifespan
Inspection intervals (cuts, compression set)
Check inserts every 2–3 months or after hard impacts. Look for tears, deep cuts, and permanent flattening. Replace if the structure or bead support is compromised.
Cleaning and sealant refresh
Remove and wipe inserts when refreshing sealant. Rinse off old latex and debris for a clean seal. Top up sealant every 1–3 months, depending onthe climate.
When to replace
Replace inserts that are torn, severely compressed, or waterlogged. If burping increases or rims show new dings, evaluate support. Most riders see 6–18 months of life depending on use.
Storage and off-season care
Store wheels horizontally to reduce localized compression. Keep them cool and out of direct sun to protect foam. If storing separately, keep inserts clean and dry in a sealed bag.
Cost-Benefit Analysis
Insert cost vs. rim/tire damage prevention
A single saved rim or tire can pay for inserts. Frequent rock strikes make protection highly cost-effective. Occasional riders may see slower payback but still gain reliability.
Alternative approaches (heavier casings, higher pressures)
Heavier casings and higher pressures reduce flats but sacrifice grip. Inserts allow lower pressures without as many compromises. Combining inserts with robust casings maximizes protection.
Value for racers vs. casual riders
Racers value grip, consistency, and finish-line insurance. Casual riders benefit from fewer flats and confidence on rough trails. Both groups should weigh weight, cost, and terrain.
Safety Tips
Limits of run-flat riding
Run-flat is for slow exits, not high-speed descents. Keep speeds low and avoid jumps when flat. Stop if the tire unseats or steering becomes unpredictable.
Rim damage risk if ridden flat at speed
Riding fast on a flat can still dent or crack rims. Inserts reduce but don’t eliminate this risk. Protect your gear by slowing down immediately.
Routine checks before big rides or races
Inspect beads, pressures, and valves before events. Spin wheels to listen for leaks and verify sealant presence. Confirm insert position if you recently had a burp or impact.
Alternatives to Tire Inserts
Heavier casing tires (DD/DH)
Double-down and DH casings resist cuts and pinch flats. They add weight and rolling resistance compared to lighter tires. Pairing them with inserts offers maximum durability.
Wider Rims and Tire selection
Wider rims better support sidewalls and reduce tire roll. Match tire width and casing to rim internal width. This can lessen the need for inserts in moderate terrain.
Pressure management and foam tire liners
Careful pressure tuning prevents many flats on its own. Basic foam liners offer minimal protection versus full inserts. Combine smart pressures with component choices for best results.
Conclusion
If you’re looking for a tire insert that gives real protection without making your bike feel sluggish, most mid-weight trail or enduro options are an excellent starting point.
They offer rim security, better traction, and more confidence when dropping pressure. Inserts add weight, take more effort to install, and they’re not a magic fix for every puncture.