Riding in the rain isn’t off-limits; in fact, when mountain biking in the rain with the right trails, gear, and mindset, it can sharpen your skills faster than almost any dry-day session. I’m Caleb, a growing mountain biker who’s spent the past year collecting tips, learning from mistakes, and figuring out how to stay safe, smooth, and respectful of the trails when the weather turns wet.
Rain riding is all about knowing when conditions are good to go and when they’ll destroy trails or put you at risk. I can’t overstate this enough as a most important aspect of mountain biking tips. You could see something like a rocky trail, such as the one in the picture, which handles moisture, but soft soils are against your common single tracks. Thunderstorms, or anything that leaves your tires carving, are hard “no” days.
Respecting closures and reading trail reports is just as important as technique. This is very much adjacent to having muddy trail riding tips and is the result of the rain.
Can You Mountain Bike in the Rain?
When it’s OK vs. When to Skip
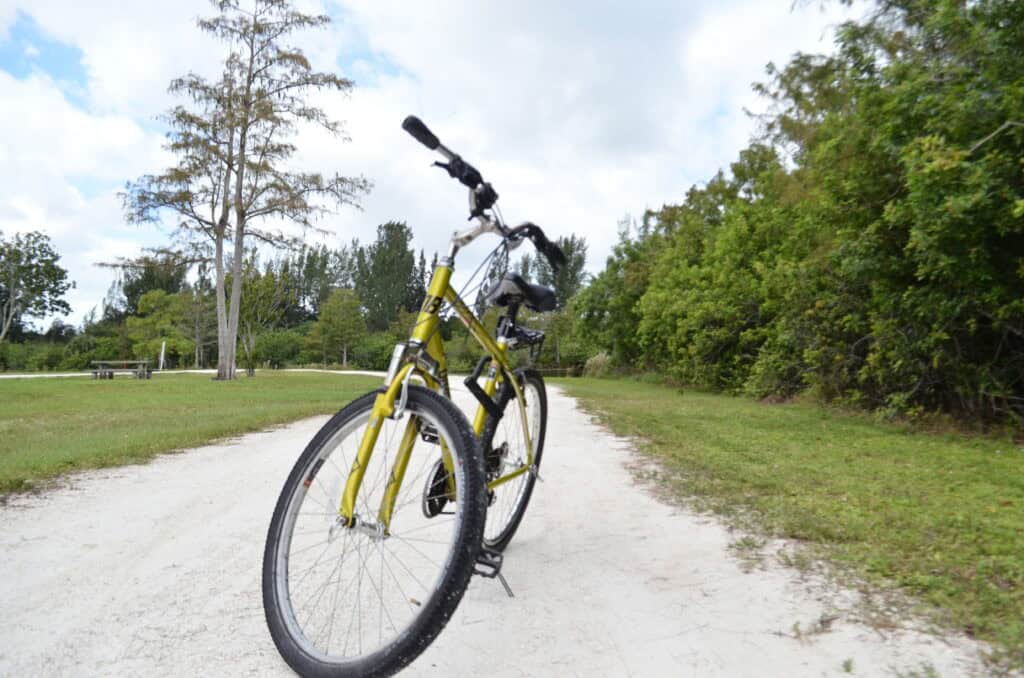
Now it’s important to consider that you can ride in the rain when trails are designed for wet use, drain well, or feature rocky, gravelly, or armored surfaces. Here’s an example.

Whenever I go out riding, and even if I’m hitting a ramp and coming down the second, I see rain, I’m always checking the forecast for any active thunderstorms. If your tires are carving deep ruts, your brakes are grinding with grit, or you’re widening the trail to avoid puddles, it’s time to call it.
Trail Guidelines and Closures
Always check local trail association reports, signage, and apps before you go, and respect seasonal or storm-related closures without exception. Many systems have “all-weather” loops or directional policies to protect softer trails; choose those options when it’s wet. If you do ride, keep speeds reasonable, avoid skids, ride through small puddles rather than around them, and stay on the established line.
Pros and Cons of Riding in Wet Conditions
Benefits (skills, fewer crowds)
Believe it or not though, rain riding sharpens bike handling by teaching traction feel and what I’ve learned so much in the past few weeks is clean line choice. I’ve gotten a lot of practice with damp puddles in some areas designed for wet use split between rocky areas.
A benefit though is trails are often quieter in poor weather, giving you space to session features and progress at your own pace.
But don’t forget wet roots, leaves, and polished rock reduce traction and increase the risk of a crash if you rush or over-brake.
Essential Rain Riding Gear
Waterproof Gear
Never forget breathable waterproof gear, my favorite go-to is always my Old Navy Active Pants, not sponsored. But if you can choose a breathable, waterproof shell with sealed seams, a helmet-friendly hood, and venting to regulate heat on climbs. I have a similar configuration myself.
Lightweight waterproof pants or knickers protect from spray, while durable water-resistant gloves keep hands warm and in control, and’ve seen mine before don’t get cloth
Waterproof or water-resistant MTB shoes with aggressive tread and good pedal feel improve stability in slick conditions. Pair them with some socks that insulate when damp if you want to go the extra mile, but I keep it simple. Bring a dry spare pair of socks for the turnaround or post-ride comfort.
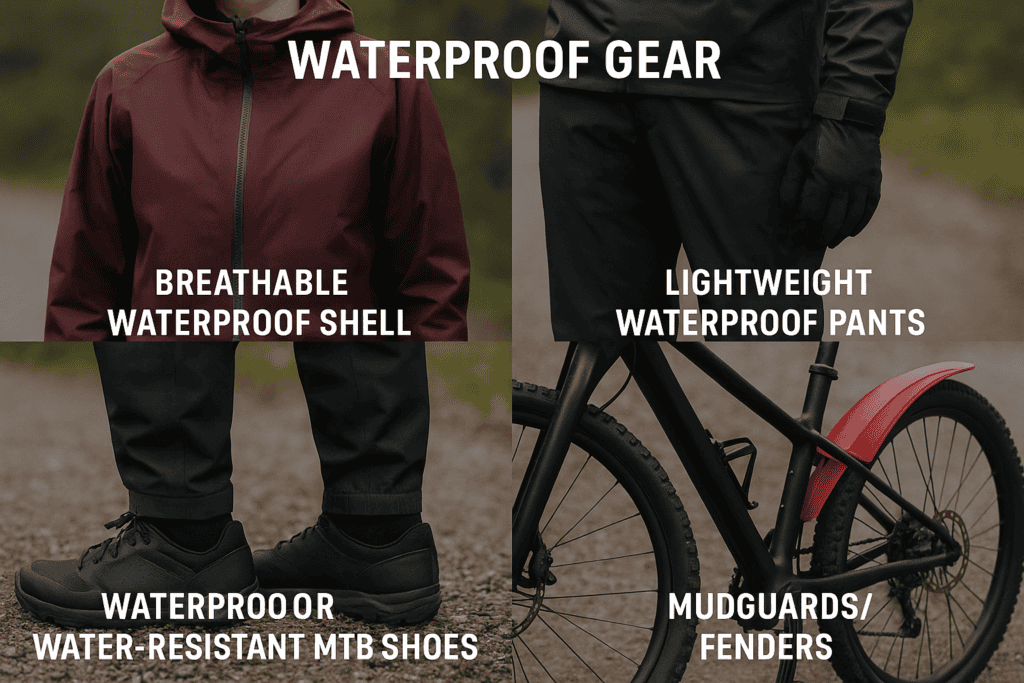
Mudguards/fenders
Oh My God. A front mudguard is one of the biggest safety upgrades for wet-weather MTB because it keeps grit out of your eyes and improves vision. Rear fenders can help on long rides or commutes, which you can see when I commuted on my road-bike previously benefited from. Although many trail riders skip them to reduce noise and weight. Choose a sturdy, rattle-free design that clears your tire at full compression.
Rain reduces contrast and depth perception, so use a bright bar light and a helmet light for precise line reading in dark forests. A small daytime rear blinker helps other riders and road traffic see you on connections, especially in heavy spray. Pick lights with good waterproofing and secure mounts that won’t slip in the wet.
Trail Etiquette and Environmental Impact
Soil types (clay, loam, sand) and drainage
You’ll notice when riding Clay-heavy soils hold water and smear into ruts, so they’re the most vulnerable in wet weather.
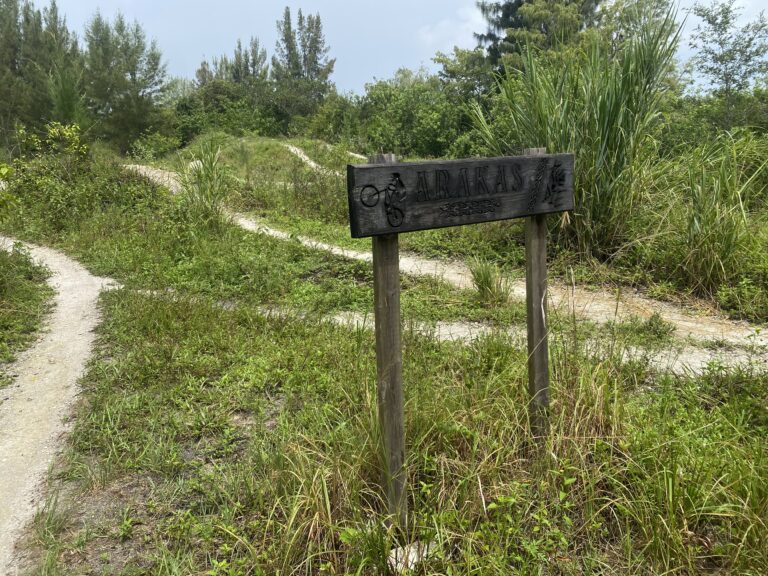
Ride at a steady pace, avoid skids, and stay on the narrowest, firmest line to limit widening and rutting. Don’t create bypasses around puddles, and turn back if conditions are clearly too soft to ride responsibly. If you can join your local mountain biking group posted on a sign or do trail work and support drainage improvements that make wet-weather riding sustainable. Create the type of paths you see on the left image.
Choosing appropriate trails and routes
Pick trails with rock, gravel, boardwalks, or machine-built surfaces designed for wet durability. Favor moderate grades and avoid low-lying flats or clay benches that pool water. Plan loop options that let you bail early if conditions get really bad.
Group size and passing etiquette
If you do choose to ride with groups make them small and scatter space to reduce braiding and congestion in soft sections. Announce passes politely, slow down, if you do encounter anyone else as I have on equestrian hybrid trails. However, it’s not too common. Communicate clearly about stops to prevent sudden braking and pileups on slick trails.
Safety and Risk Management
Hypothermia prevention and layering
Use a warm base layer and a breathable waterproof shell to manage sweat and rain. Carry spare gloves and a dry beanie and I highly recommend this! Then also eat and drink often to keep metabolic heat up. If you’re shivering, fumbling zippers, or losing coordination. Add layers, move, or end the ride, and the technicalities can vary being the climate that you are a part..
Communication
Share your route and ETA, carry a whistle, and ensure your phone is in a waterproof case with a battery to spare. In groups, agree on regroup points and signals before dropping into descents. Everything of mine is Waterproof nowadays, it’s hard to get away from it.
Emergency Kit
Pack a tube, plugs, pump or CO2, multitool with chain breaker, quick link, and a small lube bottle. Add a lightweight space blanket, basic first-aid supplies, zip ties, tape, and a derailleur hanger for your frame. Include an ID, a payment method, and a small snack buffer for delays.
Post-Ride Cleaning and Maintenance
As difficult as this section is I want to keep it simple for beginners.
TO put it lightly, there are a couple of ways to clean your ride, such as Lubing your chain and easing the tension of your bike after getting water in it, such as drying it out in the sun but also most importantly, to get that stuck sand off your bike that frequently appears on mine.
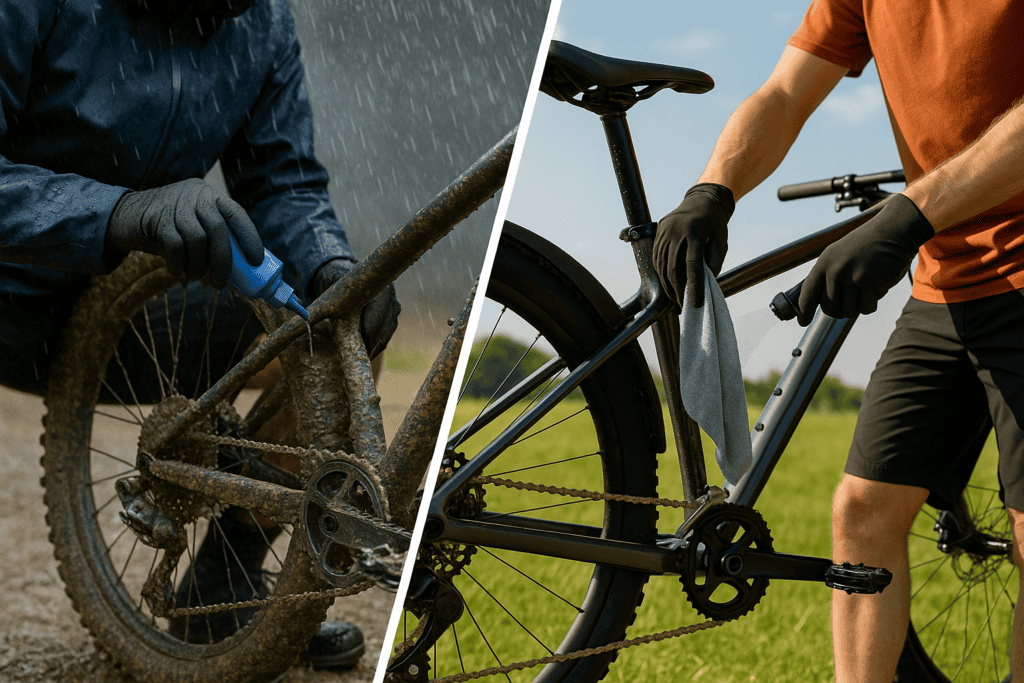
It’s hard to get off when it dries, so also use the sprayers at the park, as they are some of the most important elements.
Conclusion and Next Steps
Riding in the rain can build world-class bike control, boost confidence, and keep your fitness rolling through bad weather. Choose durable trails, gear up smart, adjust your bike and technique for grip, and ride with respect for the environment. Start with shorter sessions, note what works, and refine your wet-weather setup so you’re ready every time the skies open.