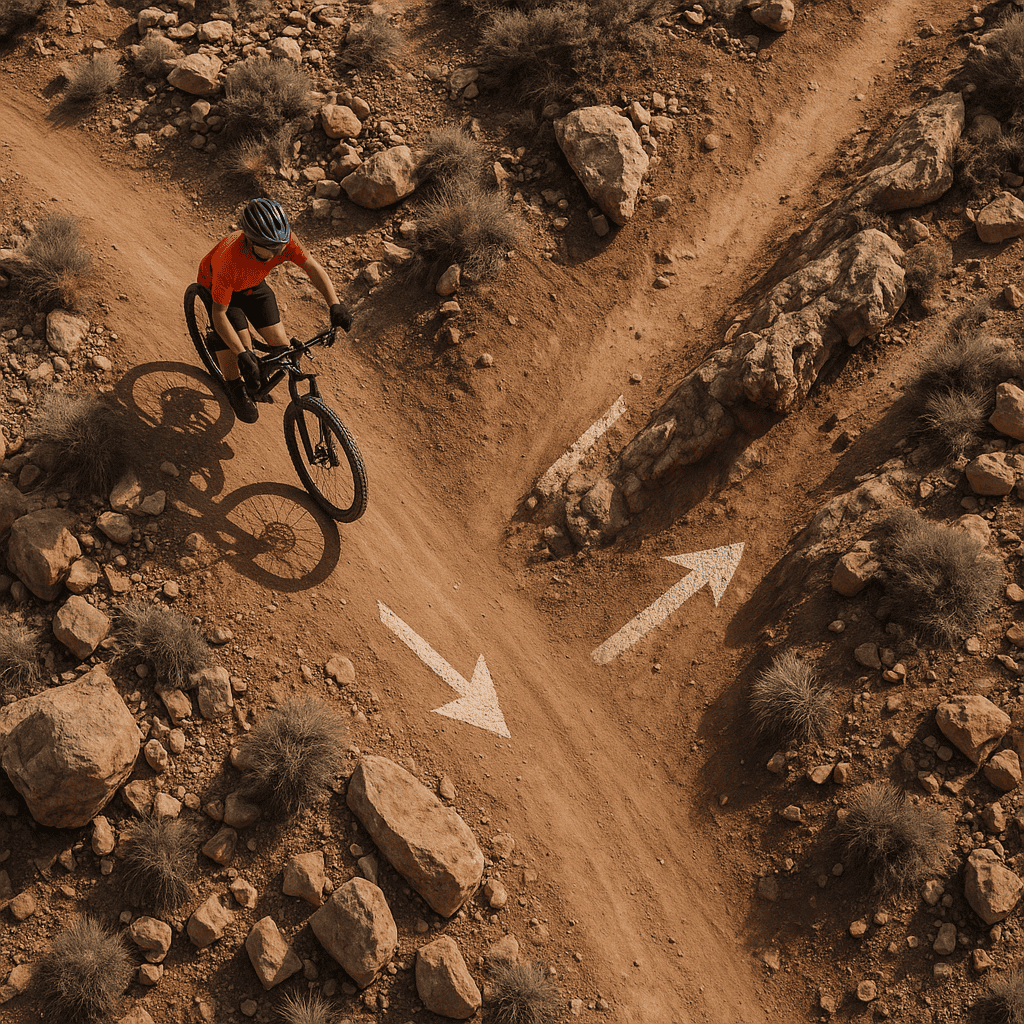
I’ve learned over the past year or so that mountain bike line choice is the specific path you choose to ride through a section of trail. Pretty Simple, Right?
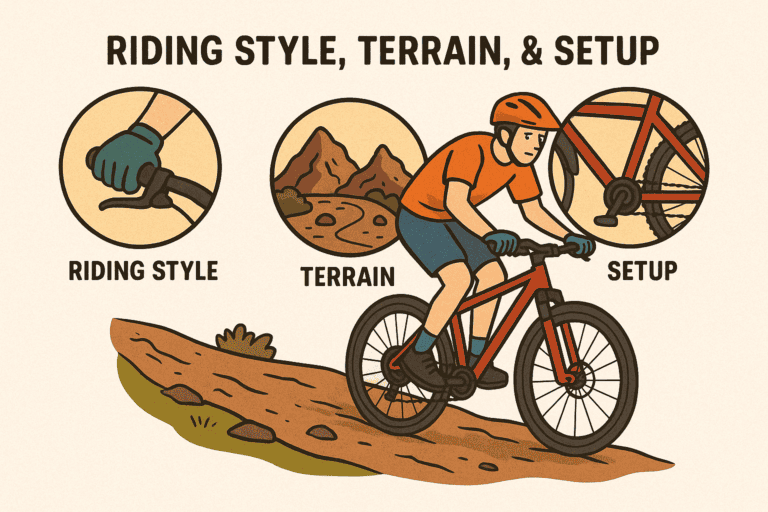
You have to cover both multiple large and small decisions, like precise wheel placement over roots or rocks. It’s why I made my own mountain bike tires guide. You’ll find that good line choice blends terrain reading, bike handling, and timing to keep your speed high and risk low.
Most importantly, smart line choice lets you carry more speed with less braking, saving energy over a ride or race. It increases safety by avoiding traps like square edges, pedal strikes, and slick patches that can cause crashes. Better lines create flow, reduce fatigue, and preserve momentum so you ride faster with more control.
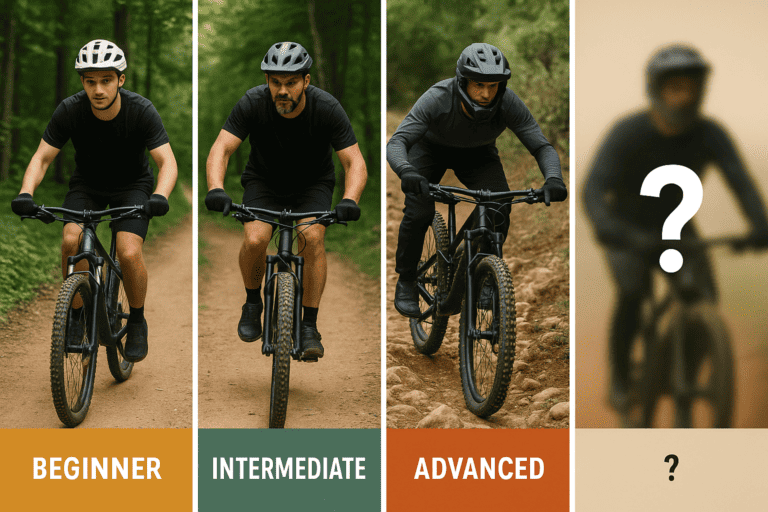
I myself have been using my own mountain biking tips for beginners guide for the past year and found myself having a lot of fun with different bikes, ones more ideal and less ideal, making my own trails if possible.
Things are quite constrained here in Florida, but they are a lot of fun at the same time.

Core Principles of Mountain Bike Line Choice
Look Ahead and Pressure Control
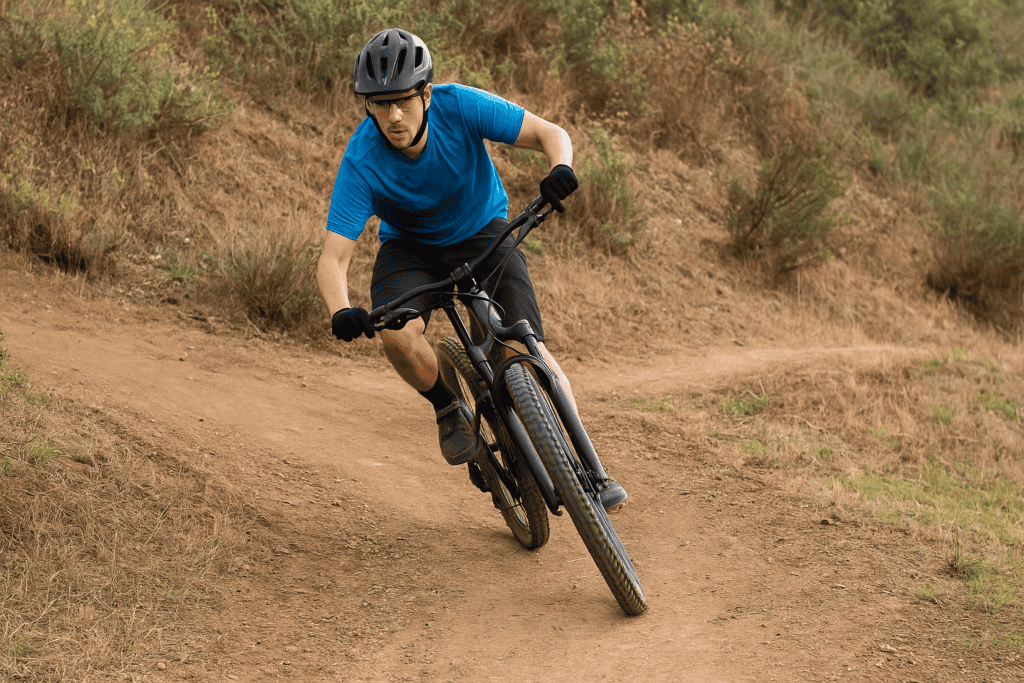
So important! Look where you want to go, plus not at hazards, plus scan 2–3 bike lengths ahead on technical terrain and farther on fast trails. You’ll know what I’m talking about when you get more experience.
Use a “near mid and far” vision pattern and you’ll know what I’m talking about. Keep your head level and eyes up through corners to spot apexes, exits, and next obstacles early. Do most of your braking before the turn or feature so the tires can grip when leaned or loaded. Trail-brake lightly if needed, but aim to release the brakes as you hit the apex or impact zone to unlock traction and speed.
Adopt a centered, athletic stance with low hips, level eyes, and relaxed arms to absorb terrain while keeping traction. Drive pressure into the tires when you want grip, and lighten or unweight over edges to reduce hang-ups. Move hips and shoulders to steer and weight the outside pedal in corners for stability and edge hold.
Out & In Apex Riding
The classic fast line for most corners is outside entry, clip the late apex, and drift to the outside exit. Aim for a late apex to keep the bike straighter on exit and carry more exit speed. Adjust apex timing based on the next feature so you prioritize the fastest exit over the perfect entry.
Preserving momentum is almost always faster than sprinting after a slowdown. Choose lines that avoid sharp direction changes, deep holes, and square edges that sap speed. Pump transitions and backsides to generate free speed and reduce pedaling and braking effort.
Reading the Trail and Surface Assessment
Identifying cambers, gradients, and drainage lines
Look for off-camber sections that push tires downslope and choose lines that minimize side-slip or offer supportive micro-berms. Read gradient to anticipate speed buildup and plan earlier braking on steeps. Follow drainage clues—runnels, ruts, and shiny dirt—to avoid slick or eroded zones that reduce grip.
Traction clues: soil type, rocks, roots, dust, mud
Soil color and texture indicate grip: dark loam (“hero dirt”) offers bite, while pale hardpack with dust is marbly and loose. Rocks vary; coarse or embedded rock grips better than polished slabs, especially when dry. Roots are slick when wet and at oblique angles, so square them up or find alternative lines with better bite.
Spotting traps: holes, square edges, pedal strikes, sniper roots
Scan for holes and square edges that stall wheels, and aim to ride the crowns between features or lift the front wheel. Watch crank and pedal clearance near inside rocks and ruts to avoid strikes that force crashes. Identify thin, angled “sniper roots” and adjust angle, unweight, or reroute to maintain traction.
Sight lines, trail furniture, and tape/flag cues (race contexts)
Use sight lines to confirm exits and hazards; if you can’t see the exit, moderate speed or widen your arc. In races, tape positions and stakes often hint at intended fast lines or discourage risky cuts. Trail furniture like course poles or padding can mark danger zones and help you aim for safer, faster setups.
Types of Lines and When to Use Them
Safe line. Fast line. Race line
The safe line is predictable and forgiving, ideal for practice, learning, or slick conditions. The fast line minimizes distance or braking but may require precision and commitment. The race line balances risk and reward for your skill and conditions, often prioritizing exit speed and consistency over one-off hero moves.
High lines on off-camber or bermed terrain can hold speed and open a straighter exit, while low lines shorten distance but may stall. Inside lines can be quicker in slow, tight turns but reduce sight and exit speed. Outside lines usually offer more traction, wider arcs, and better setups for the next feature.
Straight-lining reduces distance and time in rough sections, but you must manage impacts and braking. S-lines can smooth transitions and maintain traction by rounding edges, especially in rock gardens or root webs. Setup lines sacrifice a bit of entry speed to create a better angle and faster exit for the following feature.
Pumping lines and energy-generating lines
Choose lines that let you pump backsides of rollers, roots, and rock backs to add speed without pedaling. Look for micro undulations that act like mini-berms or transitions for free acceleration. Avoid dead spaces and flat tops where pumping yields little and consider unweighting instead.
Cornering Line Choice
Flat turns: entry setup, apex, exit
Widen your entry, brake early, and aim for a late apex to straighten the exit. Keep the bike leaned under a stable body, weight the outside pedal, and keep light hands for traction. Eyes up to the exit and release brakes through the apex to let the tires hook and drive out.
Bermed turns: loading, exit speed, high lines
Load the front by pushing into it as you enter, using it as a supportive wall for speed. Notice how a high entry can set up a straighter, faster exit, especially when the next section is rapid. Stay off the brakes mid-berm, keep your hips low, and drive out by pumping the exit being very specific with your movemnet.
Also lower your center of mass, keep the bike slightly more upright for edge grip, and avoid abrupt steering. Look for textured support like roots perpendicular to the fall line, grass tufts, or micro-berms. Modulate brakes gently and commit to a smooth arc to avoid sliding downslope.
Switchbacks and Hairpins
Approach wide, brake early, and look through the turn before you reach the tightest point. Unweight or light rear-wheel pivot if necessary, or use a ratchet pedal to maintain balance in tech climbs. Keep pedals level unless timing a stroke, and prioritize a stable exit over cutting the tightest inside.
Plan two turns and choose a line that sets you up for the faster exit of the second corner. Sacrifice a bit of speed in the first turn to open the second with a wider, straighter path. Keep transitions smooth, minimize mid-chicane braking, and connect apexes with clean vision.
Descending Line Choice
Steeps Fall-line Control
Control speed before the steepest pitch, then modulate brakes smoothly to maintain traction. Keep your body centered and low, allowing the bike to move beneath you while your eyes hold the exit. Avoid locking wheels and use terrain seams to add micro-support and reduce drift.
Go straight if you can manage impacts and hold a clean exit; it’s often the fastest. Snake through if straight means repeated square-edge hits or uncatchable lines, using rounder edges and crowns. Lift the front wheel over square edges, unweight the rear, and aim for smooth landings to preserve speed.
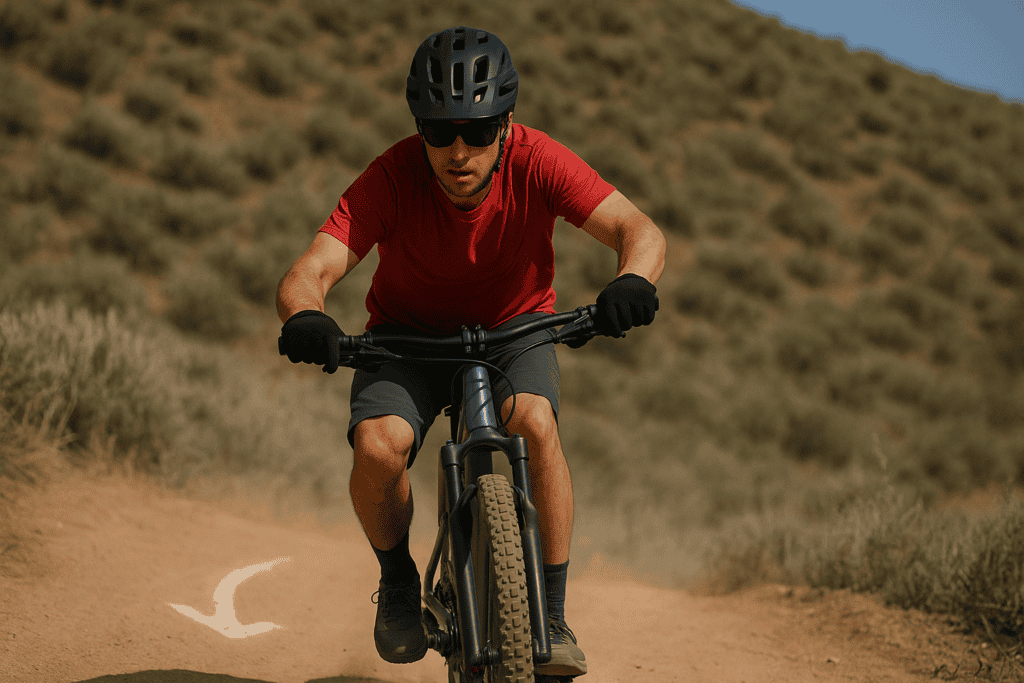
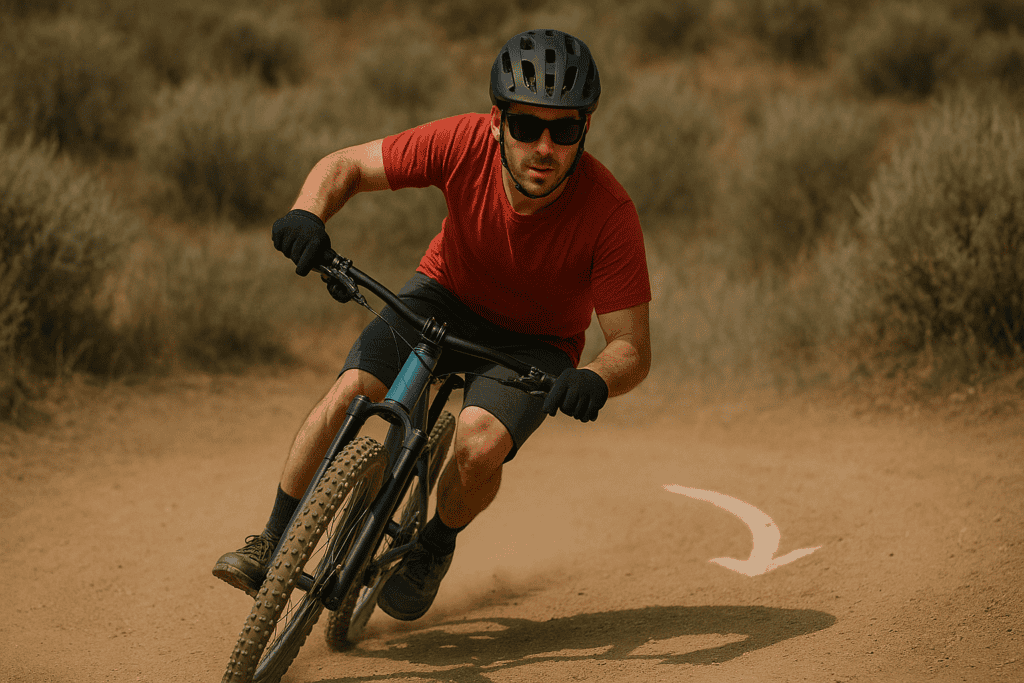
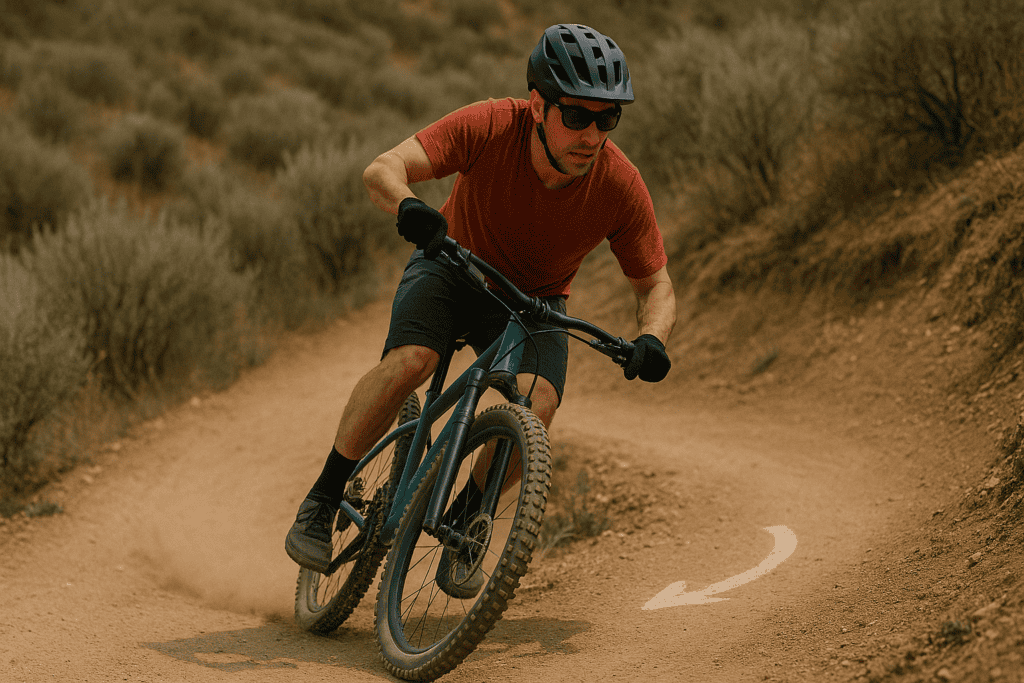
Here’s an interesting example of someone using this and keeping their body leveled for even the steepest dropoff.
Hit roots as perpendicular as possible to reduce deflection and slipping, especially when wet. Time your pedal strokes to avoid striking and use small unweights to skim over slick bundles. If you must traverse roots at an angle, reduce braking and keep the bike light to maintain grip.
Climbing and Technical Ascents
Traction-preserving lines and micro line changes
Pick lines that avoid loose marbles and seek embedded rock or firm dirt for drive. Make small corrections to stay on grippy crowns rather than deep ruts or dust piles. Stay seated or light on the saddle to keep rear traction while keeping upper body calm.
Switchback climbs: inside pedal timing
Time pedal strokes to clear inside rocks and avoid strikes at the tightest point. Approach wide and look through the exit while maintaining a smooth cadence and even torque. If traction breaks, ease torque slightly and re-center weight before reapplying power.
Obstacles on climbs: unweighting and momentum
Carry momentum into steps or roots, and unweight the front wheel to place it cleanly. Use a small body pop or ratchet to lift the rear without stalling. Keep breathing steady and cadence consistent to prevent wheel spin and maintain balance.
Conditions and Surface-Specific Line Choice
Dry/loose over hard vs. hero dirt
On loose-over-hard, avoid the marbles and ride the edges where surface texture is better, braking earlier and lighter. Keep arcs wider and lean the bike less aggressively to protect traction. In hero dirt, commit to stronger lean angles, later apexes, and pumping transitions for maximum speed.
Wet, mud, and slick roots/rocks
In the wet, brake earlier and straighter, and avoid polished rock and angled roots if possible. Choose lines with texture—rough rock, grass edges, and soil ribs—to maintain grip. Keep movements smooth, reduce abrupt inputs, and square up crossings where traction is low.
Sand, dust, snow, and leaf litter adjustments
In sand and deep dust, stay light on the front wheel and choose firmer edges or packed tracks. In snow, ride the packed line, moderate lean, and prioritize smooth braking and gentle steering. Leaf litter hides obstacles; slow slightly, widen arcs, and probe traction before committing.
Visibility and light/shadow changes
When entering shade from bright light, reduce speed slightly and extend look-ahead to adjust. Use high-contrast vision points like trail borders and larger features to guide lines. Anticipate hidden holes or slick patches in dappled light and keep inputs smooth.
Equipment Factors That Influence Line Choice
Tire tread, compound, and pressure
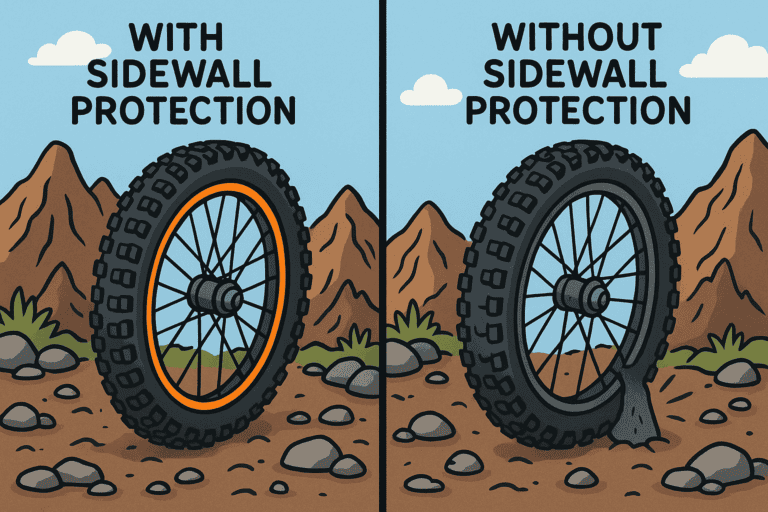
Aggressive tread and softer compounds increase forgiveness on loose or wet lines, but roll slower. Set pressure to balance support and grip; too high skates, too low squirm and rim strikes. Match tire choice to terrain so your preferred lines are reliably rideable.
Proper sag keeps wheels tracking, allowing more line options over rough terrain. Rebound too fast bounces you off lines; too slow packs down and kills traction. Use compression to support in berms and on landings without deflecting off rocks or roots.
Wheel size and rim width
Larger wheels roll over holes and roots more smoothly, expanding straight-line options. Wider rims support sidewalls for better cornering lines at lower pressures. Match wheel characteristics to terrain and speed to maintain line precision.
Bar width should allow stable control without clipping trees on tight lines. Set lever angle for neutral wrists and one-finger braking to modulate precisely at apexes. Strong, consistent brakes let you brake earlier and lighter, freeing better mid-corner lines.
Common Line Choice Mistakes
Braking in the apex and late vision
Braking mid-apex unloads grip and pushes you wide, killing exit speed. Fix it by braking earlier and releasing before turn-in. Train vision earlier so you see braking points and apex timing in time to act.
Cutting inside too early
Early inside cuts tighten the arc, reduce sight, and force slow exits. Hold the outside longer and aim for a later apex to open the exit. Use markers to remind yourself to delay turn-in.
A fast entry with a slow exit is usually slower overall. Choose lines that maximize exit speed into the next straight or feature. Time splits will confirm the payoff of prioritizing exits.
Over-committing to ruts or bad lines
Deep ruts can trap you in poor exits or hide holes and roots. Look for rut entries you can exit and be ready to step to crowns if needed. If a line degrades, switch quickly rather than forcing a risky commitment.
Safety, Etiquette, and Trail Preservation
Yielding, passing, and multi-user trails
Yield appropriately to uphill traffic and other trail users, and communicate early before passing. Call out clearly, pass only where safe, and never force someone off their line. Respect right-of-way rules so everyone can ride predictable lines.
Avoiding trail widening and braid creation
Stay on the established trail and avoid creating new ride-arounds, even when conditions are muddy. Choose technical lines you can ride cleanly or walk rather than cutting fresh paths. This preserves the trail and keeps future line options sustainable.
Managing speed around blind features
Slow before blind crests, corners, and drops where sight lines are limited. Keep to the right side where appropriate and give audible cues when necessary. Choose conservative lines until visibility improves to avoid collisions or surprises.
Conclusion and Next Steps
Key takeaways
Look ahead, brake early, and prioritize exit speed to make fast, safe lines repeatable. Choose supportive terrain features, avoid square edges, and use outside–late apex–outside as a default. Validate decisions with timing and video, and adjust for conditions and discipline.
Recommended drills and progression plan
Practice vision patterns, early braking releases, and pumping on mellow trails, then add speed. Session corners, roots, and rock gardens with A/B lines and measure splits. Progress from safe lines to faster ones as consistency and confidence improve.
Where to Seek Coaching
Seek coaching when you plateau, struggle with consistency, or want faster progression with fewer risks. A coach can refine braking points, body position, and apex timing with targeted feedback. Combine instruction with self-filming and regular sessioning for sustained gains.