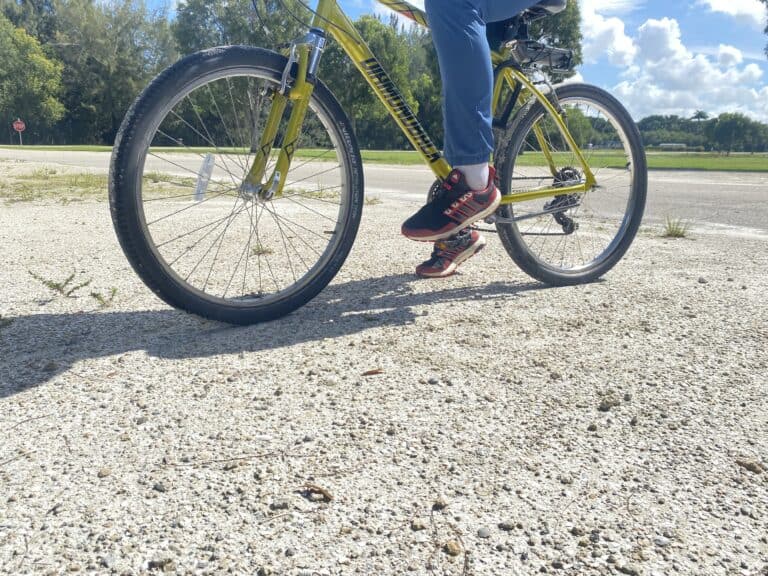
Ever notice how you start losing focus or power on longer rides, even when your legs still feel fresh? A specific moment is when I had been cycling up and downhill for 20 – 30 minutes straight, and wasn’t tired in my chest but in my legs.
Lack of hydration is also why you may have trouble with line choice, your apex, and included tips like Muddy Trail Riding Tips for Mountain Biking where you may face muddy environments that slow you down. Mountain bike hydration packs are so important.
I’m Caleb, a rider who’s learned that technique and control matter even more when the ground is saturated, especially while improving through resources like Mountain Bike Strength Training: Build Your Control. Over time, those lessons helped me gain better balance, smoother handling, and a clearer understanding of when and how to ride wet trails responsibly.
Why Use a Hydration Pack for Mountain Biking
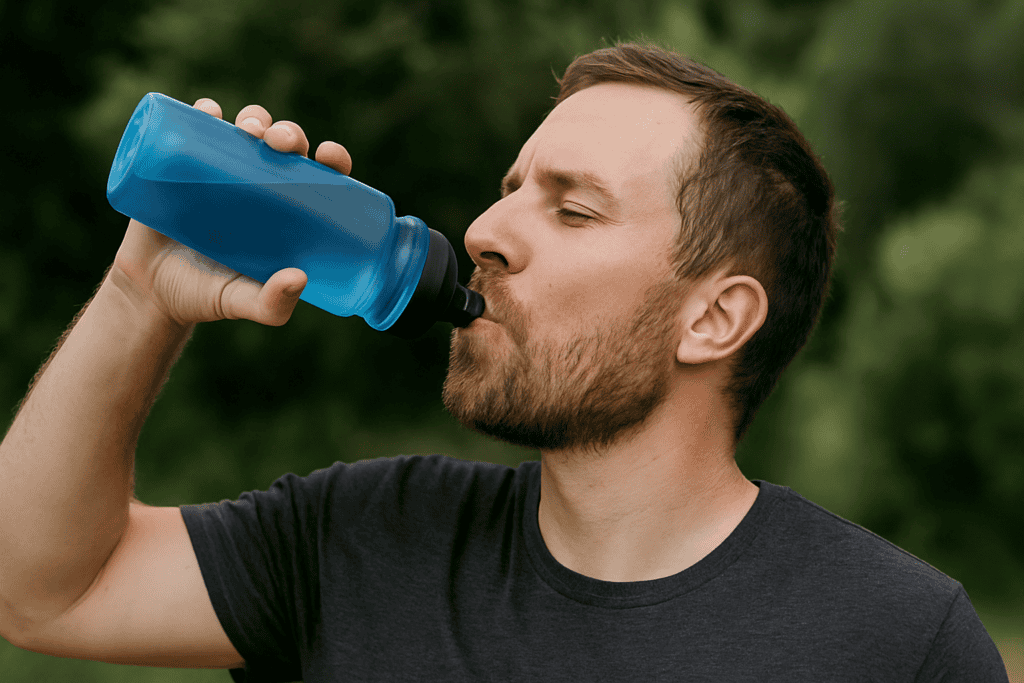
Benefits vs Bottles
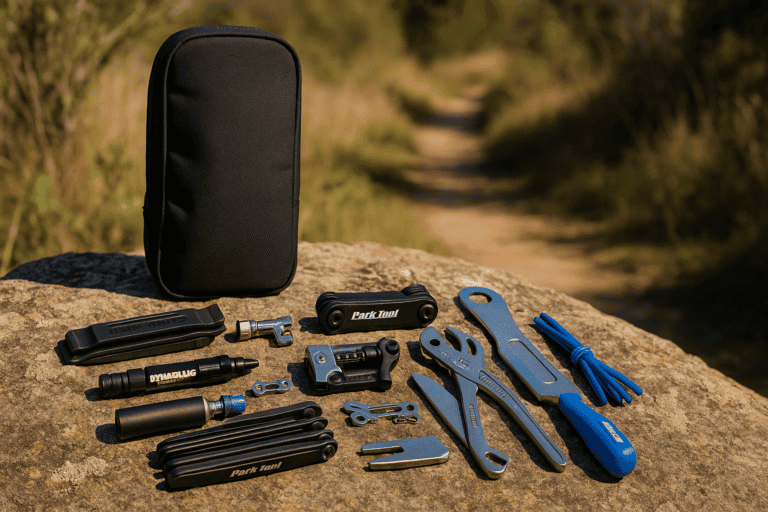
Hydration packs let you drink hands-free without reaching for a down-tube bottle, which keeps your focus on technical terrain. They carry more water than most frames can hold and keep fluids cleaner by shielding them from mud and dust. Packs also consolidate tools, food, and layers, reducing rattles and protecting items in a crash.

Choose a pack for long trail rides where water access is limited and storage needs increase. Enduro and bike park laps benefit from compact packs or hip packs that stabilize on descents while still carrying essentials. In hot climates, remote zones, or high elevation, a pack provides the extra capacity and reliability bottles alone can’t match.
Types of Mountain Bike Hydration Packs
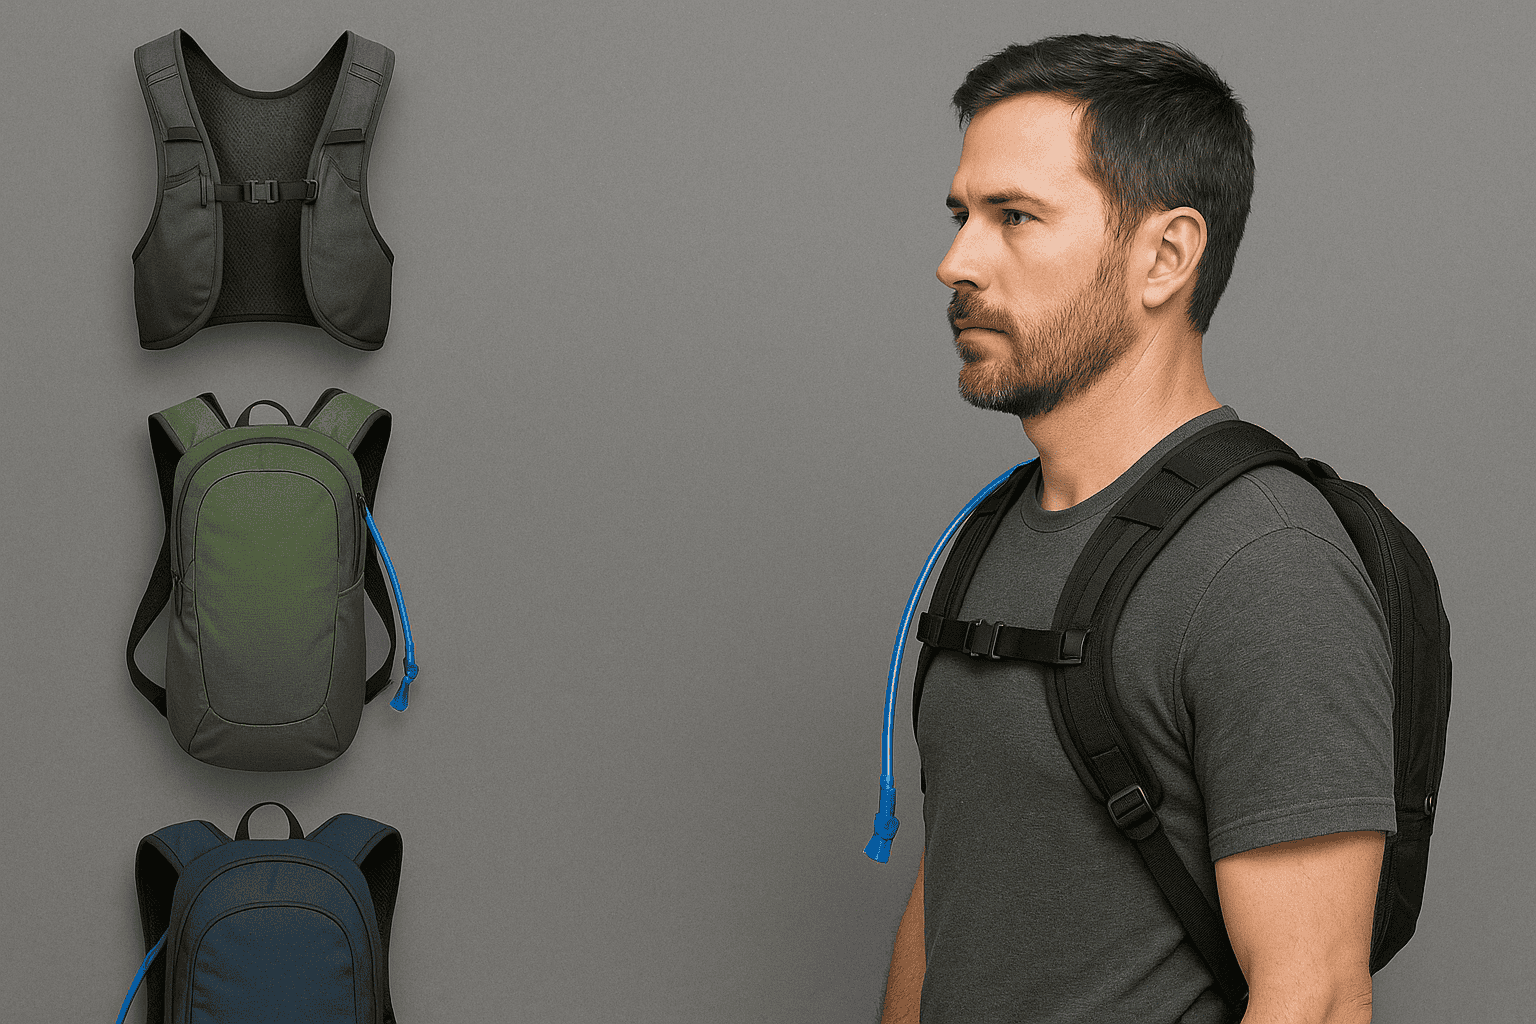
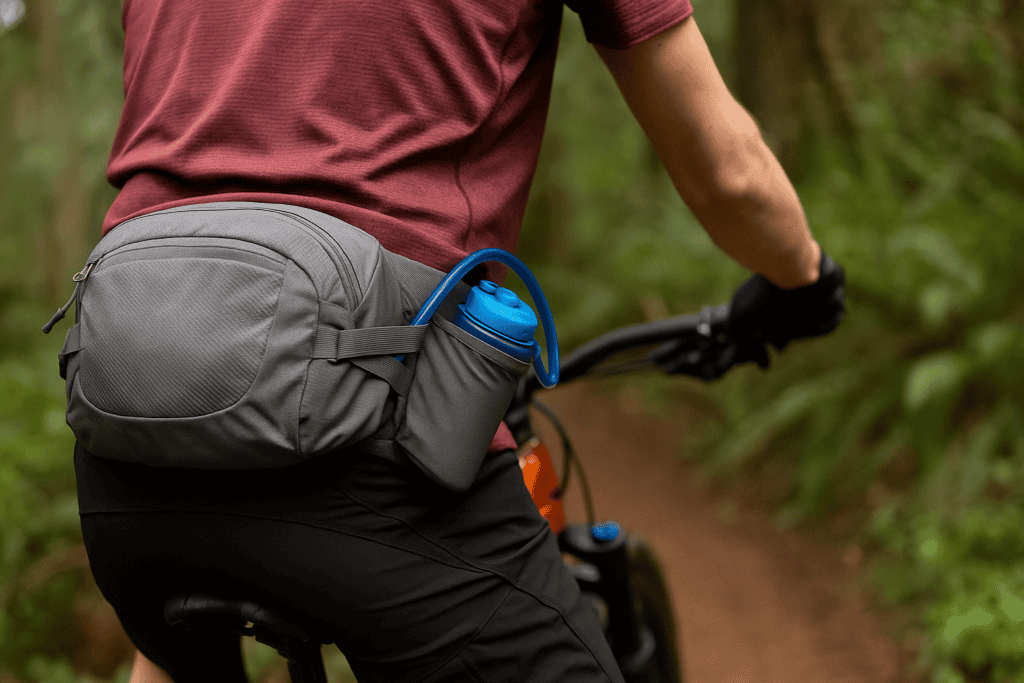
Hip/Waist Packs
Hip packs keep weight low on your body to improve handling and reduce back heat. They typically carry 1–2 liters of water via a bladder or bottles and a minimal tool kit. They shine on short to medium rides and rowdy descents where stability is crucial.
Vests distribute weight evenly across the torso for a bounce-free feel and excellent breathability. They often accept a 1–2 liter bladder plus soft flasks and small pockets for snacks and tools. They are ideal for fast trail rides, marathon efforts, and riders who dislike traditional backpacks.
Compact Backpacks
Compact packs hold a 1.5–2 liter reservoir with organized storage for tools, a pump, and a light layer. They balance stability and capacity while keeping a slim profile for tight trails and active riding. They suit most trail riders who want “just enough” space without bulk.

Look at getting full-size packs as they usually carry 2–3 liter reservoirs, extra layers, first aid, and even helmet or pad attachments. They use supportive harnesses and hip belts to distribute heavier loads for all-day missions and backcountry routes. Choose these when you need maximum capacity and all-weather versatility.
Sizing and Fit Guide
Torso Length and Hip Sizing
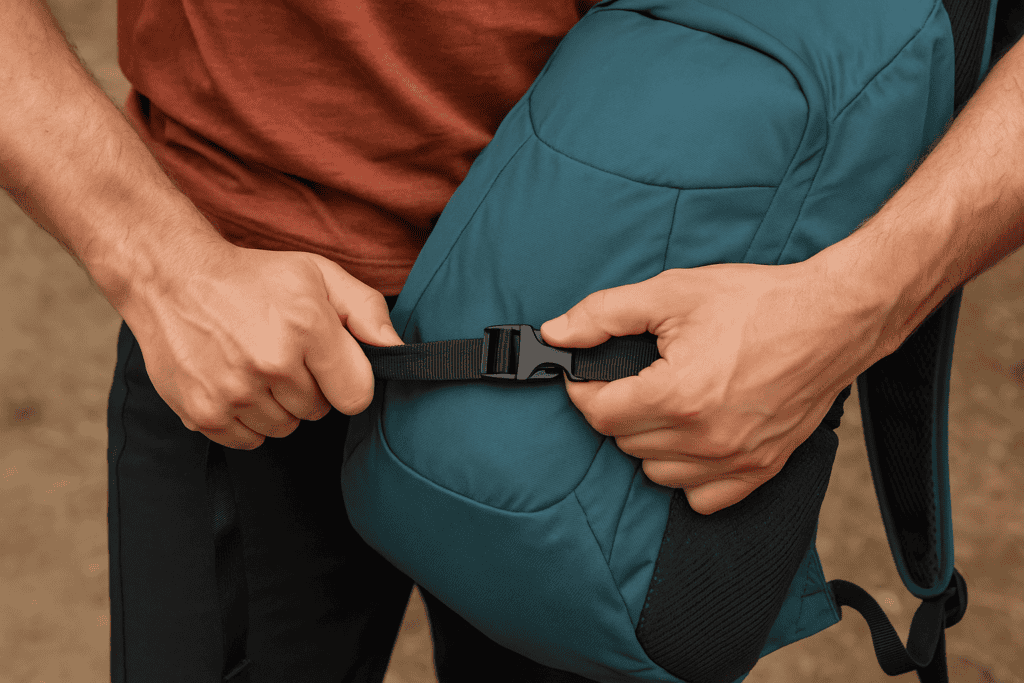
When fitting look to match pack size to your torso length so the hip belt or waist wings land on your pelvic crest. A properly sized hip or sternum strap anchors the load without pinching or riding up. If between sizes, choose the option that places the reservoir in the mid-back area for optimal balance.
First, fill the bladder and load essentials, then tighten the hip or waist belt to carry the weight. Next, snug the shoulder straps and sternum strap to stabilize without restricting breath. Finally, use compression straps to pull the load toward your back and test on rough terrain.
Keep heavy tools low and close to your spine to reduce leverage and sway. Avoid stuffing bulky items high or far from your back, which causes tipping and shoulder fatigue. Maintain a neutral, athletic posture on the bike and retighten straps after the first few minutes of riding.
How Much Water Do You Need
Ride Length and Intensity
Most riders require approximately 40 sips of water per hour for moderate trail efforts, with the volume increasing with the pace. Whether you are riding longer, expect that to be more or less, depending on how short.
Heat, humidity, wind, and altitude drive fluid needs higher due to sweat and respiration losses. Trust me I know what this looks like, I’ve experienced this too many times biking young and now. Also, never forget that cold weather lowers thirst cues, so schedule sips to avoid stealth dehydration, but it should still be there in the back of your head.
Electrolytes and Mixes
Use electrolytes on rides over 90 minutes, in heat, or when sweating heavily to maintain balance. Light mixes or tablets help prevent cramps and reduce gastric distress compared with sugary drinks. Alternate sips of water and mix, or run water in the bladder and mix in a soft flask.
Dehydration shows as dark urine, headache, dizziness, cramps, and a drop in power or focus. Overhydration presents with nausea, bloating, frequent clear urine, and in extremes, hyponatremia. Adjust sip frequency, add electrolytes, and monitor urine and energy to stay on target.
Using Your Hydration Pack on the Trail
Drinking Cadence and Hose Management
Sip every 10–15 minutes instead of chugging to maintain steady hydration and digestion. Route the hose on your non-dominant side and secure it with a magnet or clip for quick access. Use a dust cap in gritty conditions to keep the bite valve clean and functioning.
Before drops or rough descents, snug the hip belt and sternum strap a touch tighter. Keep knees and elbows bent and let the bike move under you to minimize pack sway. Recheck strap tension after big climbs when clothing compresses and loads shift.
Hot and Cold Weather Strategies (insulation, freezing, dust caps)
In heat, add ice and use an insulated tube sleeve to keep sips cool and palatable. In freezing temps, blow back water into the bladder after each sip and tuck the hose inside the strap. Use dust caps year-round to protect valves from mud, sand, and trail grime.
Maintenance and Cleaning
After-Ride Rinse and Dry
Empty leftover water, rinse the reservoir and hose with warm water, and drain fully. Hang open with the cap off and use a drying hanger or clean utensil to keep it propped. Wipe the bite valve and exterior to remove grit that can wear seals and zippers.
Periodically scrub with a reservoir brush and a mild solution of baking soda, vinegar, or dedicated cleaner. Rinse thoroughly and dry completely to stop mold growth in corners and hoses. Store with the cap off or freeze the clean, dry bladder to inhibit microbes.
Replacing Reservoirs, Hoses, and Valves
Replace parts when they crack, taste off, leak, or remain stained after cleaning. Quick-disconnect systems make swapping hoses and bladders fast and mess-free. Upgrading to a higher-flow valve can improve sipping efficiency on hard efforts.
Keep the reservoir dry and open in a cool, dark place to protect materials. Store the pack empty with zippers open to prevent odors and moisture buildup. Periodically check for wear, clean dirt from zips, and refresh DWR if the fabric wets out.
Biggest Mistake to Avoid!
Poor Fit and Loose Straps
Loose straps cause bouncing, chafing, and fatigue on every descent. Over-tightening shoulder straps without securing the hip belt shifts weight to your neck. Fit the waist first, then shoulders, then sternum, and finish with compression straps.
Underfilling leads to unexpected shortages, while overfilling causes slosh and wasted weight. Match fill level to route length, refill points, and weather to optimize load. Expel excess air and lay the bladder flat to reduce movement inside the pack.
Hydration Pack vs Water Bottles for MTB
Pros and Cons of Each
Packs offer hands-free drinking, greater capacity, and secure storage, but add heat and weight. Bottles are lighter, simpler, and easier to clean, yet can eject on rough trails and collect dirt. Your terrain, climate, and storage needs should guide the choice.
If you’re familiar as above, run a 1.5–2L pack plus a frame bottle for electrolytes or extra water on big days. Use hip packs with on-frame bottles to split weight and keep the back cooler. Hybrid setups add redundancy so you can share water or adapt to changing conditions.
Sustainable and Durable Choices
Repairability and Spare Parts
Choose packs with replaceable reservoirs, hoses, valves, and buckles to extend lifespan. Modular tool rolls and removable pockets reduce wear on the main pack. Brands that sell spare parts support repairs and reduce waste over time.
Material Safety (BPA-free) and Longevity
Look for BPA/BPS-free reservoirs that resist taste and odor absorption. Durable ripstop fabrics and reinforced panels survive abrasion and repeated washing. Proper care multiplies longevity, lowering cost and environmental impact.
Trail Etiquette and Safety
Carrying Extra Water for Partners
Bring a little extra water or purification options when riding with newer riders or in heat. Sharing prevents bonks and keeps the group safe and moving. Communicate capacity before the ride so everyone packs appropriately.
Emergency and Wilderness Considerations
Include a small first aid kit, whistle, and a charged phone or tracker for emergencies. In remote areas, add a filter, chemical tabs, or a collapsible bottle for refills. Tell someone your route and carry a light layer even in warm forecasts.
Quick Decision Guide
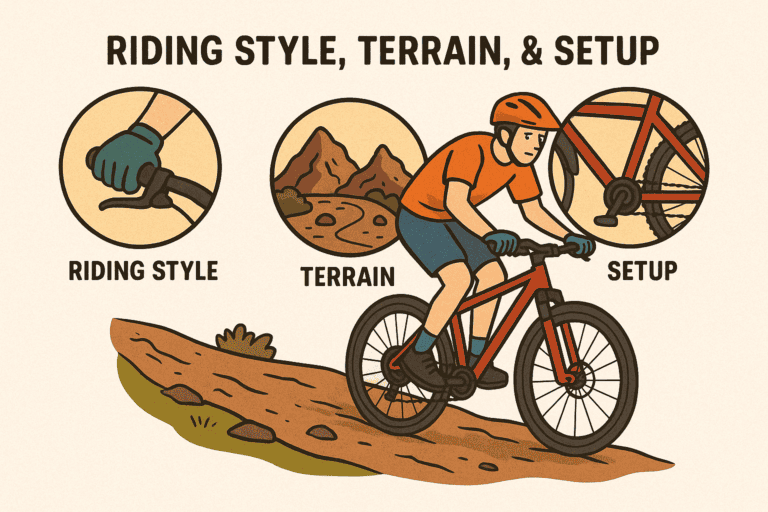
Choose by Ride Length, Terrain, and Climate
Choosing the right hydration pack depends on your ride length, terrain, and weather. Short rides suit hip packs, while longer or hotter days call for larger reservoirs.
When choosing everything above, always check fit before you buy. Load the pack, test the straps, and make sure everything stays stable in a riding position. And I recommend you hit one of your stores like REI as they have people with expert info, or your local bike shop.