Did you know that 85% of cycling head injuries could be prevented with a properly fitted helmet? Most riders make critical fitment mistakes that compromise their safety! I’ve spent over a decade testing mountain bike helmets, and I can tell you that the difference between a well-fitted helmet and a poorly fitted one isn’t just comfort, it’s life and death.
Whether you’re a weekend warrior hitting local trails or an enduro enthusiast tackling gnarly descents, you need one of the best mountain bike helmets as it is the most crucial piece of safety gear. But here’s the thing: even the most expensive, highest-rated helmet won’t protect you if it doesn’t fit correctly. In this comprehensive guide, I’ll walk you through everything you need to know about achieving the perfect mountain bike helmet fit, from initial sizing to fine-tuning adjustments that could save your life.
Understanding Mountain Bike Helmet Sizing Fundamentals
I’ll be honest – I used to think buying a mountain bike helmet was as simple as grabbing a medium off the shelf. Boy, was I wrong about that one! I went with no helmet for so long that I got used to having none while city riding, but it’s an absolute necessity with mountain biking. I tried a regular city helmet, and that didn’t translate as well from a lack of a visor getting heated dirt in my face. I’ve had so many chin rashes hitting rough trails out here in Florida, especially when there’s tons of water.
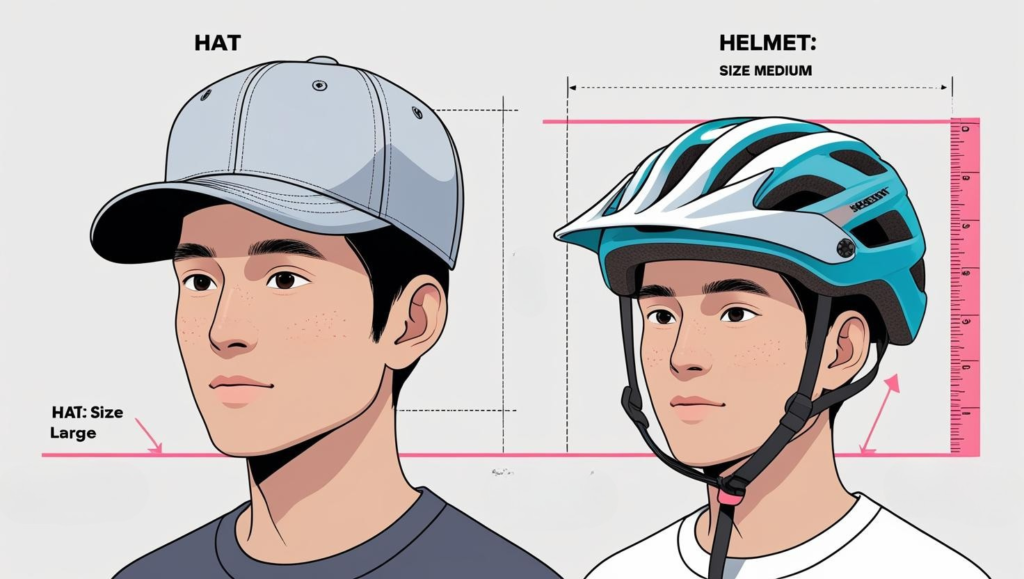
Here’s the thing that nobody tells you upfront: helmet sizing is completely different from buying a baseball cap or beanie. While your favorite trucker hat might be a size large, your mountain bike helmet could easily be a medium or even small. The reason? Helmets need to sit much lower on your head, covering more of your skull, particularly the back and sides, where most impact damage occurs during crashes.
Most helmet manufacturers use head circumference measurements ranging from about 51cm to 65cm, but here’s where it gets tricky. A 58cm measurement doesn’t automatically mean you need a large in every brand. I learned this the hard way when I tried one out in Conte’s Bike Shop one day, surprise, surprise it didn’t fit.
The “one size fits most” approach that some cheaper helmets use is honestly terrifying when you think about it. Your brain doesn’t care about marketing convenience when you’re eating dirt on a technical section. I’ve seen too many riders wearing helmets that slide around like loose hats, thinking they’re protected. A helmet that moves more than an inch in any direction when you shake your head isn’t going to do its job when you need it most. You also can’t just wrap a tape measure around your forehead and call it good. I usually tell people to measure three times and use the largest number – better to be slightly tight than dangerously loose.
The foam padding inside also affects fit more than most people realize. Fresh padding feels thicker and tighter, but it compresses over time. What feels snug in the shop might become loose after a few months of sweaty rides. That’s why many experienced riders prefer a helmet that feels almost uncomfortably tight when new.
Don’t even get me started on the whole oval versus round head shape situation – that’s a whole other rabbit hole that affects how different helmet models sit on your particular skull geometry.
How to Measure Your Head for Helmet Sizing
Okay, I’m gonna walk you through measuring your head properly because I messed this up spectacularly on my first three helmet purchases. Turns out there’s actually a right way and a wrong way to do something as simple as wrapping a tape measure around your dome – who knew?
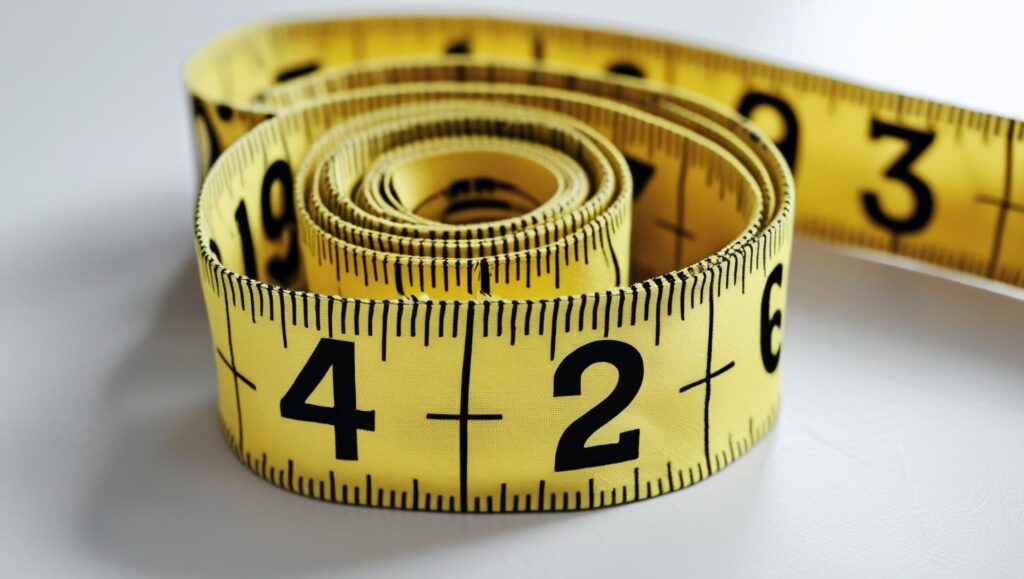
First things first, grab a flexible measuring tape, not one of those rigid metal ones from your toolbox. I tried using a steel tape measure once and nearly gave myself a concussion just trying to get an accurate reading, this makes it easier to see. The fabric kind that seamstresses use works perfectly, or even a piece of string that you can measure against a ruler afterward.
Here’s where most people screw up the measurement points. You’re not measuring your hat size here – forget everything you know about baseball caps. The tape needs to go around the largest part of your head, which is typically about one inch above your eyebrows and one inch above your ears. Think of it like you’re putting on a headband that sits right where your hair meets your forehead.
The back measurement point is crucial and this is where I went wrong for years. The tape should sit at the most prominent part of the back of your skull – that little bump called the occipital protuberance if you want to get technical about it. When I was measuring too high in the back, I was getting readings that were 2-3 centimeters smaller than reality.
Now here’s something nobody warned me about: your head actually swells throughout the day. I’m not joking! I measured myself at 7 AM once and got 56.5cm, something I learned from being part of friends of bike groups, then measured again after a long hot ride and hit 57.8cm. Your best bet is measuring in the evening when you’re slightly dehydrated but not completely exhausted.
Hair thickness matters more than you’d think, especially if you’re rocking a mountain man beard situation or have thick, curly hair like my buddy Jake. He made the mistake of measuring with freshly washed, fluffy hair and ended up with a helmet that felt like a vise grip once his hair settled down. If you typically wear a cycling cap or bandana under your helmet, put that on before measuring.
Converting those measurements to actual helmet sizes is where brand differences become a real headache. A 58cm head might need a large Bell, medium Giro, or small/medium in some European brands like POC or Sweet Protection. I keep a little cheat sheet on my phone now with different brand conversions because ordering online is basically gambling otherwise.
Pro tip that saved me multiple returns: measure three different times on three different days and use the largest number. Your head position affects the measurement more than you’d expect. Tilting your head forward or backward even slightly can change the reading by a full centimeter.
Most quality helmets have sizing charts that’ll convert your measurement, but always check if they’re listing internal circumference or external shell sizes – some manufacturers measure differently and it’s infuriating when you’re trying to nail down the perfect fit.
The 4-Point Helmet Fit System
Let me tell you about the time I thought my helmet fit perfectly until it flew off my head during a crash. Turns out I had no clue about proper helmet fitting, and that expensive piece of carbon fiber became a very costly frisbee while my bare skull kissed some granite. That’s when I learned about the 4-point fit system the hard way.
The whole thing starts with positioning, and everyone talks about the “two-finger rule,” but half the people I ride with are doing it wrong. This misconception is so common I’ve heard it since I was younger and even now.
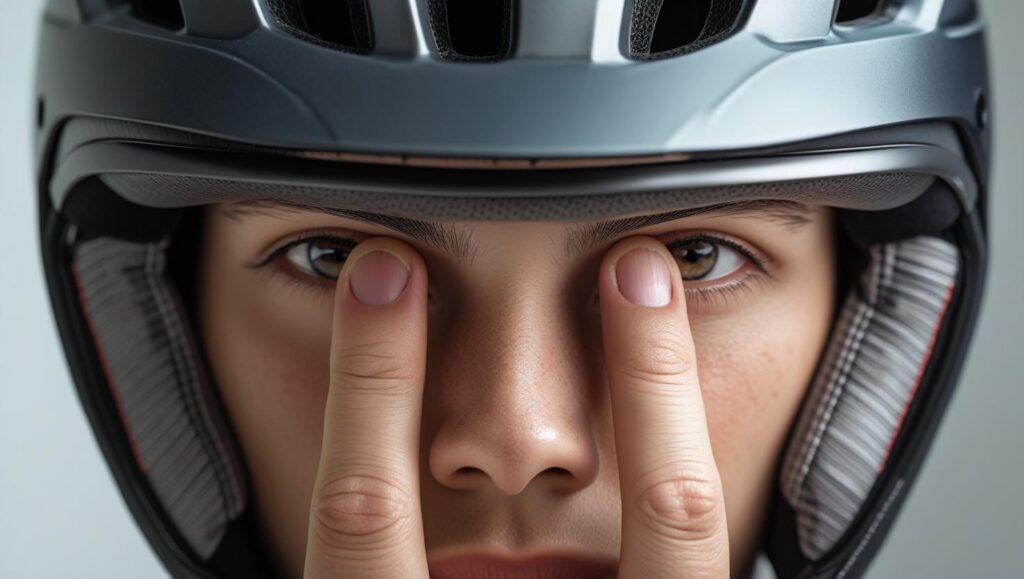
Your helmet should sit low enough on your forehead that when you place two fingers horizontally above your eyebrows, they should just barely fit between your brow and the helmet’s front edge. Not three fingers, not one finger – exactly two. I used to wear mine way too high, thinking I looked cooler, but I was protecting my hair instead of my brain.
Side strap adjustment is where things get tricky, and honestly took me months to figure out properly. Those Y-shaped straps need to form a triangle just below your earlobes – not over your ears, not halfway down your jaw. The junction where the straps meet should sit right in that soft spot beneath your ear. When I first started riding, I had those straps sitting practically on my cheekbones, which felt secure but was completely useless for actual protection.
Here’s the chin strap tension part that trips up everyone, including me, for the first two years of mountain biking. It should be tight enough that you can only fit one finger between the strap and your chin – any looser and the helmet will shift during impact, any tighter and you’ll be gasping for air on long climbs. I learned this during a four-hour epic in Moab when my overly-tight strap nearly choked me out on every significant climb.
The back cradle adjustment is probably the most overlooked part of the whole system. That plastic dial or tension system at the back needs to cradle the base of your skull snugly without creating pressure points. I used to crank it as tight as possible, thinking tighter meant safer, but ended up with splitting headaches after every ride. The sweet spot is firm contact without that vise-grip feeling.
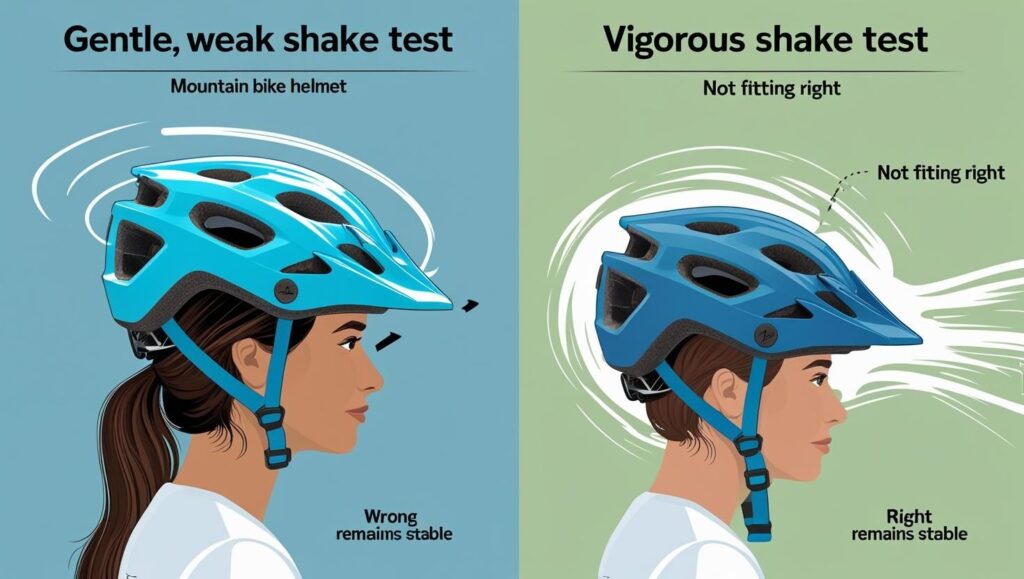
Now for the real test – the shake test and roll test that’ll tell you if you know what you’re doing. For the shake test, buckle everything up and shake your head vigorously side to side, then up and down. The helmet should move with your head as one unit, not sliding around independently. If it shifts more than about half an inch in any direction, something’s wrong with your adjustment.
The roll test is even more telling. With the chin strap unbuckled, tilt your head forward and try to roll the helmet off the back of your head. A properly positioned helmet should stick to your head and only come off with significant effort. If it slides off easily, you’re wearing it too high, or the back cradle isn’t adjusted correctly.
I also do what I call the “jaw test” – open your mouth wide like you’re yawning. The helmet should pull down slightly on your head when the chin strap tightens. If nothing happens, your strap is too loose and won’t do much good when you need it.
Getting all four points dialed takes patience and honestly feels weird at first if you’ve been wearing helmets wrong for years, like I was. But once you nail it, the helmet becomes part of your head instead of this annoying thing sitting on top of it.
Helmet Shape Compatibility and Head Geometry
I spent three years wondering why every helmet I tried felt like it was trying to squeeze my brain out through my ears before someone finally told me about head shapes. Turns out my skull isn’t just “difficult” – it’s genuinely oval-shaped, and I’d been cramming it into round helmets like trying to fit a football into a basketball hoop.
Most people’s heads fall into three basic categories, and knowing yours will save you tons of frustration and potentially unsafe compromises. Round heads are pretty much what they sound like – circular when viewed from above, with similar measurements front-to-back and side-to-side. Oval heads are longer front-to-back than they are wide, while intermediate oval falls somewhere between the two. The crazy part is that most Americans have oval or intermediate oval heads, but tons of helmet companies still design primarily for round shapes.
Figuring out your head shape is easier than you’d think, though I wish someone had shown me this trick years ago. Have someone take a photo of the top of your head while you’re looking straight down, or use a mirror if you’re flying solo. If your head looks roughly circular, you’re round. If it’s noticeably longer from front to back, you’re oval. Somewhere in between? Intermediate oval, it is.
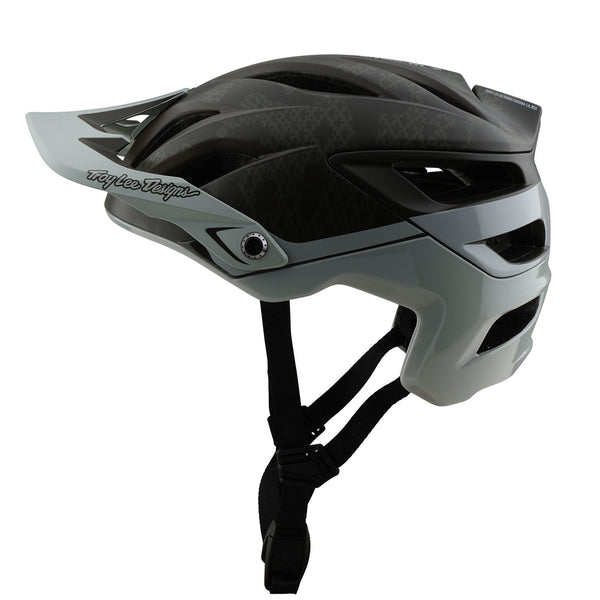
Here’s where brand knowledge becomes super important, and I keep notes on this stuff now because it’s impossible to remember. I’ve noticed that Troy Lee Design helmets tend to work great for oval heads, specifically A3, which, from experience know from test runs, it’s great for its safety standards. If I were to give it a try again, I would probably buy it; however, this was a run with a bike group, and I was handed it. From experience as a round-head, Bell leans more toward round shapes, though their newer models have gotten better for oval heads.
Specialized has some of the most accommodating designs I’ve tried, with their MIPS models working well across different head shapes. Troy Lee Designs tends toward the rounder side, while 100% and Fox seem to hit that intermediate oval sweet spot pretty consistently.
The safety issue here is real and not something to mess around with. When you force an incompatible helmet shape onto your head, you create pressure points and gaps that compromise protection. I used to get horrible headaches from my Bell because it was pressing hard on the sides of my skull while leaving gaps at the front and back. During a crash, those pressure points become stress concentration areas that can actually make injuries worse.
I watched my buddy struggle with this for months before switching from a round-shaped helmet to randomly appearing with a oval-shape. He went from constant discomfort and hot spots to forgetting he was even wearing a helmet. The difference in his confidence on technical sections was night and day.
Proper Helmet Positioning on Your Head
I used to wear my helmet pushed way back on my head like some kind of backwards baseball cap, thinking it looked more casual and less “dorky.” That illusion of coolness lasted right up until I went over the handlebars on a steep tech section and landed forehead-first on a pointy rock. Guess which part of my skull wasn’t protected? Yeah, the part that took the hit while my perfectly positioned helmet sat uselessly on the back of my head.
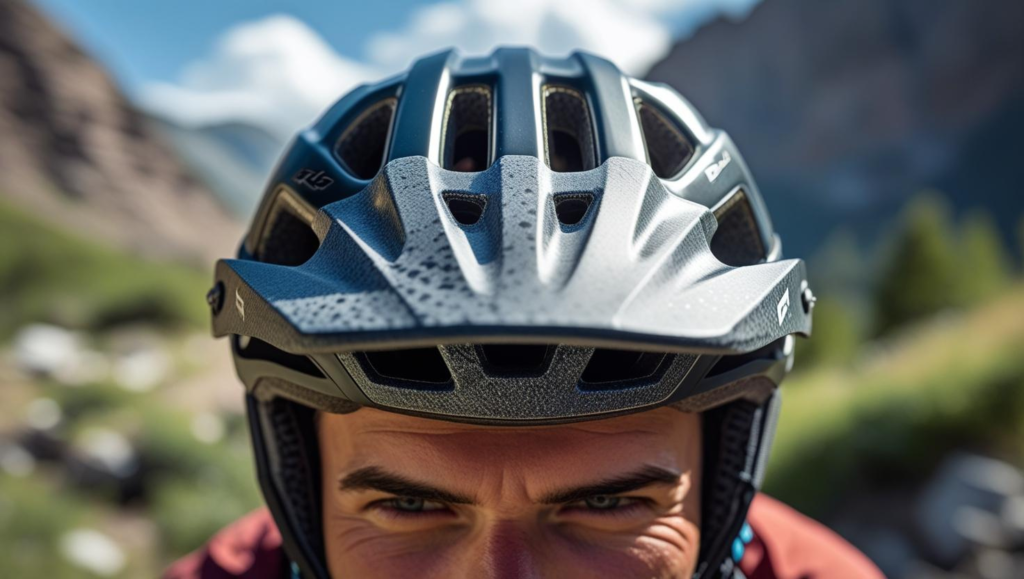
The front-to-back positioning is critical, and most riders get this wrong without even realizing it. Your helmet should sit low enough on your forehead that it’s almost annoying at first – like when you pull a beanie down too far. I’m talking about covering the top third of your forehead, which feels weird if you’re used to wearing it higher. The rule of thumb is that two-finger measurement I mentioned before, but honestly, erring on the side of too low is way better than too high.
Here’s where people mess up the “too low” part, though. I’ve seen riders push their helmets so far down that the front edge sits right above their eyebrows, blocking their vision when they’re in an aggressive riding position. That’s the “backwards cap” mistake in reverse – you’re trading one safety issue for another. If you can’t see trail obstacles clearly because your helmet is blocking your view, that’s a problem waiting to happen.
The sweet spot for forehead protection is covering about 80% of your forehead while still maintaining clear sightlines. When I’m in my normal riding position – slightly crouched with my head up scanning the trail – I should be able to see everything I need without the helmet rim creeping into my peripheral vision. This took me forever to dial in because it’s different for everyone based on head shape and riding style.
Vision versus protection is a constant balancing act that varies depending on the type of riding you’re doing. When I’m hitting jump lines or doing more aggressive downhill stuff, I position my helmet slightly lower because crashes tend to involve forward momentum and face-first impacts. For cross-country riding where I’m more upright, I can get away with positioning it a touch higher for better ventilation and visibility.
Your riding position matters more than most people think. If you’re one of those riders who stays upright on climbs but gets low and aggressive on descents, you might need to adjust your helmet position between different sections. I know that sounds crazy, but I’ve started doing quick adjustments on longer rides, especially when transitioning from fire road climbs to technical descents.
The back of the helmet positioning is just as important, but gets way less attention. The helmet should cover the base of your skull – that bony bump at the back of your head. I used to have mine sitting too high in the back, leaving the most vulnerable part of my skull exposed. During my rock-kissing incident, I was lucky the impact was in front, but it made me realize how exposed the back of my head was.
Here’s a trick that helped me nail the positioning: stand in front of a mirror and imagine drawing a line from the tip of your nose straight back over your head. Your helmet should cover everything above that imaginary line, with maybe a tiny bit of forehead showing below it. If you can see more than about an inch of forehead, you’re wearing it too high.
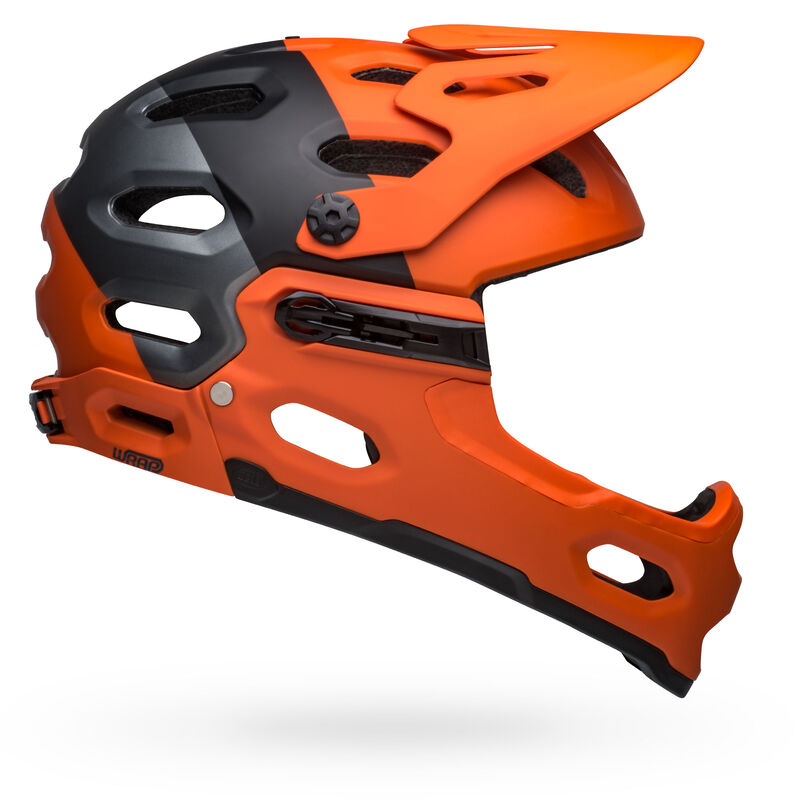
Different helmet styles require slightly different positioning, too. Full-face helmets sit lower overall, while lightweight XC helmets can get away with sitting a bit higher since they’re designed more for ventilation than full coverage. My enduro helmet sits noticeably lower than my cross-country helmet, and that’s intentional based on the different types of crashes I’m likely to have.
The positioning also affects how the chin strap sits, which circles back to that whole 4-point fit system. When the helmet is positioned correctly, the chin strap should naturally fall into the right spot under your jaw without feeling like it’s pulling the helmet forward or backward.
Common Helmet Fitting Mistakes and Red Flags
I’m embarrassed to admit how long I rode with a helmet that was basically just an expensive decoration sitting on top of my head. Looking back, there were so many obvious red flags that I completely ignored because I didn’t want to admit I’d wasted money on the wrong size. Yeah, I bought it from the thrift.
The too-loose problem is way more common than people think, and it’s sneaky because a loose helmet can feel comfortable for short rides. If you can grab your helmet with both hands and twist it side to side more than about half an inch while your head stays still, you’ve got a problem. I used to be able to literally rotate my helmet a full inch in either direction, which is terrifying when you think about what happens during a crash.
Another dead giveaway for loose helmets is the “bobblehead” effect. When you nod your head up and down, your helmet shouldn’t lag behind like it’s on a delay. I noticed this happening on technical climbs where I’d look up at the trail ahead and my helmet would sort of rock back and forth independently. That’s your brain bucket telling you it’s not actually connected to your brain. Funny enough, the same thing happened when I was in marching band with the shako helmet; it’s never good.
On the flip side, dangerously tight helmets create their own set of problems that I learned about the hard way. If you’re getting headaches within 30 minutes of putting your helmet on, or if you can see marks on your forehead after removing it, you’re squeezing too hard. I went through a phase where I thought “no pain, no gain” applied to helmet fitting, which was incredibly stupid in hindsight.
Here’s the “rock test” that should be every rider’s go-to helmet check, though it sounds weird when you first hear about it. Put your helmet on properly, buckle everything up, then gently rock your head forward until you’re looking straight down. Your helmet should stay put on your head, not slide forward toward your nose. If it shifts more than maybe a quarter inch, your positioning or retention system needs work.
The chin strap itself gets messed up constantly too. If you can fit more than one finger between the strap and your chin, it’s too loose. If you can’t swallow comfortably or feel like you’re being choked, it’s too tight. I used to ride with my chin strap so loose I could probably fit my whole fist under there, thinking it was more comfortable. Comfort doesn’t matter much when your helmet flies off during a crash.
Sometimes you just have to admit defeat and accept that a particular helmet doesn’t work with your head shape. This was the hardest lesson for me to learn because I’m stubborn and hate returning gear. I fought with a Bell Super 3R for months, trying every adjustment trick in the book, before finally accepting that my oval head and that round helmet were never going to be friends.
The financial sting of admitting a helmet doesn’t fit is real, but it’s nothing compared to the potential cost of riding with inadequate protection. I’ve seen too many riders stick with ill-fitting helmets because they didn’t want to eat the cost of a replacement. That’s backwards thinking that puts your brain at risk to save a few hundred dollars.
Hot spots that don’t go away after several rides are another red flag that means the helmet shape just isn’t compatible with your skull geometry. I used to think I could “break in” a helmet like a pair of hiking boots, but foam padding doesn’t really change much over time. If it’s creating pressure points when new, those pressure points are probably permanent.
Testing Your Helmet Fit for Trail Safety
Alright, let’s talk about actually testing your helmet fit because I learned the hard way that trying it on in the store for thirty seconds tells you absolutely nothing about real-world performance. I thought I had the perfect fit until I took my “perfectly sized” helmet on a three-hour ride through Moab’s slickrock and ended up with a splitting headache and a helmet that had shifted so much I looked like I was wearing it backwards.
The shake test everyone talks about is just the beginning, and most people do it wrong anyway. Yeah, you shake your head side to side, but you need to really go for it – like you’re headbanging at a metal concert or trying to get water out of your ears. I’m talking about vigorous movement that actually simulates what happens when you hit a root or rock wrong and your head gets jerked around. If your helmet moves independently from your head during this test, you’re gonna have problems on the trail.
The vertical movement check is just as important but gets overlooked constantly. Nod your head up and down like you’re aggressively agreeing with someone, then tilt it all the way back like you’re gargling mouthwash. Your helmet should follow your head movements exactly, not lag behind or slide around. I used to have this issue where my helmet would creep forward every time I looked down at technical sections, which is exactly when you need clear vision most.
Here’s where things get real though – you need to simulate actual crash scenarios, which feels weird but is necessary. Get down on your hands and knees and gently lower your head toward the ground like you’re doing a really slow push-up. Your helmet should make contact with the ground before your face does, and it shouldn’t shift or rotate when it touches down. This test saved me from buying a helmet that would’ve left my face completely exposed during a forward crash.
The peripheral vision test is crucial and something I completely ignored for way too long. Put your helmet on and look straight ahead, then slowly move your eyes to the far left and right without turning your head. You should be able to see clearly in all directions without the helmet rim cutting into your field of view. I once rode with a helmet that created these annoying blind spots that made me miss trail markers and obstacles that were slightly off to the side.
Here’s one of my favorite ones, testing comfort during extended sessions is where most people fall short because nobody wants to wear a helmet around the house for three hours. But here’s the thing, what feels fine for 20 minutes can turn into absolute torture after two hours of riding. I started doing “couch tests” where I’d wear new helmets while watching movies or working on my bike. Sounds ridiculous, but it’s way better than discovering pressure points halfway through an epic ride.
“Good enough” is a dangerous mindset with helmet fitting, and I was guilty of this for years. I kept telling myself that my helmet was “close enough” even though it had a few minor issues. But here’s the reality – helmets only work when they fit properly. A helmet that’s 90% correct isn’t 90% as safe; it might be completely useless when you actually need it.
The movement simulation test is something I developed after watching too many crash videos. Put your helmet on and then rapidly turn your head like you’re checking for traffic at a busy intersection. The helmet should move as one unit with your head, not independently. If there’s any delay or sliding, that’s what’s gonna happen when you get bucked off your bike and your head whips around.
I also do what I call the “distraction test” now. Wear your helmet while doing something that requires concentration, like reading or working on detailed tasks. If you find yourself constantly adjusting the helmet or getting distracted by pressure points, that’s gonna be a huge problem on technical trail sections where you need 100% focus.
The chin strap integrity test is often overlooked but super important. With everything adjusted properly, try to pull your helmet off by grabbing the back of it and pulling forward. You shouldn’t be able to remove it without unbuckling the chin strap first. If the helmet slides off or rotates significantly, your strap tension or positioning needs work.
One last reality check that I do with every new helmet: I ask myself honestly if I could wear this thing for my longest typical ride without thinking about it. If the answer is no, then it’s not the right helmet, no matter how good the reviews are or how much I paid for it.
When to Replace or Refit Your Helmet
I’ve rode with a used Bell Helmet on and off almost five years before I realized my head had literally changed shape and the helmet that once fit perfectly was now a safety hazard. It’s weird to think about, but your skull actually changes over time, and what worked when you hit trails at 15 fits much differently at 20. I only figured this out when I tried on that bike helmet at Conte’s Bike Shop.
Age does funky things to your head shape that nobody really talks about. I’ve lost some hair over the years, which affects how helmets sit, and apparently my skull has gotten slightly wider while becoming less prominent in the back. My current measurement is a full centimeter larger than it was when I bought that Bell, even though my weight has stayed pretty much the same. It’s like my head decided to spread out horizontally instead of growing vertically.
Weight fluctuations mess with helmet fit more than you’d expect too. When I put on about 5 pounds during a particularly lazy winter, my helmet suddenly felt tight in weird places. Turns out when you gain weight, it doesn’t just go to your gut, your face and head change shape too. I had to loosen my retention system by several clicks and even swap out some padding to accommodate my temporarily chubbier skull.
Here’s something that took me way too long to notice: wear patterns that show your helmet isn’t fitting right. I started seeing uneven compression in the foam padding, with some areas completely flattened while others looked brand new. That’s a dead giveaway that pressure distribution is all wrong, which means the helmet isn’t making proper contact with your head in key areas.
The padding itself becomes a fitting issue over time. After a couple years of regular use, the foam gets compressed and the fabric gets stretched out. What started as a snug, comfortable fit gradually becomes loose and sloppy without you really noticing the change. I now focus on the padding of a bike helmet when it comes to my attention.
Strap stretch is another sneaky problem that develops slowly. Those chin straps and side straps gradually lose their elasticity, which affects how the helmet sits and how well the retention system works. I’ve had straps get so stretched that I couldn’t tighten the helmet properly even with the retention system cranked all the way down.
Technology changes in helmet design also mean that older helmets might not fit as well as newer options, even if they’re the same size. MIPS systems, different foam densities, and improved retention designs can make a five-year-old helmet feel ancient compared to current models. My old helmet’s retention system was basically just a plastic ring, while my new one has multiple adjustment points and much better pressure distribution.
The “start fresh” decision point is different for everyone, but there are some clear indicators. If you find yourself constantly adjusting your helmet during rides, if you’re getting pressure points that didn’t used to be there, or if the helmet feels noticeably different than when you first got it, it’s probably time to move on.
I also pay attention to how I feel about my helmet safety-wise. If I’m starting to question whether it’s protecting me properly, or if I’m hesitating before technical sections because I don’t trust my gear, that’s a red flag that goes beyond just fit issues. Confidence in your equipment matters more than most people realize.
Seasonal changes can also highlight when a helmet needs replacement. If you notice that your winter setup with a skull cap underneath no longer works right, or your summer configuration feels wrong, it might be because the helmet has changed rather than your head gear preferences.
The financial aspect of helmet replacement sucks, you’re spending over $100 at times, but I’ve learned to think of it as crash insurance rather than just gear replacement. A helmet that doesn’t fit right isn’t really protecting you, so continuing to ride with it is false economy. I’d rather spend money on a new helmet than medical bills from a preventable injury.
One last thing I watch for is how the helmet looks from the outside. If it’s sitting visibly wrong on my head – too high, tilted weird, or just looking off in photos – that’s usually a sign that something has changed with either the helmet or my head shape that needs addressing.
Conclusion
Getting your mountain bike helmet fit right isn’t just about comfort—it’s about ensuring your helmet can do its job when you need it most. Remember, even the most advanced MIPS technology and highest safety ratings mean nothing if your helmet shifts during impact or doesn’t stay securely positioned on your head.
Take the time to properly measure, adjust, and test your helmet fit using the techniques we’ve covered. Your future self will thank you for prioritizing this crucial safety step. If you’re in the market for a new helmet, check out our comprehensive reviews of the best mountain bike helmets for 2025, where we’ve tested fit alongside safety and performance.
Stay safe out there, and remember: the best helmet is the one that fits you perfectly and that you’ll wear on every single ride!