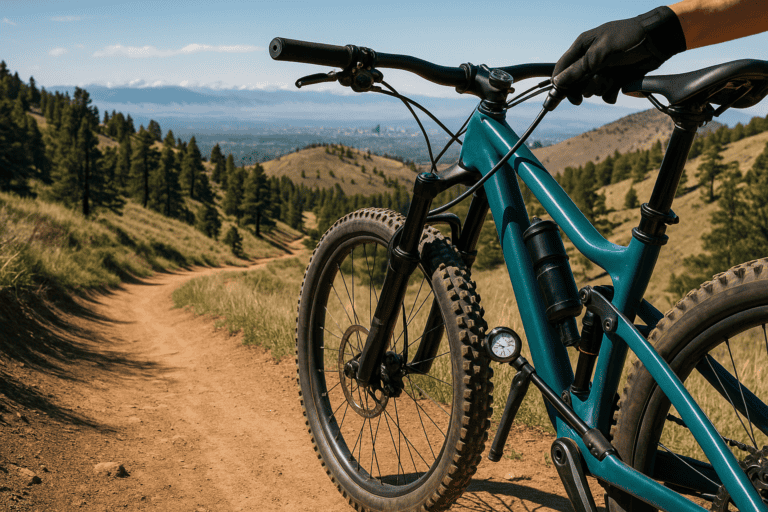
A frame bag is a storage bag that fits inside your bike’s main triangle, giving stable, low-center-of-gravity cargo space for trail rides and bikepacking MTB adventures. I also discuss mountain bike backpacking separately. Unlike saddlebags or handlebar rolls, a mountain bike frame bag occupies unused frame volume and keeps weight centered for better handling. They’re useful for carrying things and are essential for a multitude of travel and water bottles when necessary.
Frame bags ride low and centered, improving balance versus saddle and handlebar bags that can sway or affect steering. They also beat backpacks for comfort by removing shoulder pressure and reducing sweat, while offering better organization than jersey pockets. I’m Caleb a mountain biker who loves all different types of trails but notably focuses on singletrack.
Below, I discuss why and what to think about when carrying frame bags.
When To Use (Day rides, Enduro, Bikepacking)
Use a frame bag for day rides to carry tools, a pump, snacks, and an extra layer without a pack. Enduro riders benefit from centered weight and quick access to spares between stages, keeping the bike nimble. For bikepacking MTB trips, a full-frame or half-frame setup maximizes capacity for food, water, and heavy items while maintaining stable handling over rough terrain.
Benefits of Using a Frame Bag on the Trail
A well-fitted MTB frame bag will boost handling over a rear rack. It increases capacity without adding draggy external packs or compromising body movement. It also distributes essentials across the bike, reducing back strain and keeping hydration and tools within easy reach.
Weight Distribution + Handling
Placing dense items, such as water and tools, inside a frame triangle bag lowers the center of mass, making climbing and cornering feel more predictable. On descents, centralized weight reduces that floppy look of your bike.
Frame bags create rectangular, packable space that is easier to organize than cylindrical bar rolls. A side zip opening allows quick access to snacks, layers, or tools without unpacking the whole system. Pieces such as dividers and pockets help prevent rattling and keep small items from sinking to the bottom.
Comfort Vs Backpacks
By moving weight from your back to the bike, you minimize sweat, shoulder fatigue, and pressure points. This is especially noticeable on hot days and long climbs when backpacks feel cumbersome. Many riders find they ride longer and recover faster when the load is off their body.
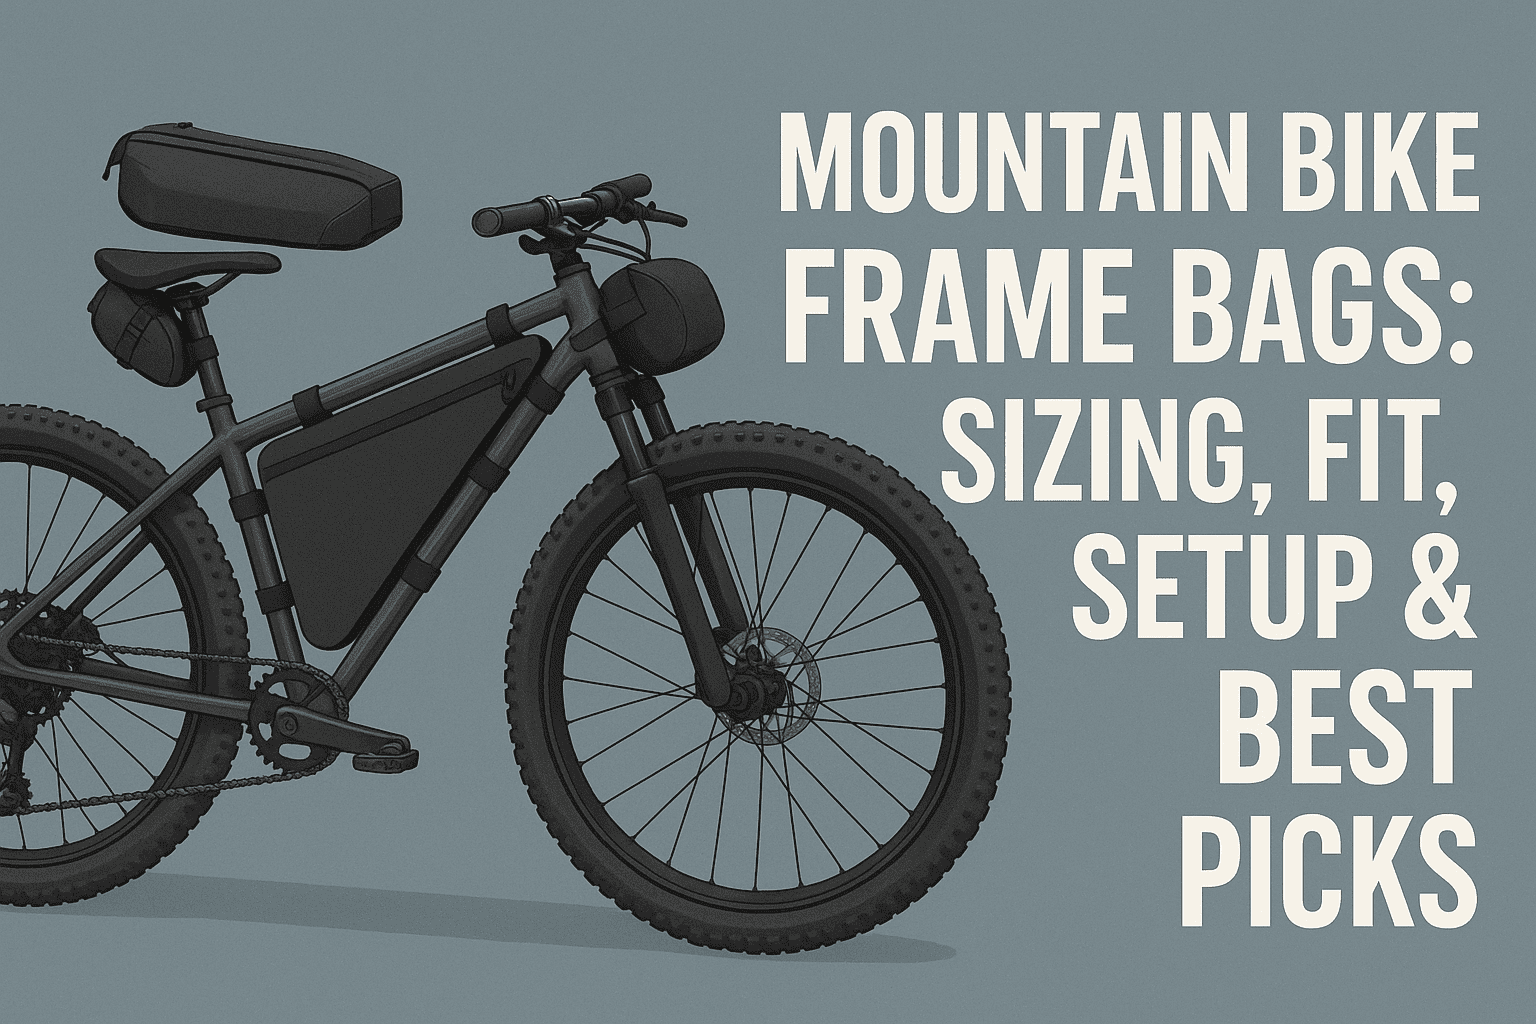
Types of MTB Frame Bags
MTB frame bags come in full-frame, half-frame, and partial designs, with strap-on or bolt-on mounting styles. Like a screw.
Custom-fit frame bag MTB options maximize space and eliminate rub points. Choose based on frame design, suspension type, and storage needs.
Full-frame
Full-frame bags fill the entire main triangle for maximum capacity, ideal for bikepacking, MTB or long trailing. They often include internal dividers and hydration ports for bladders. Note that you may lose internal bottle space, so factor in alternative hydration strategies.
Half-frame
Half-frame bags occupy the top half of the triangle, maintaining at least one bottle cage on the downtube. They balance storage, making them popular for day rides and endurance racing. This is often the best frame bag for mountain bike riders who want versatility with minimal interference.

Wedge/partial
Wedge or partial bags fit small triangles or tight spaces around shocks and linkages. They’re ideal for a full-suspension frame bag where room is limited. While capacity is lower, they carry essentials without affecting suspension or knee clearance.
Bolt-on vs strap-on
Bolt-on bags use threaded bosses on the top tube or downtube for a cleaner, more secure mount. Strap-on bags are universally compatible and easy to move between bikes, but may require protective tape to prevent rubbing. Bolt-on models reduce sway and allowing removal.
Custom-fit options
Custom bags are tailored to your exact frame triangle and routing, yielding better capacity, fit, and stability. They can accommodate shock placement, cable ports, and bottle mounts with precision. This route is excellent for full-suspension bikes or unusual geometries.
Materials and Key Features
Durable, water-resistant fabrics with reinforced wear zones are essential off-road. Prioritize waterproof frame bag options for wet climates and muddy trails. Look for quality zips, secure mounting, and smart organization.
Waterproofing and weather resistance
Most bags are highly water-resistant, but truly waterproof models use welded seams and roll-top closures. For persistent rain or river crossings, choose a waterproof frame bag or use drybags inside. Reproof DWR periodically and keep critical electronics in sub-sacks.
Zippers vs Roll-Top
Water-resistant zippers give fast access but require care to avoid grit-induced wear. Roll-top designs excel for waterproofing and compression, but can be slower to open on the trail. Dividers, mesh pockets, and hydration/cable ports keep gear organized and hydration hoses routed cleanly.
Frame protection interfaces
Look for soft, grippy contact patches, hypalon reinforcements, and rub guards at all strap points. Non-slip interfaces reduce sway and protect paint and carbon layups. Pair with frame tape to create a durable, quiet setup.
Installation and Frame Protection
Proper mounting improves stability and prevents damage. Follow torque basics for bolt-on hardware and protect contact points for strap mounts. Re-check tightness after the first few rides.
Mount Types
Place straps at tubes’ widest points and near tube junctions to minimize movement. Verify all straps lie flat, with tails secured to avoid snags.
Guards and Abrasion Prevention
Apply clear frame tape or heli-tape under every strap and high-wear panel before installation. Add extra patches where zippers or corners could touch the frame under load. Inspect after gritty rides and replace tape as needed to prevent long-term abrasion.

Noise Reduction and Securing Cargo
Pack dense items tightly and use internal sleeves or pouches to prevent rattles. Fill voids with soft items like a wind jacket to dampen vibrations. Compress the bag evenly so it doesn’t bulge into the knees or cables.
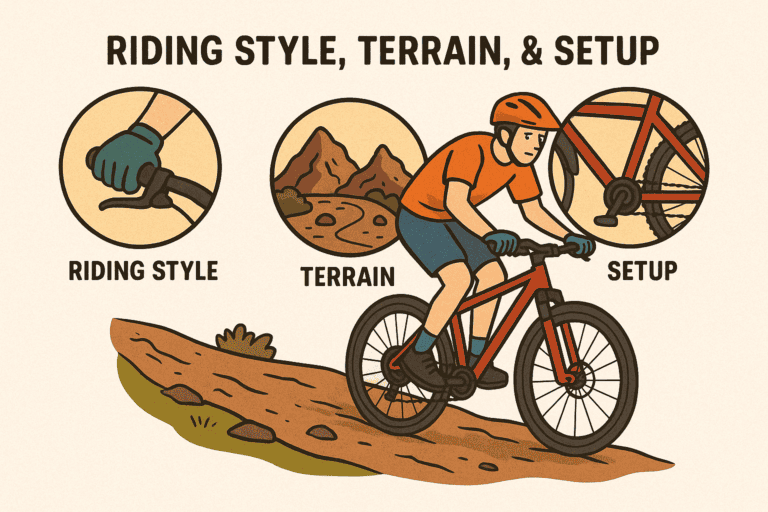
Ride Dynamics and Technique Adjustments
Expect slightly calmer handling thanks to centralized weight, with minor inertia increase during quick bike flicks. Practice body english with the added mass to stay precise in choppy sections. Rehearse on familiar trails before a race or trip.
Climbing, descending, tight turns
Climbs feel more planted, but keep cadence smooth to avoid pedal strikes if the weight is low. On descents, the bike tracks straighter; look ahead and commit to lines, letting the mass carry momentum. In tight turns, initiate earlier and keep your upper body relaxed to maintain flow.
Drops, jumps, and rough terrain
Secure cargo prevents kickback on landings, so ensure straps are tight and contents compressed. The extra mass helps stability but may require slightly more preload in manuals and pop. Spot landings and absorb with legs to keep the frame from contacting the bag.
Dropper post considerations
Frame bags don’t affect droppers directly, but ensure hoses and remotes aren’t pinched at full compression. With more mid-frame bulk, avoid swinging knees inward aggressively on steep rolls. Practice full-drop body positions to verify clearance.
Maintenance and Care
Regular cleaning and zip care extend lifespan and keep performance consistent.
Address grit before it abrades fabrics or frames. Dry thoroughly to prevent mildew and delamination.
Rinse with low-pressure water and use a soft brush to remove grit from seams and straps. Avoid harsh detergents that strip DWR; use mild soap if needed. Let the bag drip-dry before storage or re-installation.
Zipper Care and Reproofing
It’s important to brush dirt from zipper teeth and apply zipper lube or wax as recommended by the manufacturer. When finding out water beading fades, refresh with a spray-on treatment after a gentle wash. Inspect pulls and sliders, replacing them before a failure strands you trailside.
Open zips and roll-tops wide and air-dry away from direct heat to protect adhesives. Store empty and loosely closed in a cool, dry space to maintain fabric shape. Quality bags last for years with periodic tape replacement at rub points.
Troubleshooting and Common Mistakes
Most issues arise from poor fit or loose packing. Address contact points early to prevent damage. Re-test after changes to suspension or cockpit.
Knee Rub and Contact Points
If the knees touch the bag, reduce the width with compression straps and shift contents lower. Choose slimmer profiles or custom cuts for tight Q-factors and aggressive pedaling. Check riding stance and widen knees slightly on steep efforts if needed.
Zipper Jams and Failures
Prevent jams by not overstuffing and by keeping zipper paths free of hard edges. Clean teeth after dusty rides and use lube to maintain smooth action. If a slider spreads, gently pinch it back or replace it before the next big ride.
Sway indicates loose straps or poor load distribution, so retighten and repack dense items low. Add frame tape and hypalon patches under high-load straps to stop scuffing. Consider bolt-on mounts for a permanent, sway-free solution.
Interference with Cables and Suspension
Reroute straps away from hoses and leave slack at the bar turn and full compression. Verify clearance with the shock fully compressed and fork bottomed out where applicable. Trim strap tails and secure them to avoid snagging on linkages.
Best Frame Bags for Mountain Biking (by Use Case)
Choosing the best frame bag for mountain bike riding depends on terrain, weather, and space. Look for reputable makers offering templates, robust fabrics, and strong warranty support. Examples include Revelate Designs, Apidura, Ortlieb, Oveja Negra, Rogue Panda, and Topeak.

Rugged/technical trails
Select a half-frame or wedge with hypalon reinforcements and stiff side panels to resist rub and sway. Prioritize bolt-on compatibility to reduce movement on rock gardens and drops. Models with protected zippers and abrasion panels excel in sharp, gritty environments.
Lightweight day rides
Choose a slim half-frame or partial bag that holds essentials without changing bike feel. Minimalist designs with one main zip and internal organizers keep weight low and access fast. A compact 1–2L capacity is ideal for tools, snacks, and a light jacket.
Maximum capacity setups
Opt for a full-frame bag with internal dividers and bladder sleeve to carry dense loads safely. Ensure side zip access and multiple compartments to distribute weight evenly. Pair with side-entry cages elsewhere or plan for full bladder-based hydration.
Wet-weather options
Pick welded-seam, roll-top or fully waterproof zip models rated for persistent rain. Add coated zippers, storm flaps, and sealed cable ports to keep contents dry. Use internal drybags as a second layer for critical electronics and spare clothes.
Budget picks
Look for durable Cordura construction, solid stitching, and wide, non-slip straps at lower price points. Avoid overly soft bags that sag under load, as they’ll rub and sway. A simple half-frame with a single compartment often delivers the best value.
Accessories to Pair with Frame Bags
Supplement your frame triangle bag with small add-ons for access and organization. Keep most mass in the triangle and use accessories for quick grabs. Ensure all mounts clear knees and don’t interfere with steering.
Top-tube (gas tank) bags
A top-tube bag keeps snacks, phone, or a small camera instantly accessible. Low-profile, bolt-on versions minimize knee rub and stay quiet. Weather-resistant zips and cable ports are helpful for on-the-go charging.
Stem/Feed bags
Stem bags carry bottles, lenses, or snacks where you can reach them one-handed. Choose stiff collars and drain holes to handle dust and rain. Keep them tight to the bar to avoid bar-spin interference on tight switchbacks.
Tool Rolls and Strap Kits
Use a minimal tool roll under the saddle or on the downtube to separate greasy spares. Voile-style straps secure pumps or tubes externally when internal space is tight. Protect contact points with rubber sleeves to prevent scuffs.
Hydration bladders and hose ports
Pair a low-profile bladder with your bag’s internal sleeve and route the hose through a dedicated port. Use a magnetic bite-valve keeper on the bar for quick sips. In freezing temps, insulate the hose and stow the valve inside the bag between sips.
Seasonal and Weather Tips
Adapt packing and materials to the season to protect gear and handling. Weather-aware adjustments keep access easy and equipment safe. Revisit your setup as conditions shift.
Heat and dust
Prioritize breathable organization, easy-clean zips, and salt-resistant hardware. Keep electronics in dustproof pouches and wipe zipper teeth frequently. Carry extra fluids and salt tabs, using a bladder for steady intake.
Rain and mud
Use waterproof or highly water-resistant bags with welded seams and storm flaps. Double-bag electronics and dry layers, and wipe mud before zipping to avoid jams. Add generous frame tape to protect against grit-driven abrasion.
Winter and freezing conditions
Prevent frozen zips with silicone zipper lube and keep the bite valve tucked inside the bag. Pack chemical hand warmers near batteries to maintain function. Choose roll-top closures if zippers become unreliable in deep freeze.
Sample Loadouts
Dial your load for distance and conditions, keeping heavy items low. Separate quick-access from deep storage to minimize stops. Always carry the tools and spares needed for self-recovery.
Minimal day ride
Carry a tube, plugs, CO2 or pump, multitool, levers, a bar, and a wind shell. Add a phone, ID, and small first-aid kit in a zip pocket or pouch. Use one bottle on the frame and keep weight centered low in the bag.
All-day trail ride
Pack tools, two tubes (or tube plus Dynaplug Megaplugs), mini-pump, chain links, and lube. Add 1–1.5L bladder, 800–1200 kcal of food, a warm layer, and lights. Include a power bank, cable, and small repair tape strip for sidewall cuts.
Overnight MTB bikepacking
Carry full repair kit, 2–3L water capacity split between bladder and bottles, and dense food. Put electronics and maps up high, with tools and water low; stash stove and cookware in other bags. Keep sleep kit off the frame to preserve handling and use the triangle for heavy items.
FAQ
Are frame bags good for mountain biking?
Yes, frame bags are excellent for MTB because they keep weight low and centered, improving handling versus bar or saddle loads. They increase storage without adding bulk to your body or affecting aerodynamics significantly. With proper fit and protection, they remain quiet and durable on rough trails.
Will a frame bag affect suspension or handling?
A correctly fitted bag should not interfere with suspension, but you must check shock and linkage clearance through full travel. Handling typically improves thanks to centralized mass, though the bike may feel slightly more inert when flicking side to side. Test on familiar trails and adjust packing to refine feel.
Can I use a frame bag on a full-suspension bike?
Yes, choose a half-frame or wedge/partial design that avoids contact with the shock and linkages. Many brands offer templates and custom cuts to work around complex geometries. Verify clearance with the shock fully compressed before riding.
What size frame bag do I need for my MTB?
Measure your frame triangle and compare to brand templates rather than relying on generic sizes. Pick capacity based on ride length and hydration strategy, not just maximum volume. For most riders, a 2–4L half-frame covers daily use, while full-frame suits bikepacking.
Are frame bags waterproof or just water-resistant?
Most are water-resistant with coated fabrics and water-resistant zippers, which handle light rain. Truly waterproof models use welded seams and roll-top closures or waterproof zips. For critical items, use internal drybags regardless of the bag’s rating.
How do I stop a frame bag from rubbing my frame or knees?
Apply frame tape under straps and high-contact zones, and choose bags with hypalon patches. Compress contents so the bag doesn’t bulge outward into your knees. Fine-tune strap tension and consider bolt-on options for a slimmer, rub-free profile.
Can I run a hydration bladder inside a frame bag?
Yes, many bags include bladder sleeves and hose ports for clean routing. Keep the bladder low for balance and separate it from sharp tools. In cold weather, insulate the hose and store the valve inside to prevent freezing.
Frame bag vs backpack: which is better for MTB?
Frame bags reduce back fatigue and sweat while improving bike balance, making them preferable for most rides. Backpacks remain useful for very quick access, more fluid capacity, or when swapping between bikes. Many riders combine a small frame bag with a minimal hip or pack for the best of both worlds.
Conclusion
Frame bags and mountain biking pair perfectly by centralizing weight, improving handling, and boosting on-bike storage. Choose the right style and size for your frame, protect contact points, and pack heavy items low. Measure your triangle, confirm clearances, and start with a half-frame for versatile, everyday use before scaling to full-frame for bikepacking.