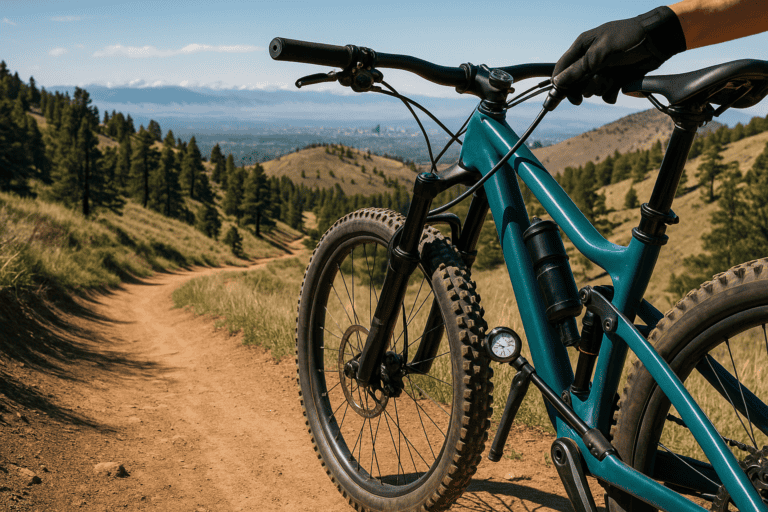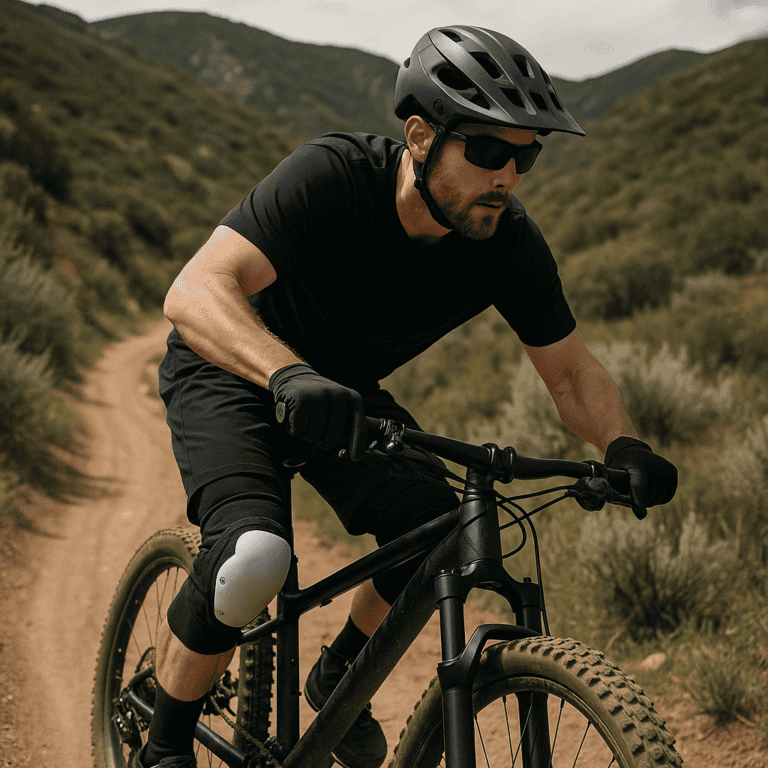
Have you ever gotten your trail bike stuck without a mini bike pump on a couple of rocks and realized you were low on air?
Specific right? Well, I’ve been in the situation many times, and bringing my full pump isn’t very convenient. A mini bike pump is the most reliable way to keep rolling when mountain biking far from the trailhead. It’s just as trivial as having the best high lumen mountain bike lights in your bag as well.
Use this guide to choose the right pump, learn efficient trail techniques, and carry a setup that keeps flats from ending your ride.
Why Every Mountain Biker Needs a Mini Pump
A mini pump prevents long walks to the air station at the start of the trail and ride-ending flats by letting you fix punctures and re-inflate tires anywhere. It’s like heaven.
Even when you plug a hole or swap in a tube, you still need air to get back to safe riding PSI. It’s the one tool that always works, even when conditions are cold, wet, or unpredictable.
Carrying both a pump and CO2 covers speed and redundancy without much extra weight.

Types of Mini Bike Pumps for MTB
High-volume pumps move more air per stroke for wide MTB tires, while high-pressure pumps are aimed at narrow, high-PSI road setups.
As a mountain biker, I typically want a high volume of air to reach trail pressures faster without excessive pumping. Or in the best situation, many mini pumps auto-pump for you.
Pumps come with or without gauges; an integrated gauge helps you hit target PSI, though external gauges can be more accurate with typically a notch showing how much is in the tire.
CO2 inflators are fast but one-shot, mini pumps are reliable and unlimited, and hybrid units combine both in one tool for the best of both worlds.
Key Features to Look For
Prioritize valve compatibility with both Presta and Schrader, plus support for removable valve cores to avoid accidental unscrewing. Look for a pump head that locks securely, swivels to prevent torque on the valve, and offers a flexible hose of useful length.
Choose a pressure range matched to MTB (30–50 psi for most needs) and favor high volume per stroke to reduce time and fatigue.

Durability matters, so metal barrels, quality seals, and dust caps keep grit out and extend service life.
Consider size, weight, and clean mounting options under a bottle cage or inside a pack to ensure you actually bring it every ride.
How to Use a Mini Pump on the Trail (Step-by-Step)
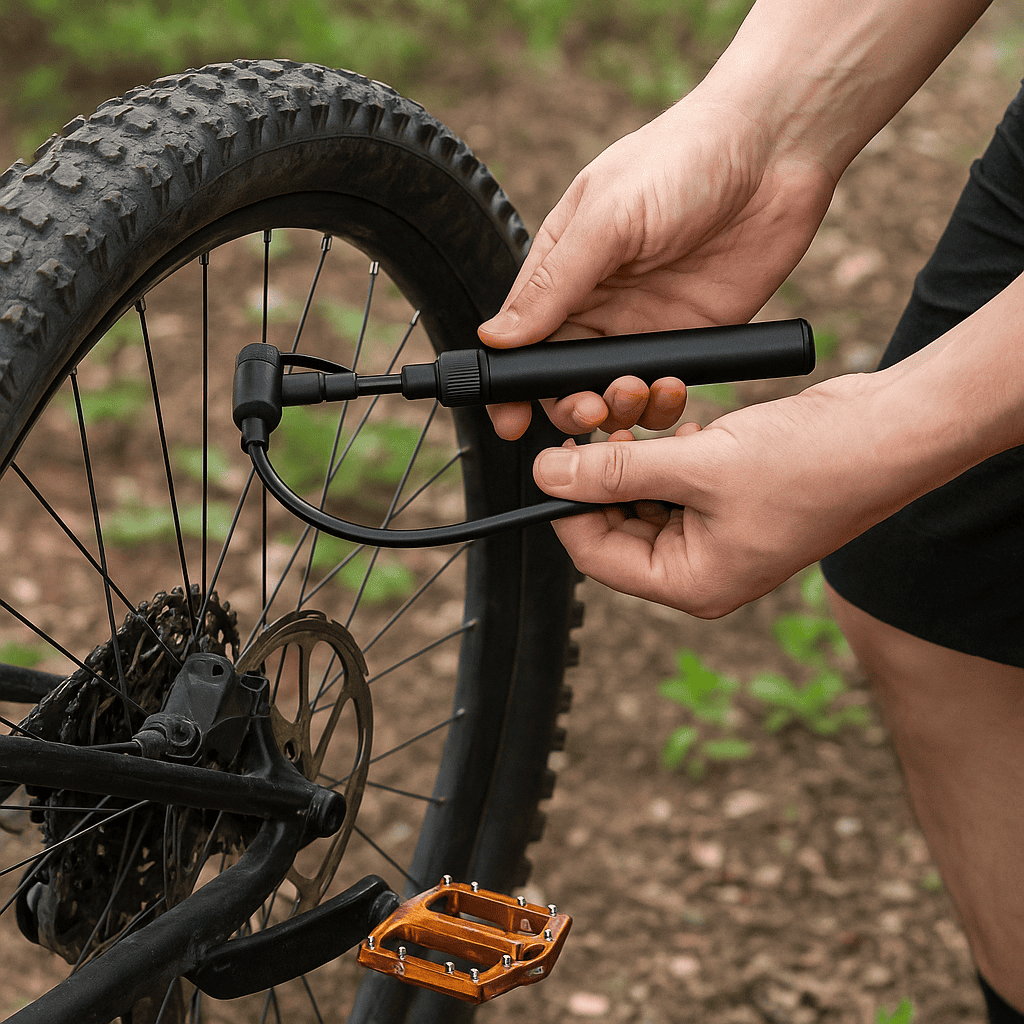
Prep the valve by removing the cap, ensuring the Presta core is snug, and unscrewing the Presta tip before attaching; with Schrader, remove any debris and ensure a clean seat.
Attach the pump head straight and gently, lock it without twisting the valve, and use a hose if available to keep side loads off the stem. Pump with arms straight and core engaged, bracing the wheel or frame, and use a smooth cadence to avoid overheating; check PSI with the integrated gauge, a separate low-pressure gauge, or by feel if needed.
Here’s a great video on how to do it.
Use CO2 first for speed in races or cold weather, then top off or adjust with the pump later to avoid CO2 fade. For tubeless beads, a mini pump won’t typically pop a loose bead from fully unseated, but it can reseat a minor burp if the tire and rim fit tightly; massage the bead into the rim channel and use sealant to help it grab.
Carry tubeless plugs, a patch kit, a spare tube, and a tire boot so you can fix anything from pinholes to sidewall cuts. Bring sturdy tire levers, a multi-tool, and quick links so your repair capability extends beyond just inflation.
Add a CO2 cartridge and inflator head as a fast backup, plus a small rag and lightweight gloves to handle sealant and keep your hands clean and protected.
If you hear hissing or see slow inflation, reseat the head, check the locking lever, and verify the valve core is tight. Avoid unscrewing Presta valve cores by using a hose head, not overtightening the lock, and keeping the head aligned straight when removing. Be cautious with built-in gauges, as many read high or low; cross-check with a known-accurate low-pressure gauge to avoid over- or under-inflation.
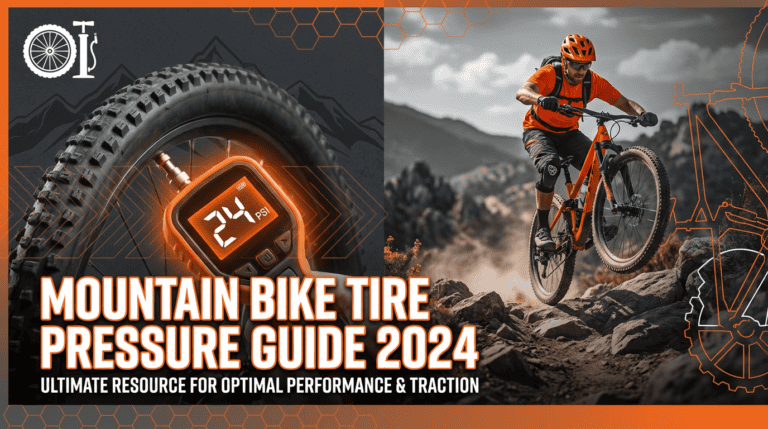
Recommended PSI Ranges for MTB Tires
When discussing recommended tire sizes, which are typically 2.5 inches, they usually run around 18–24 psi, balancing grip and rim protection.
Slightly common on the trails around me, depending on if there’s a trail park, enduro and downhill tires (2.4–2.6″) often sit in the 16–22 psi range, with tougher casings tolerating lower pressures for traction.
Plus and fat tires (2.8″+) commonly run 10–16 psi, with larger sizes needing less pressure for support. Heavier riders add a few psi, lighter riders can drop a bit, I’m personally in the middle. Always fine-tune based on feel, casing stiffness, and local trail conditions.
Best Mini Bike Pumps for Mountain Biking (Top Categories)
A budget high-volume pump should offer metal internals, a simple lock head, and enough barrel diameter to move air quickly without breaking the bank.
A compact pump with a hose protects your valve stems, packs easily, and inflates faster with better ergonomics than tiny direct-mount designs. If you want precision, choose a pump with an accurate gauge, ideally a low-pressure optimized or digital one, so you can fine-tune trail psi reliably.
A CO2 hybrid pump combines speed and redundancy, giving you instant inflation plus unlimited backup without carrying two separate tools.
An ultralight emergency option is great for racers and minimalists, but be realistic about the extra strokes required for 2.4–2.6″ tires. A durable, serviceable premium pump with rebuild kits, metal barrels, and replaceable seals costs more up front but lasts for years of hard trail use.
FAQs
Can a mini pump seat a tubeless tire? In most cases, no—mini pumps generally cannot deliver the rapid air volume needed to pop a loose bead onto the rim. They can, however, handle small burps and reinflate after plug repairs if the bead is mostly seated and sealant is present. For fully unseated beads, use a floor pump with a charge chamber, a compressor, or a CO2 blast as a last resort.
How many strokes to reach trail PSI? Expect roughly 100–300 strokes for common 2.3–2.6″ MTB tires depending on pump volume and target pressure. High-volume and dual-action designs reduce stroke count significantly compared to tiny ultralight models. Practice at home so you know your pump’s stroke count to 18, 20, and 24 psi.
Is a road mini pump OK for MTB tires? Road mini pumps prioritize high pressure over volume, which makes them slow and frustrating on big MTB casings. They can work in a pinch, but you’ll spend far more time and effort to reach rideable PSI. Choose an MTB-focused high-volume pump for faster, safer inflation.
Do I need a gauge on a mini pump? A gauge is convenient on the trail and helps avoid trail feel guesswork, especially when swapping tubes or after CO2 use. Built-in gauges can be off by a few psi, so verify occasionally with a standalone low-pressure gauge. If you skip the gauge, learn your tire’s firmness by hand feel and rim strike feedback.
Presta vs Schrader: what should I carry? Most MTB rims use Presta, but many pumps handle both Presta and Schrader with a reversible or auto head. Carry a pump compatible with both to help friends and cover all bikes, and ensure it won’t unscrew removable Presta cores. If your rims are Schrader, confirm the pump seals well at lower pressures common to MTB.
Final Thoughts
A good mini pump is one of the most underrated tools in mountain biking, and when you’re miles from the trailhead and sitting on soft tires, it instantly becomes the most important piece of gear you carry. As I’ve learned about the different tire types, the right pump keeps you moving, protects your rims, and turns a potential 911 call or emergency switch into a quick fix.
By choosing a pump that matches your tire volume, preferred PSI, and riding conditions, and pairing it with a fine fix. You’re prepared for anything the trail throws at you. Mini pumps don’t seem necessary until they do.
At the end of the day, a reliable pump isn’t just about convenience; it’s about independence, confidence, and keeping your ride alive. Pack smart, know your tools, and you’ll spend more time riding and less time walking your bike out of the woods.