I’m sure seeing this article you’ve had the issue before where you just brought your bike out after a couple months, the weather is much better; now you go outside and find out that your wheels are shaking and the wheel is not rolling correctly. If this has happened you’re not alone, matter fact for the first 5 years I had this issue pretty much every year or so and had to take it to the bike-shop all the time.
But now that I’m a bit older, I’ve been urban biking for 3 years on a daily basis through my city and inner tubes, and tires have been replaced many many times by myself this time. In this guide I show you how even a beginner cyclist can maneuver their way out of a common bike failure such as a flat tire, seat issue, handle-bar out of wack and the list goes on.
Essential Hand Tools for Basic Bike Maintenance
You always want to have tools on hand, even when you’re out biking. I can’t tell you how many times I’ve found myself stuck with a broken bike and no proper tools to fix it. I tried to replace my inner-tube myself with the tool and I couldn’t even get it off with my cheap tool, stripping the screw and then I also inflated it way too much so it didn’t even fit. I had to take it to the shop anyway. Talk about frustrating! After that $40 lesson, I decided to slowly build up a proper toolkit that would let me handle most maintenance tasks at home.
Let me walk you through the essential bike hand tools that have saved me countless trips to the bike shop over the years. Trust me, investing in the right tools not only saves money long-term but gives you this awesome sense of self-sufficiency that’s hard to beat.
Hex/Allen Wrenches: Your Most-Used Tools
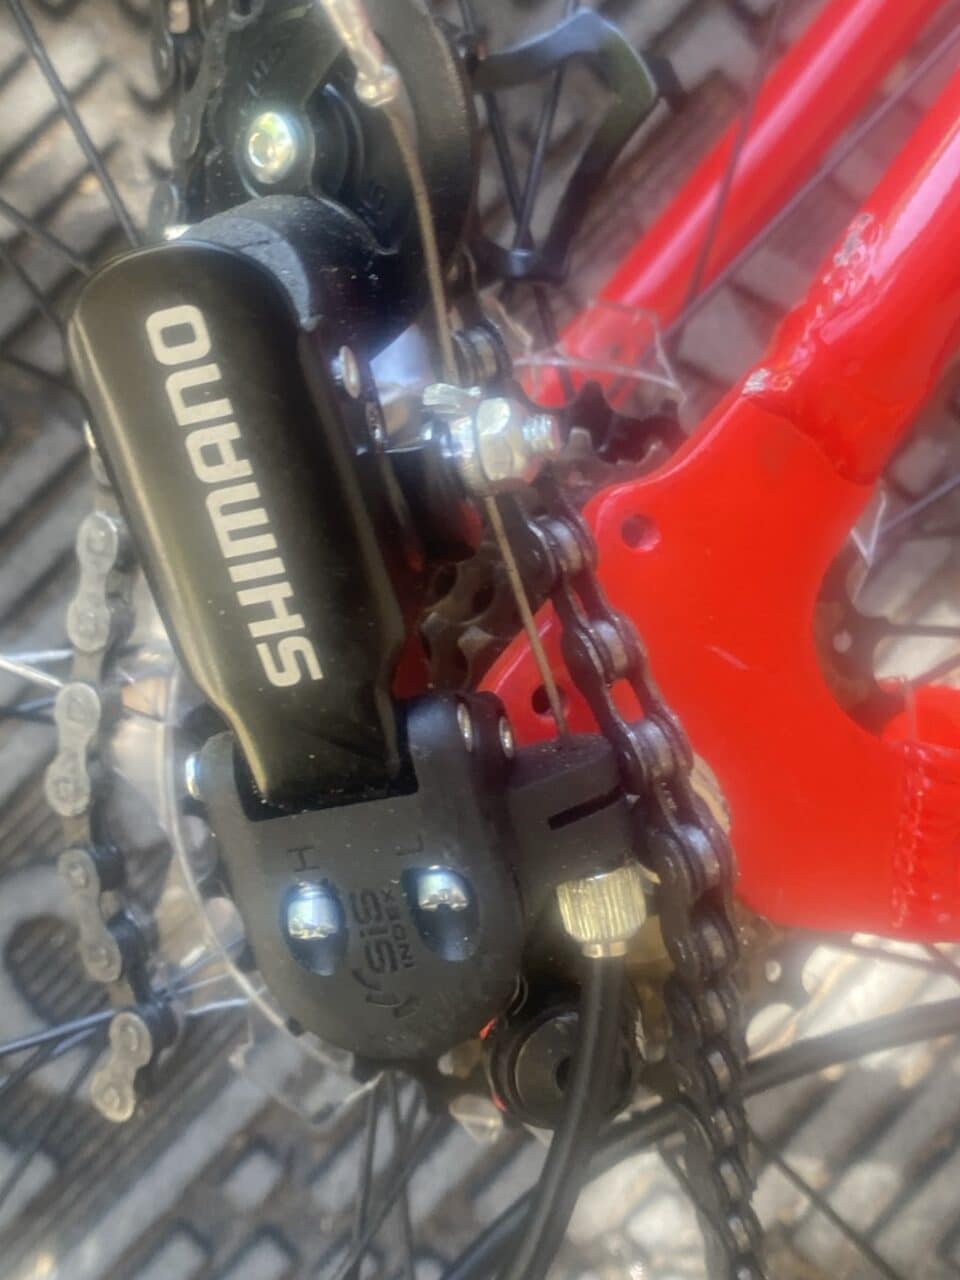
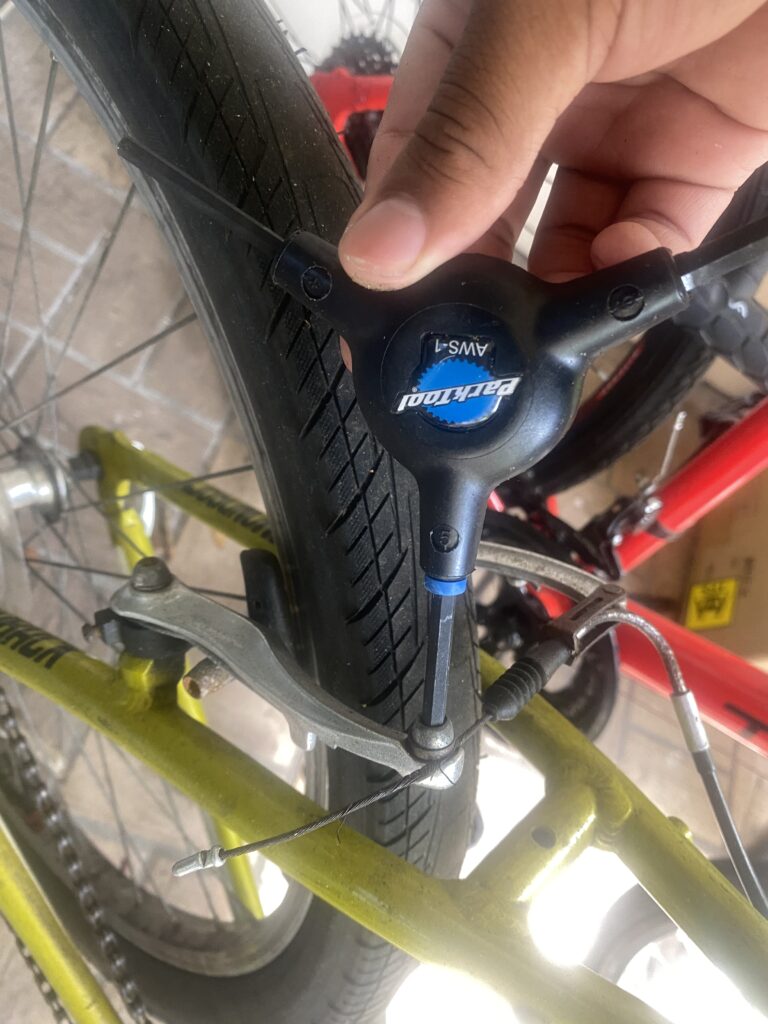
If there’s one set of tools you absolutely need, it’s a good set of hex wrenches (also called Allen keys). 80% of the bolts on modern bikes use these hexagonal-shaped fasteners. I learned this the hard way when I bought my first road bike and my old allen wrench didn’t fit the bike at all!
The most common sizes you’ll need are 4mm, 5mm, and 6mm for things like stem bolts, seat post clamps, and brake calipers. Smaller 2mm and 3mm wrenches come in handy for derailleur adjustment screws and some brake components which can be important to adjust for maintenance. For bottom brackets and pedals, you might need larger 8mm and 10mm sizes.
I prefer L-shaped hex wrenches over the folding multi-tool type for home use. They give you better leverage to not strip bolt heads and will stop your hands from getting crushed. I switched from a no-name set of allen wrenches recently to a set of Park Tool hex wrenches and with all the different sizes – adjustments were so much easier!
Screwdrivers: More Essential Than You Think
While hex wrenches handle most jobs, you’ll still need both Phillips and flat head screwdrivers for certain components. Phillips #1 and #2 sizes cover most bike needs, with #2 being the most commonly used for things like limit screws on derailleurs.
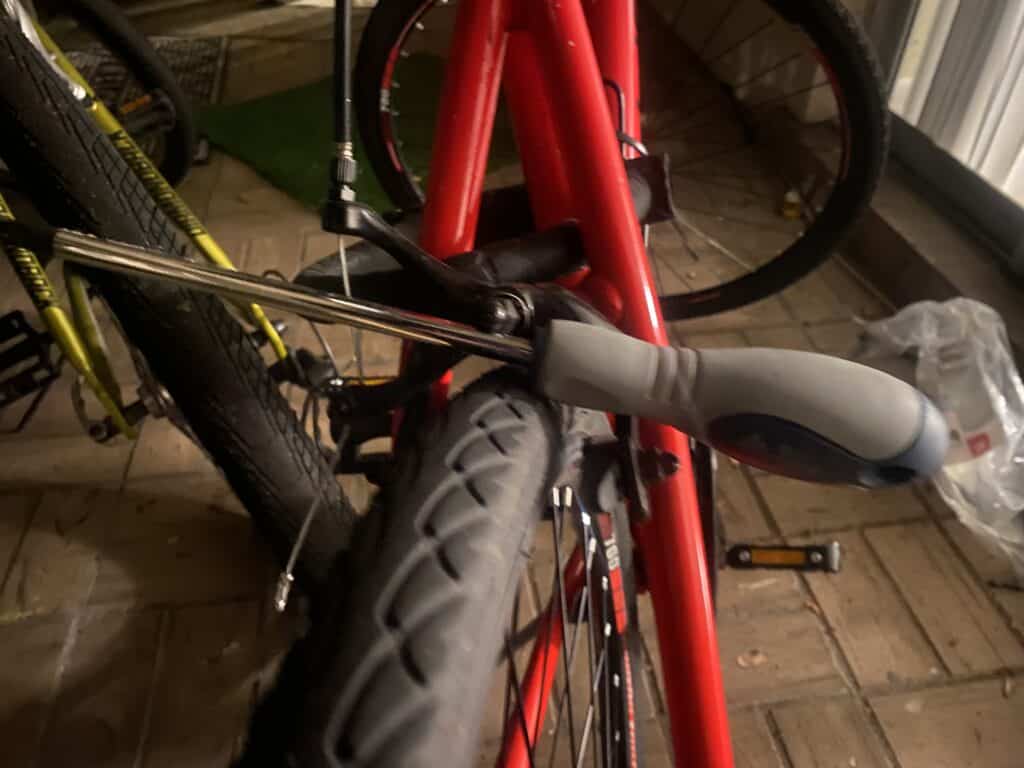
Flathead screwdrivers aren’t just for screws – they’re handy for all sorts of tasks like prying off dust caps or working with certain brake systems. I once spent an hour trying to adjust my cantilever brakes before realizing a simple flat head would’ve made the job take minutes.
Don’t skimp on screwdriver quality. You never want to strip screws with a cheap screwdriver. Good screwdrivers have hardened tips that maintain their shape and grip screw heads better.
Pliers: Versatile Problem Solvers
Needle-nose pliers are perfect bike hand tools for gripping small parts or routing cables through tight frame openings. I use mine for holding things in place while I’m working with another tool.
Side cutters (diagonal cutters) are essential for trimming cables and housing.
The first time I tried using regular scissors to cut brake cables, I ended up with frayed ends that wouldn’t feed through the housing. A clean cut makes installation so much easier.
Channel-lock pliers can be lifesavers for stubborn nuts or when you need extra leverage. Just be careful using them on finished surfaces – I wrapped the jaws of mine with electrical tape after scratching my handlebars the first time I used them.
Combination Wrenches: Finding the Right Fit
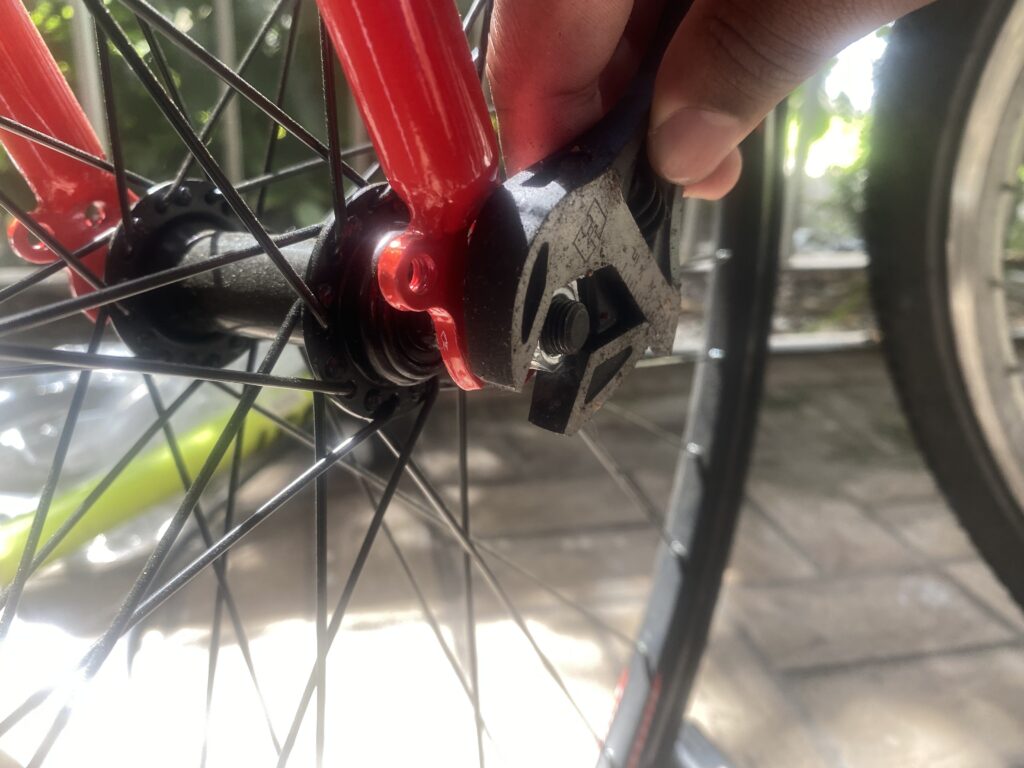
While many modern bikes use hex bolts, you’ll still need some combination wrenches for certain components. The most useful sizes are typically 8mm, 9mm, 10mm, and 15mm.
The 15mm wrench is important as it fits most pedals and some axle nuts. When I got my first fixed gear bike, I couldn’t remove the pedals until I found the right size wrench, admittedly at Walmart at the time – the adjustable wrench I was using kept slipping and rounding off the flats.
Look for wrenches with offset heads that provide knuckle clearance when working in tight spaces. This feature has saved my knuckles from countless scrapes when working on bottom brackets or headsets.
Building your toolkit gradually is totally fine – that’s how I did it. Start with the basics: a set of quality hex wrenches, a couple of screwdrivers, and maybe a 15mm pedal wrench. Add specialty tools as you tackle more complex repairs. Before you know it, you’ll be handling most maintenance tasks with confidence, and your bike will thank you with smoother rides and fewer mechanical issues.
Diagnostic and Measurement Tools
When I first started cycling seriously, I thought eyeballing tire pressure was good enough. Then I bonked during a century ride because I’d been riding on tires that were 15 psi under-inflated for months! A quality pressure gauge is part of keeping your bike going on a daily basis, especially in a city where rough terrain is the norm. My floor pump has a built-in gauge that’s decent for everyday use, but I’ve also borrowed and used quality high-precision gauges when possible.
I ignored chain wear for years until my local bike shop mechanic showed me how my “slightly” worn chain had required me to replace my whole hub setup. This is when I decided to get a new bike as this one was too much worn for me to bother, however you don’t have to do that! These simple tools measure how much your chain has stretched, letting you know exactly when to replace it before it damages more expensive components to easily prevent costly bike repairs. I check mine monthly now, and haven’t had to replace a cassette prematurely since. Sometimes the cheapest tools save you the most money!
Spoke tension meters seemed like professional overkill, but they’re absolutely necessary for long-term bike usage. If you’re able to invest in a tension meter, your next bike, built or bought will last for much longer. Even if you’re not building wheels from scratch, these tools help diagnose why a wheel keeps going out of true. They’re expensive, sure, but they transform wheel maintenance from guesswork to science.
Frame alignment tools are something most home mechanics won’t need immediately, but they’ve saved several of my bikes after crashes. After a particularly nasty spill on my aluminum frame, my derailleur simply wouldn’t shift properly. I borrowed an alignment gauge from a friend and discovered my derailleur hanger was bent almost 5mm out of spec! The simple tool let me carefully bend it back, saving me from replacing parts or the entire frame. For anyone who rides regularly, these tools eventually pay for themselves.
Cleaning and Lubrication Tools
My first bike cleaning “kit” consisted of a garden hose, dish soap, and an old t-shirt. Let’s just say the results were less than professional. A set of proper bike-specific brushes has made all the difference in my maintenance routine. I use a stiff frame brush for mud and grime, a soft detail brush for components, and those skinny bottle brushes that get into cassette cogs and derailleur pulleys. The right brush shape makes cleaning take half the time and delivers twice the results.
Chain cleaning devices seemed gimmicky to me until a cycling buddy insisted I try his. I was honestly shocked at how much faster and more thorough it cleaned my drive-train compared to my old method of rag-and-degreaser. Mine has three rotating brushes inside a solvent reservoir that you clamp around the chain and pedal through. What used to be a 20-minute mess became a 2-minute process with better results. Just make sure to get one with replaceable brushes – mine wore out after about a year of regular use.
The game-changer was a parts washing bin with a removable basket and brush that lets components soak while keeping my hands relatively clean. For deep cleaning cassettes and chains, it’s unbeatable. I’ve also found that old toothbrushes make excellent de-greasing tools for tight spaces – I keep a jar of them near my workbench, each labeled for different applications.
Strategic Overview for Bike Repairs
When I first started maintaining my own bikes, I made the classic mistake of buying the cheapest bike hand tools for each specific job as it came up. The result? A drawer full of stripped allen keys, broken cone wrenches, and frustration. If I could go back in time, I’d start with a quality starter kit from a reputable brand. A basic set with good hex wrenches, a few screwdrivers, tire levers, and a multi-tool would have saved me money in the long run by not having to replace broken tools.
As my skills improved, I gradually added mid-level tools designed for more complex repairs. This is where I found the sweet spot of value – tools like a good cable cutter, chain tool, cassette removal set, and bottom bracket wrench. These opened up a whole new level of maintenance I could handle at home. I built this collection gradually, prioritizing based on the repairs my bikes needed most frequently. The cost of these tools was quickly offset by the savings on shop labor.
Tool storage evolved alongside my collection, from a repurposed shoe-box to a dedicated tool cabinet with custom foam inserts. Organization made a surprising difference in my efficiency – no more digging through drawers looking for that one specific wrench! I use magnetic trays to keep small parts from disappearing during repairs, and I’ve labeled drawers and bins so everything has a home. The time saved not hunting for tools means more time actually riding my bikes.
Cost considerations always factor into tool purchases, but I’ve developed a simple rule: buy the best quality you can afford for tools you’ll use often. For specialty tools used rarely, mid-range options usually suffice. I track expenses in a spreadsheet, comparing tool costs against what I would have paid a shop for the same repairs. Four years in, I’ve saved nearly $2,800 in labor costs with an investment of about $1,200 in tools. Plus, there’s that immeasurable satisfaction of fixing your own bike and the knowledge gained along the way. That feeling when you solve a problem that’s been plaguing your ride for weeks? Absolutely priceless.

Now what does it mean for you?
Having the right bike maintenance tools isn’t just about being prepared – it’s about taking control of your cycling experience. You will get a feel of what type of tools necessary for your bike as you go on, but I do recommend getting a compact tool kit for on-the-go. Quality tools always are an incredible investment in your bike’s longevity and your riding enjoyment. At the very least I recommend getting a quality beginner bike maintenance kit. This is how you turn just a bike, into your own bike.