Introduction
Ever hear that faint hiss of air sneaking out of a “tubeless” tire halfway through a ride? Nine times out of ten, the problem isn’t the tire or the sealant—it’s the rim tape. Installing tubeless rim tape might sound like a small task, but it’s the backbone of a solid, airtight setup. Although in general you should decide the terms of tubeless vs tube mtb
I’ve botched this step more than once, leaving sealant on the garage floor and sticky fingerprints on everything in sight. Over time, though, I picked up a few tricks that make the process straightforward and, dare I say, satisfying. Let me walk you through exactly how I get a perfect seal every time, and note I am posting this with more experience with a bike tube rim setup.
Gather the Right Tools and Materials
Correct-Width Tubeless Rim Tape
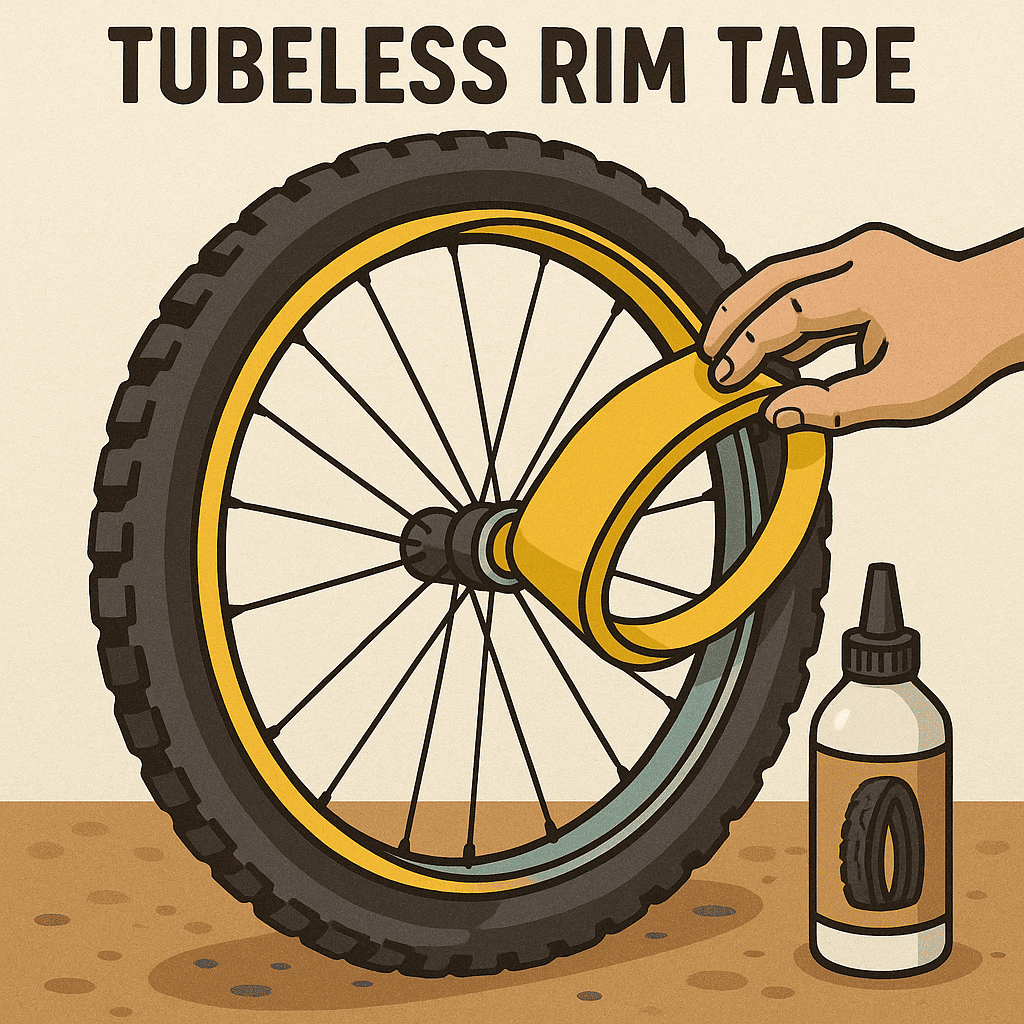
The tape is the star of the show, so getting the width right is critical. I measure the internal rim width carefully and choose tape that is one or two millimeters wider. That extra bit allows the tape to climb the sidewalls and cover every spoke hole. I once used tape that was a couple of millimeters too narrow and spent weeks chasing a mysterious, slow leak before realizing the mistake.
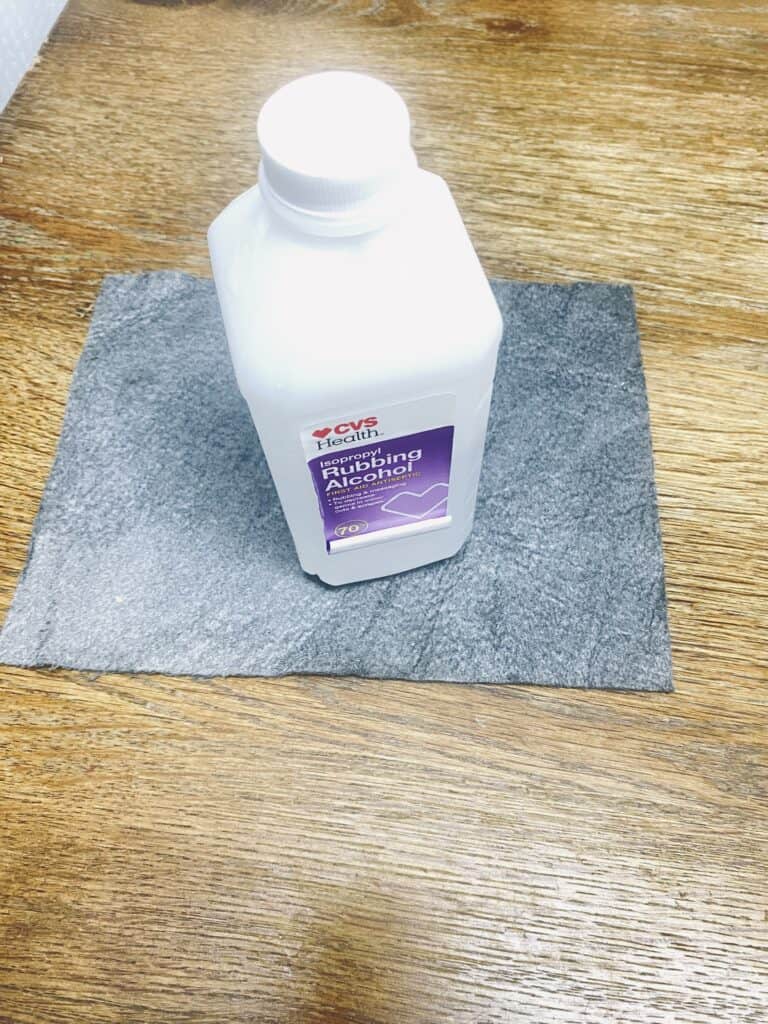
Isopropyl Alcohol and a Lint-Free Cloth
Clean rims are non-negotiable. I soak a lint-free rag with 90 percent isopropyl alcohol and wipe the rim bed until the cloth comes back completely clean. Any trace of grease, sealant, or even fine dust will keep the adhesive from bonding properly, and you’ll end up with bubbles or peeling edges.
Plastic Tire Levers
Old rim strips can be surprisingly stubborn. Plastic tire levers give me enouhgh leverage to lift the old tape without scratching the rim surface. I usually keep two handy so I can lift with one and pull with the other when the tape fights back.
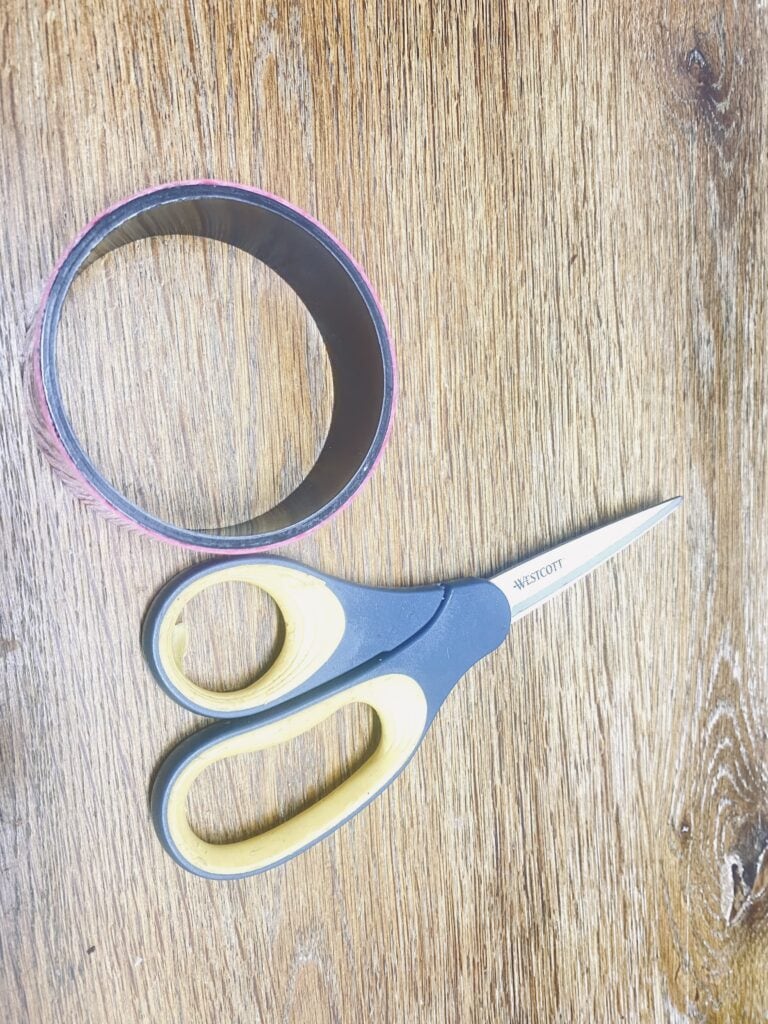
Sharp Scissors or a Razor Blade
A clean cut is more important than you might think. Jagged edges can start peeling once the tire is inflated. I prefer a fresh razor blade for a crisp finish, though a sharp pair of scissors will do if you are careful and patient.
Tubeless Valves and a Quality Pump or Compressor
Finally, a reliable tubeless valve and a good pump are essential. A high-volume floor pump works for most setups, but a small air compressor or a pump with a burst tank makes seating stubborn beads much easier. I’ve sweated through entire sessions with a basic pump only to watch a friend’s compressor seat the tire in seconds.
Prep the Rim for a Perfect Seal
Remove the Old Tape and Strip
The first step is to remove the tire, tube, and any old rim strip. I take my time here because leftover bits of adhesive can hide in the spoke holes and ruin the new seal.
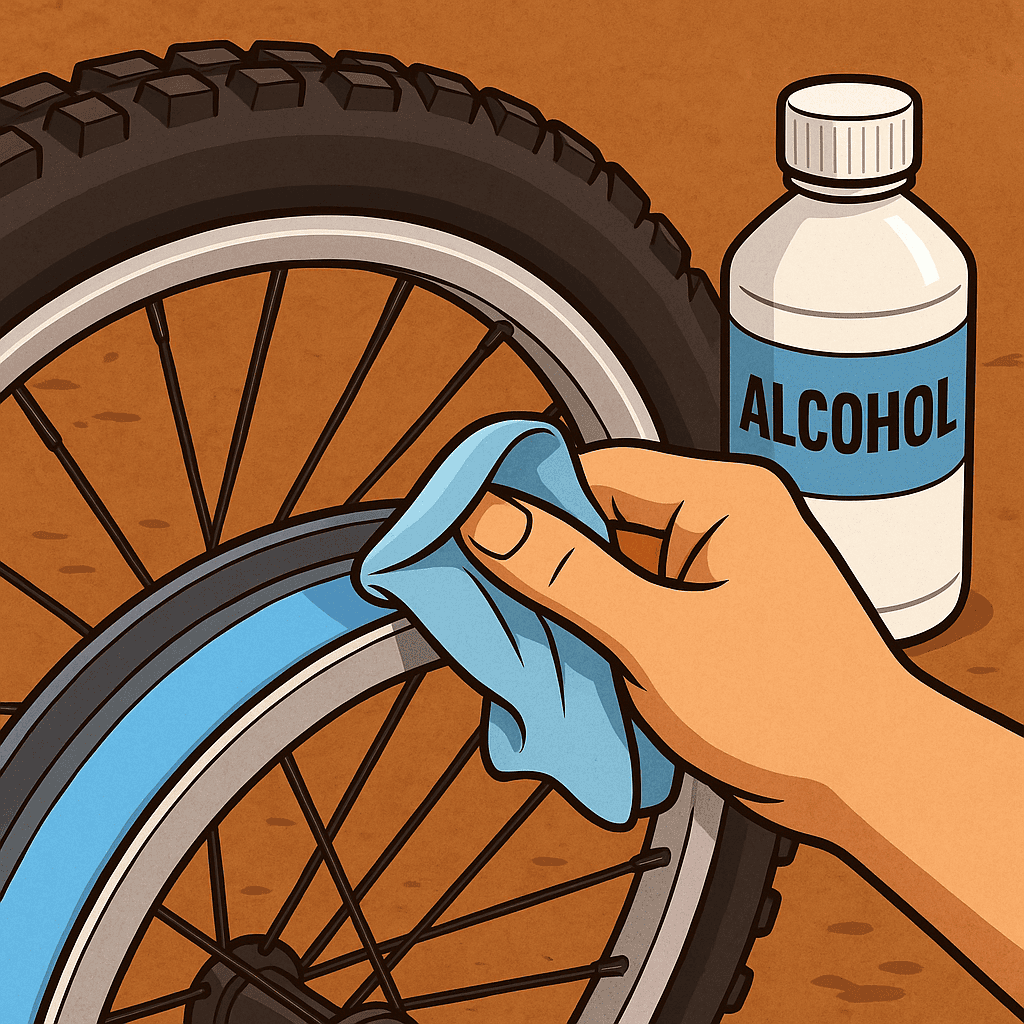
Clean the Rim Thoroughly
Once the old material is gone, I clean the rim bed with isopropyl alcohol. I usually wipe it down at least twice, even if it looks spotless, because invisible dust and oils can compromise the bond. When I think it’s clean enough, I give it one more pass just to be sure.
Inspect for Sharp Edges
Before applying the new tape, I run my fingers along the rim channel to feel for burrs or rough spots. Any sharp edge can slice the tape when you inflate the tire. If I find a rough patch, I smooth it with a bit of fine sandpaper or carefully file it down.
Applying the Rim Tape
Start with Overlap
I always begin a couple of inches past the valve hole so I can create a strong overlap when I finish. That extra layer adds security right where leaks like to start.
Maintain Steady Tension
As I pull the tape around the rim, I keep steady tension—enough to stretch it tight but not so much that it thins out. My thumb presses the tape into the center channel while I use a plastic tire lever to work it up the sidewalls. Going slowly here avoids air pockets that can lead to leaks later.
Finish Cleanly
When I reach the starting point, I overlap by about four to six inches. I make a clean cut with the razor blade and press the end down firmly for at least twenty seconds. On humid days I let the wheel sit overnight so the adhesive fully bonds. In dry weather, an hour of rest is usually enough.
Installing the Tubeless Valve
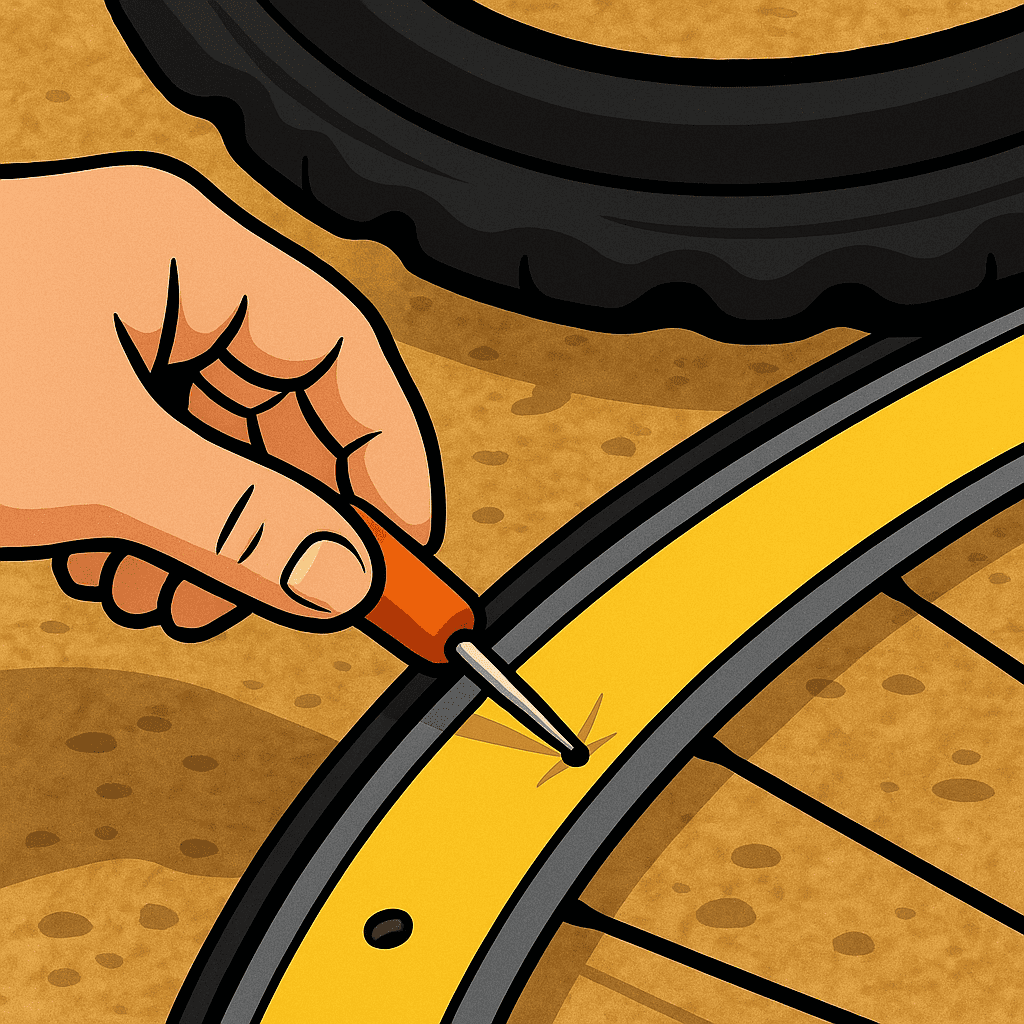
Puncturing the Valve Hole
After the tape is secure, I use a small pick or the valve stem itself to pierce a clean hole through the tape at the valve opening. I avoid slicing with a knife because rough cuts can spread and create leaks.
Securing the Valve
I insert the tubeless valve and make sure the rubber grommet sits perfectly flat against the tape. Then I hand-tighten the lock nut until it is snug. Over-tightening can deform the grommet, while leaving it too loose invites a slow leak.
Seating the Tire and Checking for Leaks
Mounting the Tire
With the tape and valve in place, I carefully mount the tire to avoid lifting the tape edges. I start at the valve and work evenly around the rim so the bead seats smoothly.
Inflation and Inspection
Using a floor pump or compressor, I inflate the tire until the bead snaps into place. I listen for hissing and watch for bubbles around the spoke holes or valve area. If I spot a small leak, I deflate the tire, press the tape down firmly, and reinflate. Often the pressure alone will help the adhesive seal any tiny gaps once sealant is added.
Troubleshooting Common Problems
Slow Leak at the Valve
If I hear a faint hiss near the valve, I retighten the lock nut and check for wrinkles in the tape around the hole. A simple adjustment usually fixes it.
Tape Lifting from the Rim
If the tape edges lift during inflation, it’s usually a sign that the rim wasn’t cleaned enough. I remove the tire, clean again with alcohol, and reapply a fresh layer of tape. Sometimes a second layer provides the extra width and stiffness needed for a perfect seal.
Persistent Air Loss Through Spoke Holes
When air keeps escaping despite a careful job, the rim might need a wider tape or a double layer. I once ignored a faint hiss, thinking the sealant would fix it, and ended up peeling everything off to start again. Patience wins every time.
Conclusion
Installing tubeless rim tape isn’t glamorous, but it is the foundation of a leak-free tubeless setup. Take the time to gather the right tools, clean the rim until it shines, and apply the tape with steady tension and proper overlap. A few extra minutes here mean months of smooth, low-pressure riding with better traction and far fewer mid-trail repairs. Once you’ve mastered this process, you’ll wonder why you ever tolerated the hiss of a leaky setup in the first place.