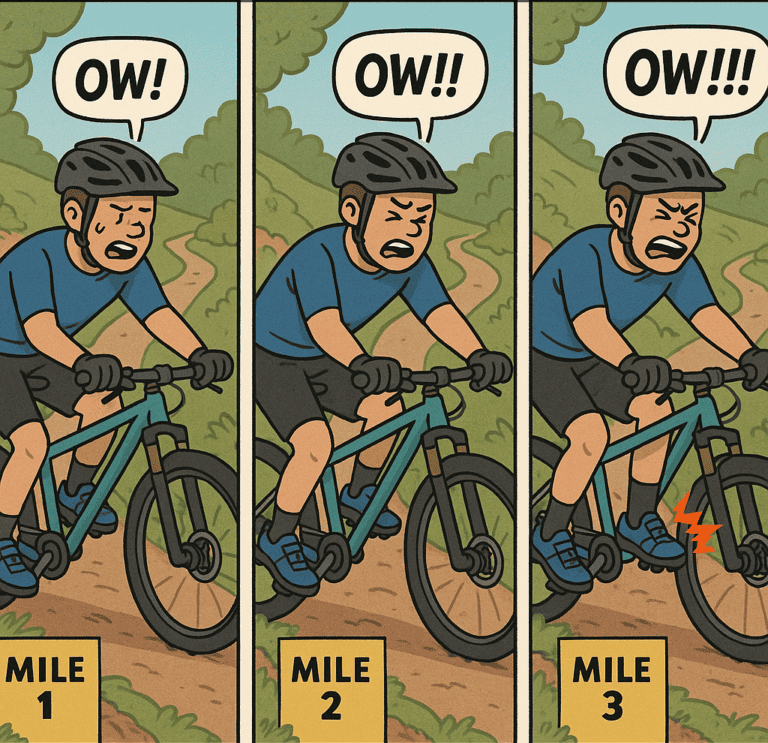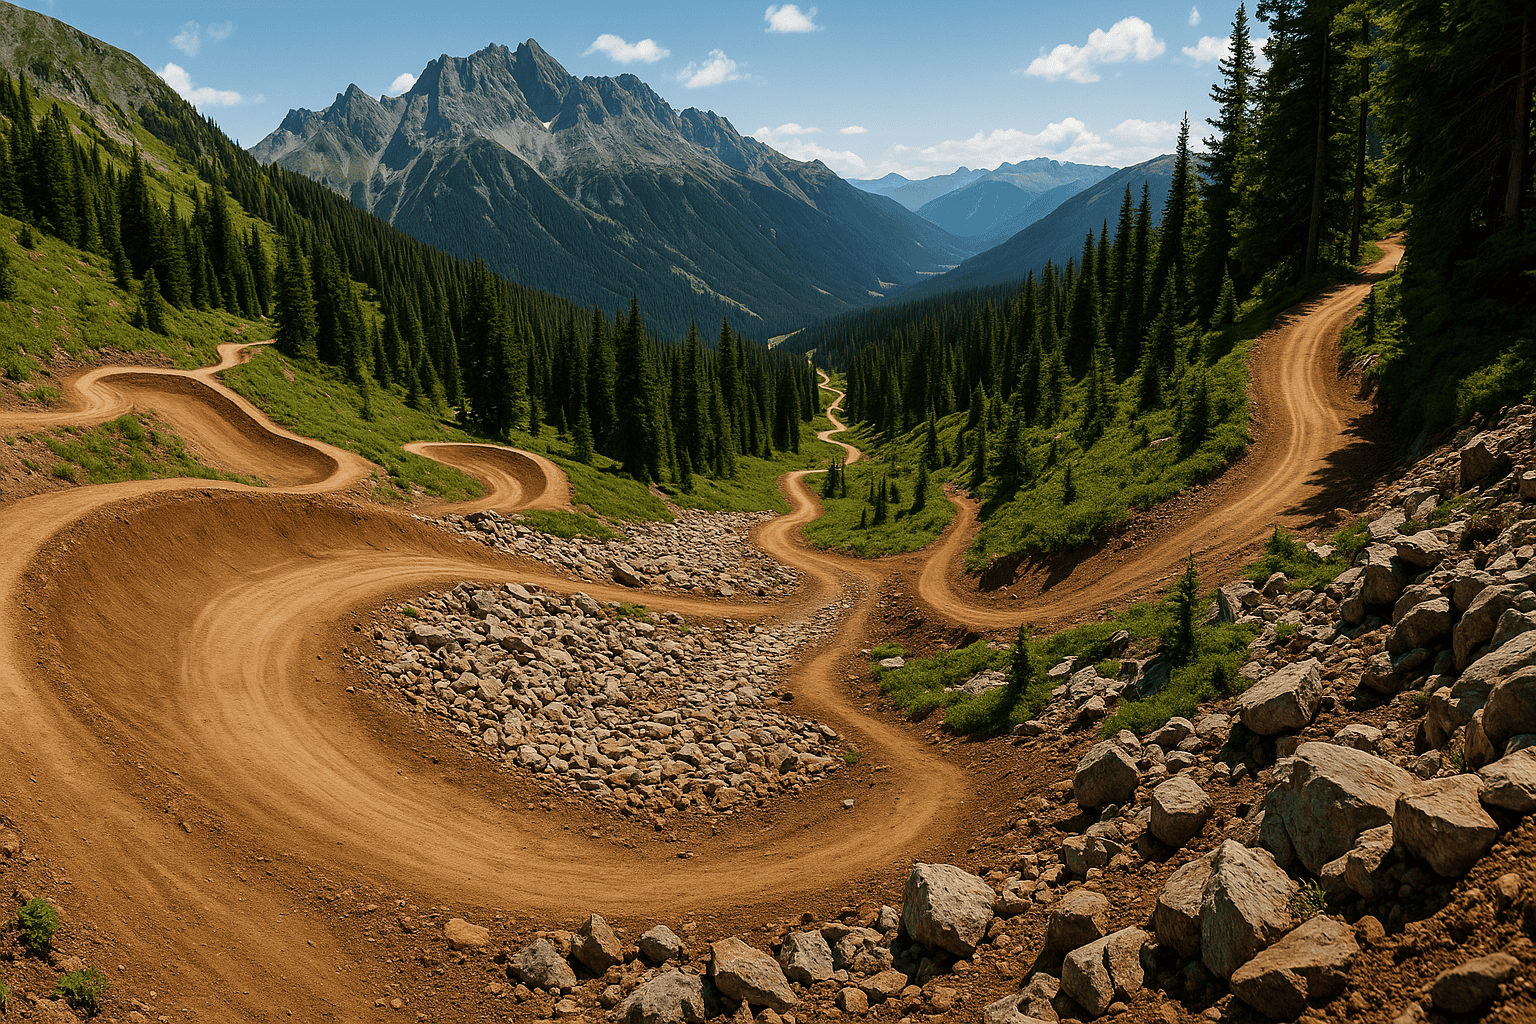
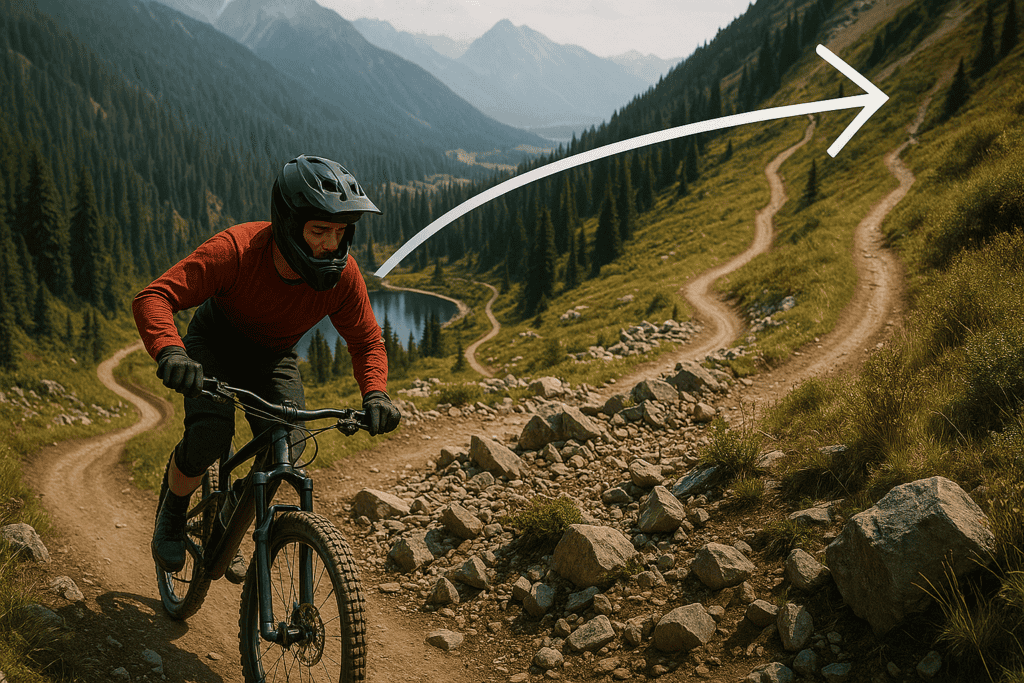
Downhill mountain biking focuses on descending steep terrain as quickly and safely as possible. These trails feature big berms, rock gardens, jumps, including j-hops and English hops, drops, chutes, and high-speed sections, often found in lift-accessed bike parks. Bikes and gear are purpose-built for control, stability, and protection at speed.
This guide is designed for riders transitioning from trail/enduro to lift-accessed downhill, as well as new bike park riders seeking a safe and rapid improvement. It also helps intermediate and advanced riders refine setup, technique, and maintenance. Coaches, parents, and trip planners can use it to standardize prep and reduce risk.
Essential Gear and Protection
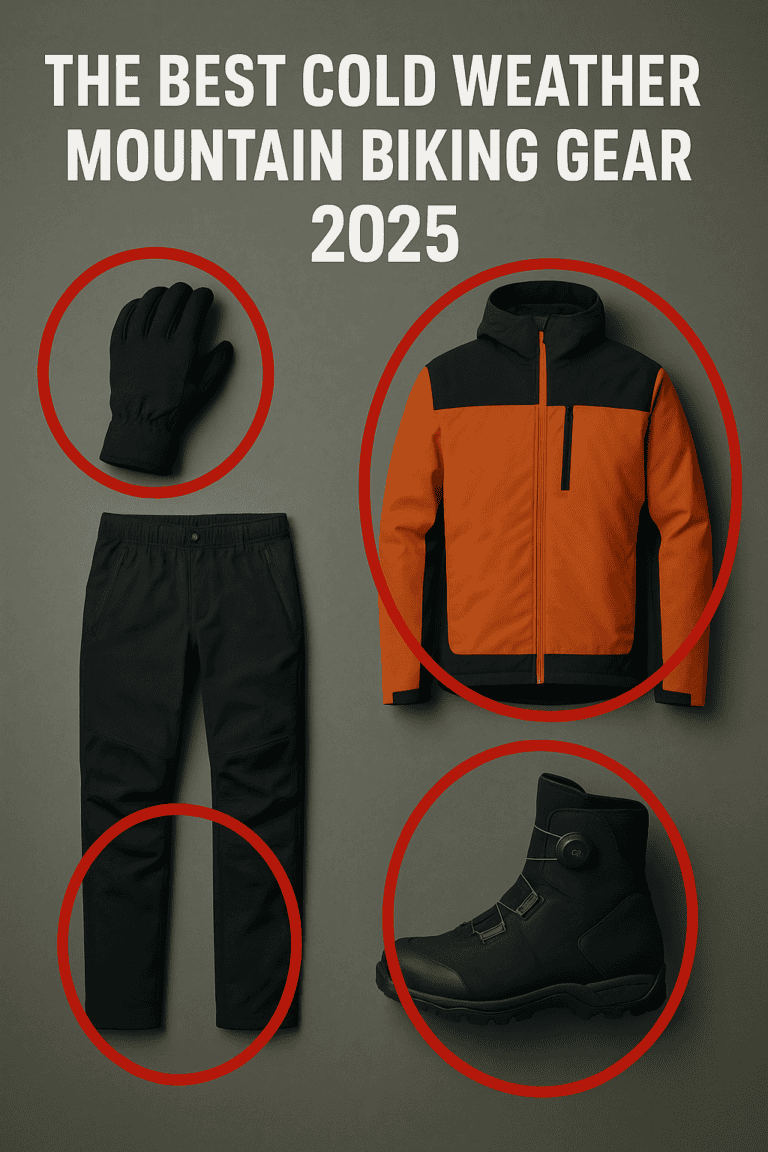
Downhill riding demands gear that manages speed, impact, and debris. Protection should fit securely to avoid movement under load while staying breathable for long park days. Prioritize a system approach where helmet, armor, gloves, shoes, and clothing work together.
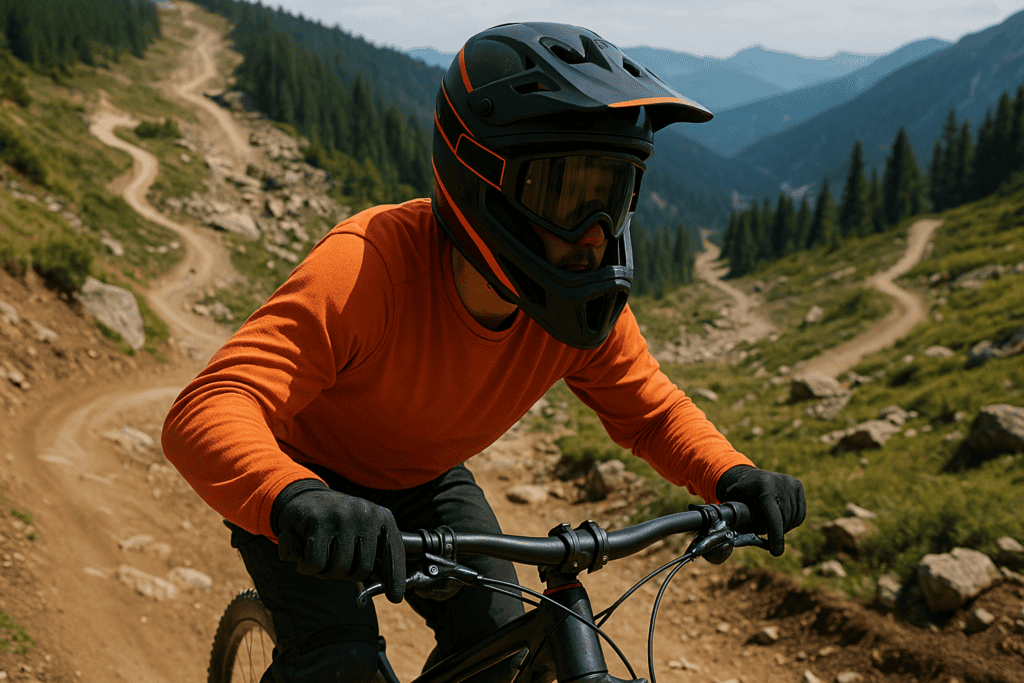
A certified full-face helmet is non-negotiable for chin, face, and jaw protection at DH speeds. I’m somewhat experienced in that but don’t do that on the regular. That’s why I usually recommend an enduro bike if you’re going to take that on. Pair it with anti-fog goggles that have clear or tinted lenses appropriate to conditions and tear-offs or roll-offs for mud. Ensure a snug fit with no pressure points, and replace helmets after impacts.
Body Armor: Chest, Back, Knee/Elbow, Neck Brace
Use chest protection to shield the spine, ribs, and sternum from high-energy impacts. I’ve gotten lucky myself being in Florida and only taking the trails sparingly while in places such as Arizona or other countries, but things like knee and elbow pads should balance coverage with mobility, staying in place without slipping on rough terrain. Consider a neck brace if you regularly ride high-consequence tracks or race, ensuring compatibility with your helmet and torso armor.
Thin, grippy gloves improve bar feel and reduce arm pump, while reinforced palms add crash durability. Stiff-soled clipless or grippy flat-pedal shoes increase control and reduce foot fatigue, paired with pedal pins tuned for traction. Wear abrasion-resistant jerseys and pants or shorts with stretch panels, plus moisture-wicking base layers for comfort.
Tools, First Aid, Spares
Carry a multi-tool with chain breaker, tire plugs, a pump or CO2, spare tube, and zip ties or tape for trailside fixes. Pack a compact first-aid kit with wound cleaning, bandages, and a space blanket, and know how to use it. Include spare brake pads, a derailleur hanger, and quick links to keep riding after minor failures.
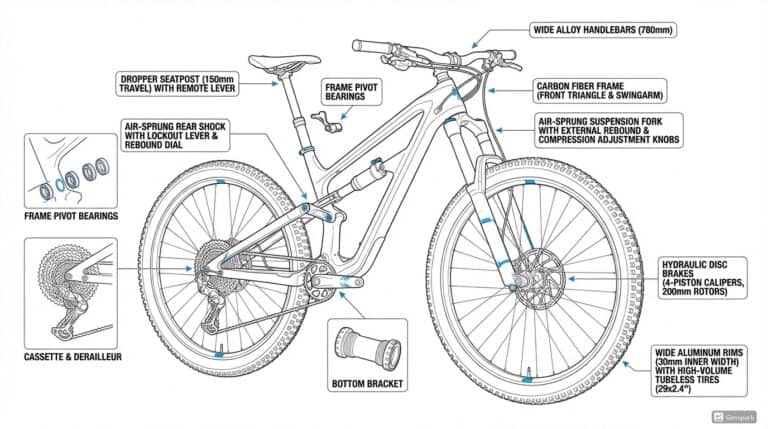
Bike Setup for Downhill
A great baseline is to always make one change at a time and record results. Re-check setup as trails, temperatures, and tires change. This is if there’s one thing to take away from reading this.
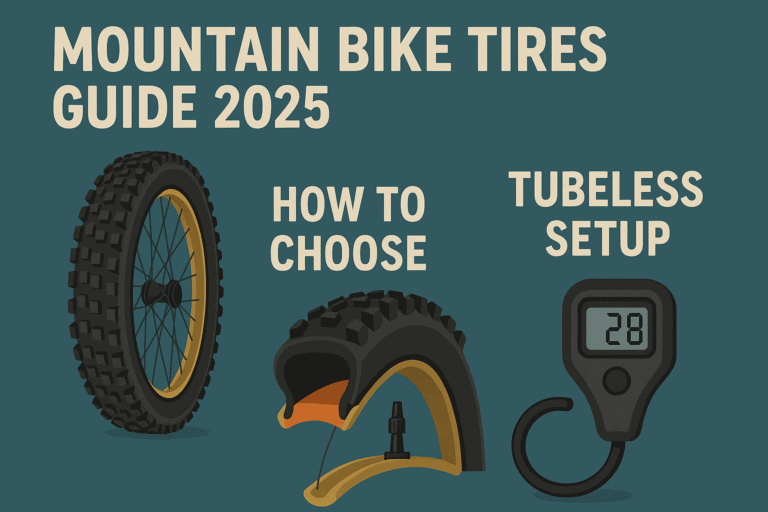
Tires and Pressure (Tubeless, Inserts)
Run DH-casing tires for puncture resistance, with tubeless sealant for self-sealing and lower pressures. Typical pressures range from 20–26 psi front and 23–30 psi rear for most riders, adjusted for weight, speed, and terrain. Tire inserts add rim protection and allow lower pressures for more grip and damping.
Brakes: Rotors, Pads, Lever Setup
Use 200–220 mm rotors for heat management and power on steep descents, paired with quality 4-piston calipers. Choose pad compounds wisely: metallic for longevity and heat, resin for initial bite and quiet, or semi-metallic for balance. Set levers with one-finger reach and a neutral to slightly downward angle for comfort and consistent modulation.
Cockpit: Bar Width, Stem, Lever Angle
Start with 780–800 mm bars for stability and trim to suit shoulder width and terrain, maintaining a neutral wrist position. Use a short stem for control with a stack height that keeps you balanced without overloading the front. Angle levers roughly 25–35 degrees downward so your wrists remain straight when in the attack position.
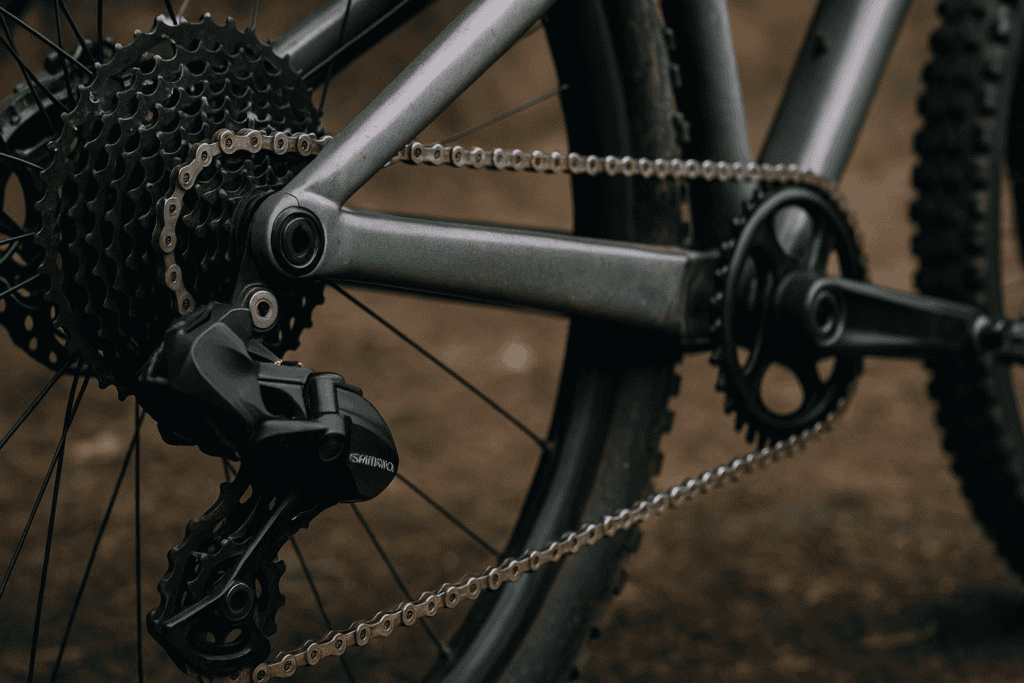
Drivetrain and Chain Retention
A clutch derailleur and narrow-wide chainring are essential to reduce chain slap and drops. Use a guide and bash guard for security over rough terrain and to protect the ring from impacts. Keep shifting crisp with a well-sized chain, correct B-tension, and fresh cables or housing.
Core Riding Techniques
The technique amplifies bike capability and reduces fatigue and risk. Build from fundamentals, then layer speed and features progressively. Practice deliberately, then test under pressure.
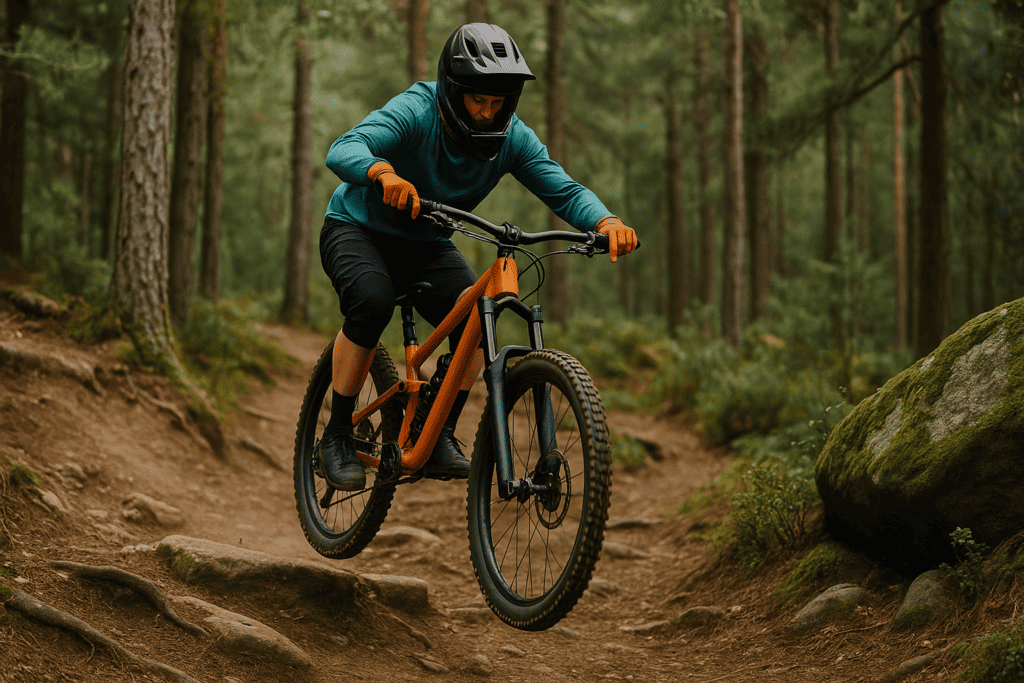
Adopt a low, centered attack position with bent elbows, level pedals, and eyes up to stay dynamic. Keep hips over the bottom bracket to allow the bike to move beneath you while your torso remains stable. Maintain light hands and heavy feet to improve traction and reduce arm pump.
Vision and Line Choice
Scan far ahead to anticipate features, then flick focus back to near obstacles in a rhythm to avoid surprises. Choose lines that are smoothest and straightest, not just shortest, prioritizing exit speed. Commit to lines early and avoid last-second changes that cause braking or target fixation.
Brake hard in straight lines before corners or features, then release to let the tires roll and grip. Use one finger per lever and modulate pressure to avoid lockups, adjusting bias front-to-rear as traction changes. Identify and commit to braking zones so you are off the brakes when turning, jumping, or skipping through rough sections.
Cornering: Flat, Bermed, Switchbacks
For flat turns, lean the bike more than your body, drop the outside heel, and look through the exit. In berms, load the entry, stay off the brakes, and push through the apex to gain exit speed. On tight switchbacks, wide entry, slow arms, quick feet, and a late apex line keep the bike turning without skidding.
Jumps and Drops: Preload, Takeoff, Landing
Preload by compressing into the lip to generate pop while keeping your chest centered and head level. For drops, level the bike off the edge, match landing angle, and absorb with legs more than arms. Land on both wheels with soft ankles and knees, then pump the backside for speed.
Rough Terrain: Roots, Rock Gardens
Stay loose and let the bike dance beneath you, keeping your head and torso stable. Unweight over square edges, then re-center to maintain traction and balance. Choose supportive lines that minimize wheel hang-ups and set up for smoother exits rather than plowing straight through.
Steeps, Chutes, Off-Camber
Lower your hips, keep your heels dropped, and stay centered to keep traction on steeps without getting pulled behind the saddle. Enter chutes slow, look long, and stay light on the bars to avoid deflections. On off-cambers, lean the bike into the slope, keep light braking, and trust the side knobs.
Trail Selection and Progression
Smart trail choices accelerate learning while preventing avoidable crashes. Match features to your current skills and increase difficulty gradually. Always prioritize clean execution over raw speed.
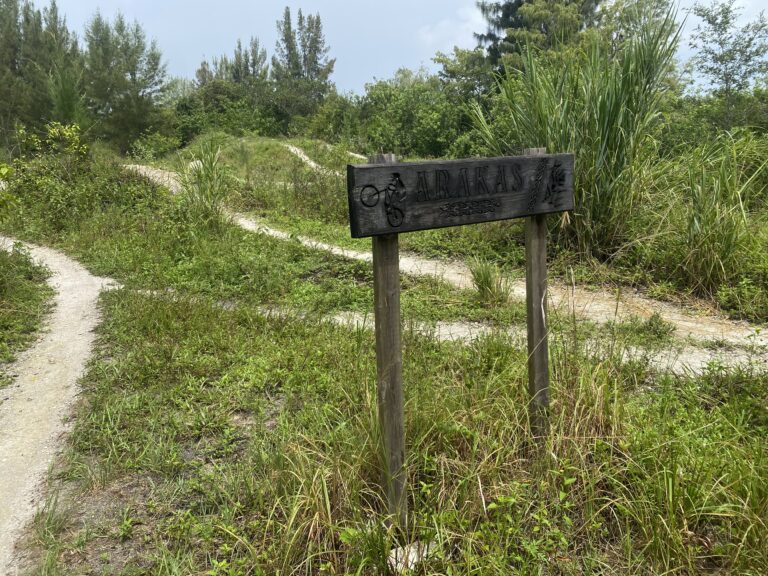
Trail Ratings and Signage
Follow bike park and trail network ratings, starting with green and blue to confirm setup, then stepping to black. Read signage for mandatory features, recommended speeds, and closed sections. Respect closures and diversions, as conditions change quickly with weather and maintenance.
Scouting, Sessioning, Feature Progressions
Walk new features to identify lines, landings, and consequences before committing. Session sections repeatedly, changing one variable at a time to build confidence and consistency. Use progression lines—small to medium to large jumps and drops—to stack skills safely.
Bike Park Etiquette and Lift Use
Yield to riders on the trail, never stop in blind spots, and call out when passing. On lifts, secure bikes properly, remove loose items, and follow staff instructions for loading and unloading. Keep trails clear by moving off line after a crash and assisting only when safe.
Riding in Wet, Muddy, or Dusty Conditions
In wet or mud, lower pressures slightly, brake earlier, and prioritize smooth, straight lines with gentle inputs. In dust, expect reduced vision and braking traction, so increase following distance and adjust braking points. Clean and lube the bike promptly after wet laps to prevent accelerated wear.
Safety and Risk Management
A systematic approach reduces crashes and keeps you riding more. Anticipate hazards, communicate, and decide when to walk away. Make conservative choices on your first lap and build speed later.
Pre-Ride Checks and Bolt Check
Inspect tires, brakes, wheels, suspension, and cockpit before every ride, and torque-check critical bolts regularly. Spin wheels for wobbles, squeeze levers for a firm bite, and test fork and shock for smooth action. Confirm chain retention and pedal bearings to avoid mechanicals mid-run.
Ride Plan, Weather, Communication
Share your plan, expected trails, and timing with a buddy and carry ID and emergency contacts. Check weather for lightning, heat, and sudden rain that can change traction dramatically. Carry a charged phone or radio where service is limited and know the park’s emergency procedures.
Crash Strategy and Falling Safely
If you’re going down, keep your chin tucked, avoid bracing with straight arms, and roll to dissipate force. Let go of the bike if it increases safety and protect your head and torso first. Reset mentally after a crash, reassess the feature, and only retry if you’re truly ready.
Basic First Aid and When to Stop
Clean and cover abrasions promptly to prevent infection, and control bleeding with direct pressure. Stop riding and seek evaluation for head impacts, severe pain, significant swelling, or dizziness. When in doubt, call it a day—there is always another lap.
Maintenance and Post-Ride Care
Regular maintenance preserves performance and prevents failures on track. Build a fast post-ride routine you can repeat every time. Track service intervals and parts wear in a simple log.
Cleaning and Inspection Routine
Rinse gently, soap with a soft brush, and avoid high-pressure water on bearings and seals. Inspect tires, rims, pads, lines, and linkage while drying, and spot any fluid leaks or cracks. Lube the chain after drying and cycle suspension to clear water from seals.
Brake Pad/Rotor Wear
Check pad thickness frequently and replace before the backing plate shows to maintain power and heat control. Inspect rotors for glazing, grooves, and thickness, replacing warped or undersized discs. Bed in new pads and rotors properly to ensure consistent bite.
Drivetrain and Chain Care
Clean and lube the chain regularly, using a wet lube in muddy conditions and a dry or wax lube in dust. Measure chain stretch and replace before it wears cassettes and chainrings prematurely. Keep pulleys, cables, and housing clean for crisp shifting under load. REI has a great tutorial on this if you’re interested.
Wheels, Spokes, Bearings
Check spoke tension and true rims to prevent cracks and pinch flats at speed. Service hub and pivot bearings when play or roughness appears to maintain precise handling. Inspect inserts, rim tape, and valve stems to prevent slow leaks.
Common Mistakes and Fixes
Small errors compound at speed, but they’re fixable with awareness and practice. Identify your main limiter and address it with targeted drills. Film runs or get feedback to shorten the learning curve.
Rear-Biased Stance
Sitting back robs front tire grip and reduces steering accuracy, especially in turns and steeps. Re-center hips over the bottom bracket and keep elbows out to load the front appropriately. Practice braking into turns while staying centered to build trust in front-end traction.
Death Grip and Locked Arms
Over-gripping increases fatigue and transfers trail chatter to your upper body. Relax your hands, bend your elbows, and let the bike move while you stay stable. Improve setup with ergonomic grips, correct lever reach, and proper suspension rebound.
Braking in Corners
Dragging brakes mid-turn reduces grip and pushes you wide. Create clear braking zones before the entry, then release and let the tires roll. Start on mellow corners and progress to steeper turns as your timing improves.
Target Fixation
Staring at hazards pulls your bike toward them and delays decision-making. Train your eyes to pick and commit to exit points and safe lines early. Use cones or trail markers to practice deliberate sightlines.
Poor Suspension Setup
Wrong sag, rebound, or compression settings cause harshness, wallow, or deflection. Return to baseline settings, change one click at a time, and test on a known section. Record settings with conditions so you can replicate what works.
Skills Progression Plan
A structured plan builds confidence, consistency, and speed without unnecessary risk. Move from control to precision to speed, then layer in feature size. Reassess monthly and adjust based on video or coach feedback.
Beginner Milestones
Master neutral and ready positions, level pedals, controlled braking, and smooth blue trails. Add basic cornering with vision and body lean, and rollable drops with matched landings. Learn pump timing to carry speed without pedaling.
Intermediate Drills
Practice preloading, bunny hops, and manuals for obstacle management and jump control. Refine flat corner technique with outside foot pressure and bike-body separation. Build brake control by practicing threshold braking and release timing into turns.
Advanced Features and Speed Management
Progress to tabletops, gap jumps, technical rock gardens, steeps, and off-cambers with deliberate line choice. Develop race-pace laps with consistent braking zones and clean exits. Use split times or segments to measure improvements without overreaching.
Coaching, Clinics, and Video Review
Invest in qualified coaching or clinics to correct blind spots and accelerate progress. Film runs from multiple angles to analyze body position, brake timing, and lines. Compare against reference laps and track improvements with specific goals.
FAQs
Is Downhill Mountain Biking Dangerous?
DH carries inherent risk due to speed, terrain, and features, but smart preparation reduces it substantially. Proper protective gear, progressive trail choices, and solid technique are your best safety tools. Ride within your limits and stop when fatigue or conditions make mistakes likely.
What Bike Do I Need for DH?
A DH bike with 180–200 mm travel, dual-crown fork, and DH-casing tires provides maximum stability and durability. Many riders can start on a long-travel enduro bike for blues and some blacks, upgrading as skills grow. Prioritize strong brakes, suspension tune, and tire choice over flashy components.
How Do I Get Over Fear on Steeps?
Break features into smaller pieces, scout lines, and session with a clear braking plan. Lower your body, keep heels dropped, and commit to looking long rather than down. Build confidence on easier steeps before stepping up exposure and speed.
How Often Should I Service My Suspension?
Do lower leg and air can services every 30–50 hours and full damper services at 100–200 hours or annually. Shorten intervals if you ride in mud, dust, or at bike parks frequently. Track hours and feel; any loss of small-bump sensitivity or noise signals it’s time.
Can I Start DH as a Beginner?
Yes, start on green and mellow blue bike-park trails with rental gear and, ideally, a lesson. Focus on braking zones, vision, and body position before attempting jumps or technical blacks. Progress gradually and celebrate clean, controlled laps over raw speed.
Resources
Skills Channels and Courses
Learn from reputable skills platforms and coaches that emphasize fundamentals, progressions, and feedback. Look for programs with clear drills, video analysis, and on-trail application. In-person clinics at bike parks offer rapid gains with immediate corrections.
Use Trailforks and MTB Project for trail maps, conditions, and park info. Check lift hours, closures, and weather before heading out. Save offline maps and emergency contacts for areas with poor service.
Local Clubs and Community
Join local MTB clubs or social rides to learn lines, etiquette, and maintenance tips from experienced riders. Volunteer at trail days to understand features and improve trail awareness. A strong community accelerates learning and makes riding safer and more fun. Here’s a great website to check that out.