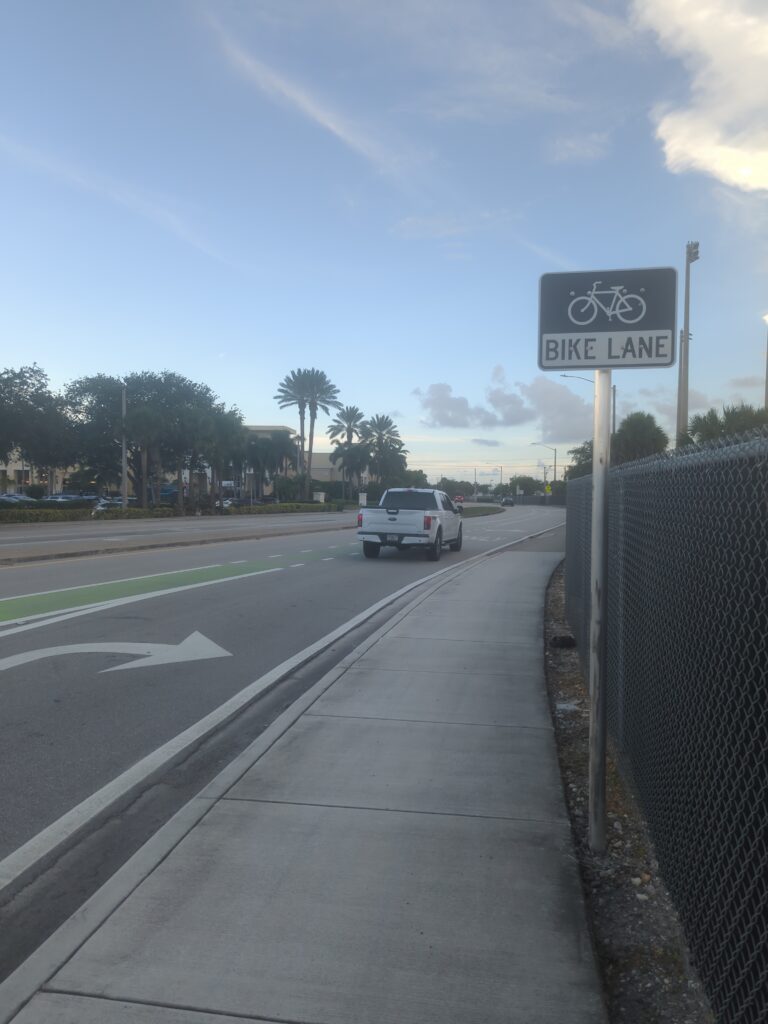
Getting Started
Picture this: You’re gliding through morning traffic, bypassing gridlock while getting your daily exercise. Sounds ideal, right? But anyone who’s tried commuting by bike knows the inconvenience of having a bike without a basket, backpack, lock, mirrors or other gear that can help you swiftly move through vehicular traffic. People forget about this until it’s too damn late, like when it’s raining you’re rarely ready, or when it gets dark out way too early and you can’t see anything that’s when it’s too late. Whether you’re a seasoned cyclist or just considering the switch to two-wheeled transportation, having the right commuter cycling essentials can transform your experience from stressful to spectacular. This is everything you need to know about creating a great cycling experience no matter the circumstance.
Carrying Your Life: Bags and Storage Solutions
After five years of daily bike commuting, I’ve tried just about every carrying system out there. Let me tell ya, the right choice makes all the difference!
Panniers, side backpacks changed my commuting life, they take weight off my back and distribute it evenly on the bike. They are easily balanced by the weight of the bike and my shoulders thank me daily.
The best use for small bags and backpacks are great for shorter rides and when you need to move quickly once you arrive, however these bags on the bike are generally very useful in all uses,
Speaking of downpours – weatherproofing isn’t optional if you’re carrying electronics or work clothes. I learned this lesson the hard way after one soggy laptop incident!
For capacity planning, I organize my gear into three categories: everyday essentials, occasional needs, and emergency items. This system keeps me from carrying unnecessary weight.
Quick-release mechanisms are worth the extra cost, especially so you can bring the bikepacks with you. As such Ortlieb panniers detach in seconds, and a Thule backpack-to-pannier convertible system transitions perfectly from bike to office without screaming “cyclist” during meetings.

Lock It Up: Security Essentials for Urban Cyclists
I’ll briefly touch up on how much learned about bike security because of my past article. Three years into my bike commuting journey, I came the rack and realized my tire was flat, huh! Turns out because I slammed my tire into the bike rack while locking and made my bike useless in the process hours later walking back.
Always stay aware of your tire PSI. When you have a flat tire get it fixed immediately as in my own experience I’ve seen bikes with flats targeted more than non-flats.
However though with other security methods as such it comes to locks, there’s a bewildering array of options out there. After seeing so many other bike thefts, I dove into research and discovered that security ratings actually mean something. The ratings given on bikes like Kryptonite, Bronze, Silver, or Gold are based on how long they resist attacks with various tools. Now guess what I was using, a 0/10 cable lock that can be cracked and grinded within 20 seconds. Now I use at least a U-Lock and a chain lock for that extra protection.
The technique used to lock a bike is just as important as the lock itself. I used to just loop my lock through the frame and call it a day. Now I follow what’s called the “Sheldon Brown method,” securing the rear wheel and frame to the immovable object. The trick is to position the lock around the rear wheel inside the rear triangle of the frame. This way, the wheel can’t be removed without cutting the frame, which makes the bike worthless to thieves.
Secondary security measures are also super important trust me. I’ll be doing it soon myself, but I have numerous bike peers who have replaced their quick-release bike “skewers” or screws around their wheels with security-skewers. They cost about $30 total and have saved my components numerous times. I also use security nuts on other removable parts like my lights and rack. It might add 30 seconds to legitimate maintenance, but it adds valuable minutes to a thief’s work time – and thieves typically move on if they can’t take something quickly.

Comfort Enhancers: Making Daily Rides Enjoyable
Always make sure you’re comfortable while biking, otherwise you may quit too early as a beginner and I’m showing you why biking is awesome. So the bike-seat, or the saddle is what I’m using all the time and I realized after all these years of biking, I should probably replace it and boy did I recognize a change immediately.
The saddle situation was my first wake-up call. I was using the stock saddle that came with my bike, which might as well have been made of concrete for all the comfort it provided. After some research and several painful trips to different bike shops, I discovered that saddle fit is incredibly personal. For my shorter 3-4 mile rides to run errands, there’s slightly wider saddles with moderate padding that work great. But for longer commutes, I slide on and use a proper road saddle with a center cutout that aligns with my sit bones. It made a world of difference! If you’re doing under 5 miles regularly, consider a cushioned comfort saddle, but for anything longer, you actually want less padding and more proper support.
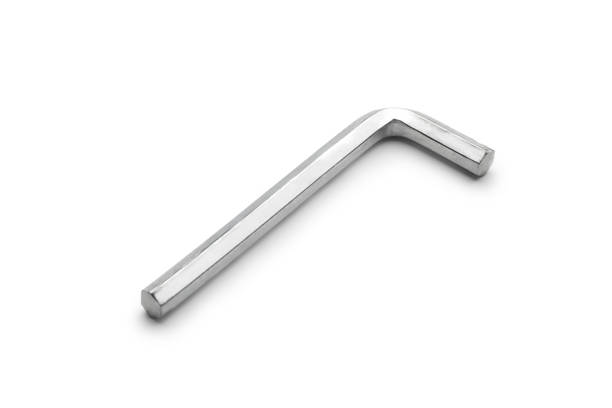
The hand pain I experienced was my next challenge to solve. Turns out, I had my handlebars all wrong. After experimenting with different setups, I landed on ergonomic grips with small “wings” that support the outer edge of my palms. These were a game-changer for preventing the numbness I used to get. I also adjusted my handlebar height to be slightly higher than my saddle, which put me in a more upright position. You can easily do this with a hex-bike tool. That small change reduced the pressure on my wrists by about 80%. For those with flat bars, consider bar ends too – they give you different hand positions for longer rides.
Pedals and shoes might seem minor, but they’re actually super important for energy transfer. I started with basic platform pedals and regular sneakers, which was fine for short distances. But when I switched to pedals with light clips and cycling-specific shoes, my efficiency went through the roof! I wasn’t working harder, but suddenly my commute was taking 10 minutes less. For daily commuters, I recommend hybrid pedals that work with both regular shoes and cycling shoes, giving you flexibility based on your day’s plans.
Weather used to be my number one excuse to skip riding. Getting caught in a downpour without proper gear once was enough to teach me that lesson! Now I keep a compact rain jacket in my bag at all times. It’s not perfect, but it does the job. For colder weather, I’ve found that it’s better to layer thin, technical fabrics than to wear one thick jacket. Windproof gloves and a thin skull cap under my helmet keep me surprisingly warm down to about 40 degrees.
The biggest lesson I’ve learned is that small discomforts add up over time, but small improvements can make a huge difference in your enjoyment. Don’t try to upgrade everything at once – start with whatever is bothering you most, test solutions, and gradually build your perfect setup. Your body (and your motivation to keep riding) will thank you!
Tech Tools: Smart Gadgets for the Modern Commuter
I still remember the days when my idea of “bike tech” was so basic with a phone mount, and occasionally a bag on my handle bars that would constantly fall off my bike, way to go Toliver. Fast forward to my current setup, and sometimes I feel I’m a fast and speedy metro rather than riding a bicycle! Cycling technology has completely transformed my daily commute, though it took some expensive trial and error to figure out what actually works.
When it comes to navigation, I went through a frustrating phase of constantly pulling my phone out at intersections, missing turns, and once even ending up on a highway on-ramp (not recommended!). After that terrifying experience, Map apps depending on features let you create routes based on road type preferences, elevation considerations, and even surface quality. My favorite feature is how they can reroute me through bike-friendly streets when there’s unexpected construction or traffic.

The fitness tracking aspect of commuting was something I initially overlooked. I figured since I wasn’t “training,” I didn’t need to track anything. Boy, was I wrong about that! Once I started logging my commutes with Strava, I realized I was burning about 1,200 calories daily just getting to and from work. Seeing those numbers encouraged me to keep riding even when motivation was low. The most useful metrics for commuters aren’t the performance stats competitive cyclists focus on, but rather consistency tracking and progression over time. It’s incredibly satisfying to see how a route that used to leave me winded now feels easy.
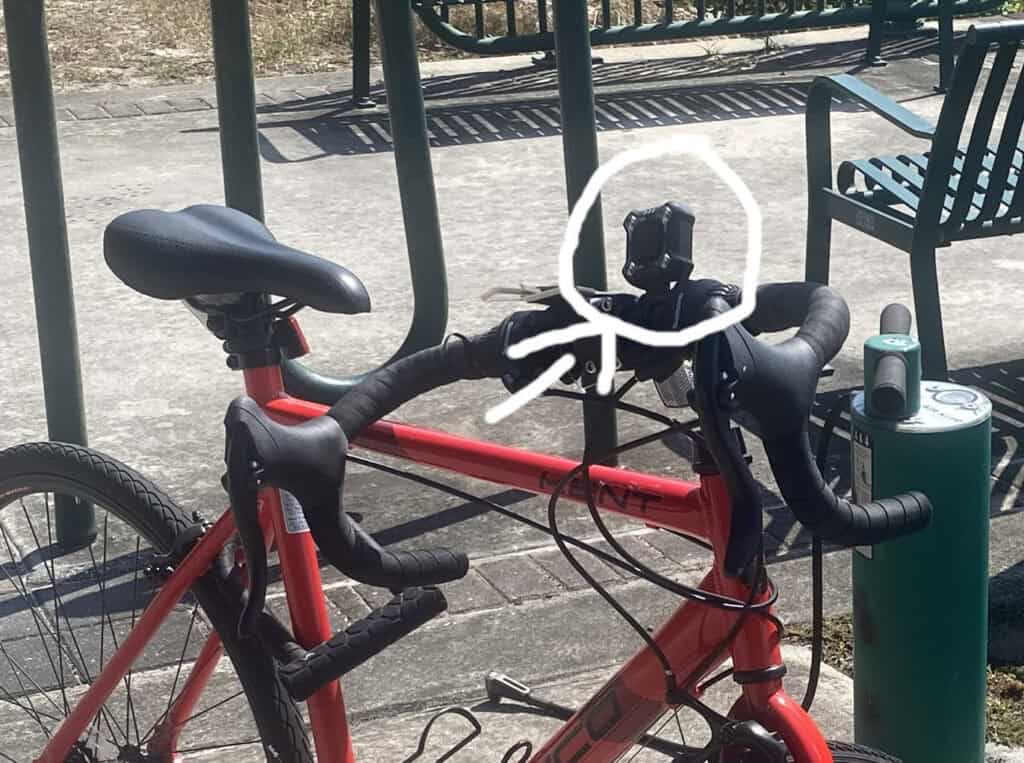
Mounting your smartphone to your handlebar sounds simple, but it took me three different mounts before finding one that didn’t vibrate like crazy or risk launching my $1000 phone into traffic. I ended up with a quad-lock system that hasn’t failed me yet. The secure connection gives me peace of mind even on bumpy roads. If you’re using your phone for navigation, make sure to invest in a weatherproof case and consider a small external battery pack for longer commutes. Nothing worse than having your navigation die halfway home in an unfamiliar area!
Weather forecasting might seem trivial compared to the other tech, but it’s become an essential part of my routine. General weather apps just don’t cut it for bike commuting. I need to know about wind direction, precipitation timing (not just chance), and visibility conditions. Dark Sky was my go-to until it was discontinued, but now I use Weather Underground which allows you to check conditions along your entire route, not just at your starting and ending points. The ability to see that it’s going to start raining exactly 20 minutes into my commute has saved me countless times.
The biggest lesson I’ve learned with commuting tech is that it’s not about having the most expensive or feature-packed gadgets. It’s about finding tools that solve your specific challenges and integrate seamlessly into your routine. Start with addressing your biggest pain points, whether that’s navigation, safety, or weather preparedness, and build from there. Your perfect tech setup will ultimately be as unique as your commute!
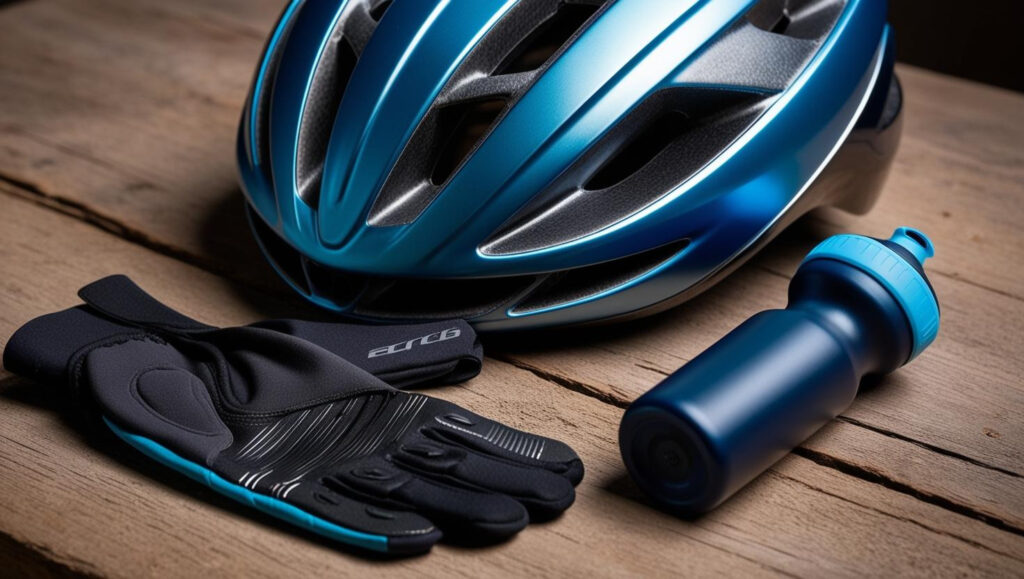
Safety First: Essential Protective Gear for Commuter Cyclists
I’ll never forget the day my helmet saved my life. It was a typical Tuesday morning commute until a car door flung open right in front of me. I swerved, clipped the curb, and went flying. When I came to, my helmet had a crack running right across the left side – exactly where my head would have hit the pavement. That was over seven years ago, yet it’s only more than important today especially here in Florida.
Finding the right helmet can be overwhelming with all the options out there. I learned the hard way that it’s not just about buying any old helmet – fit is absolutely crucial. A helmet should sit level on your head (not tilted back like a baseball cap), with the front edge sitting about two finger-widths above your eyebrows. The side straps should form a “Y” that meets just below your ear, and you should only be able to fit one or two fingers between the strap and your chin. I spent years wearing mine too loose until a bike shop employee showed me how it should actually fit!
Don’t mess around. I replace mine every five years regardless of crashes, because the protective foam degrades even if you can’t see it. It seems excessive, but when you calculate the cost over time, it’s pennies per ride for protecting your brain.
Visibility equipment was something I initially skimped on, assuming my bright blue jacket was enough. Then I started recording my commutes and was shocked to see how invisible I was to drivers in certain lighting conditions. Now I run a 1000-lumen front light even during daylight hours, set to flashing mode to catch attention. My rear setup includes both a steady and a flashing light, red positioned at different heights – redundancy has saved me more than once when batteries died unexpectedly.
Urban environments demand good communication tools, which I learned after a pedestrian stepped out in front of me and we both ended up on the ground. Now I use a loud screeching noise that’s mounted with my led light. As for mirrors, I tried handlebar mirrors, helmet mirrors, and glasses-mounted mirrors before finding what works for me – a small handlebar-end mirror on my left side. Many serious cyclists consider mirrors dorky, but I’d rather look dorky than get hit because I didn’t see something coming up behind me.
What I’ve learned from years of daily commuting is that safety gear isn’t about being fearful – it’s about being prepared and eliminating easily preventable risks. Start with the essentials: a properly fitted, certified helmet and quality lights. Then gradually add components based on your specific commuting challenges. Your life is worth the investment, and once these safety habits become routine, you’ll barely notice them. The peace of mind alone makes it worthwhile!
The Perfect Commuter Bike: Choosing Your Urban Steed
I still remember the day I brought home my first “real” commuter bike. After struggling for months with an old mountain bike that made my commute feel like a daily punishment, I finally invested in something designed specifically for city riding. That first proper commute was like a revelation – suddenly my daily ride felt effortless, practical, and dare I say it… fun!
Choosing the right type of commuter bike depends so much on your specific situation. I started with a hybrid, which seemed like the safe middle-ground option. It served me well for years with its comfortable upright position and versatility on different surfaces. But when my office moved and I needed to combine my ride with a train journey, I switched to a folding bike. Sure, it felt a bit twitchy at first with those small wheels, but being able to fold it up in 15 seconds and carry it onto crowded public transport was a game-changer for my multi-modal commute.
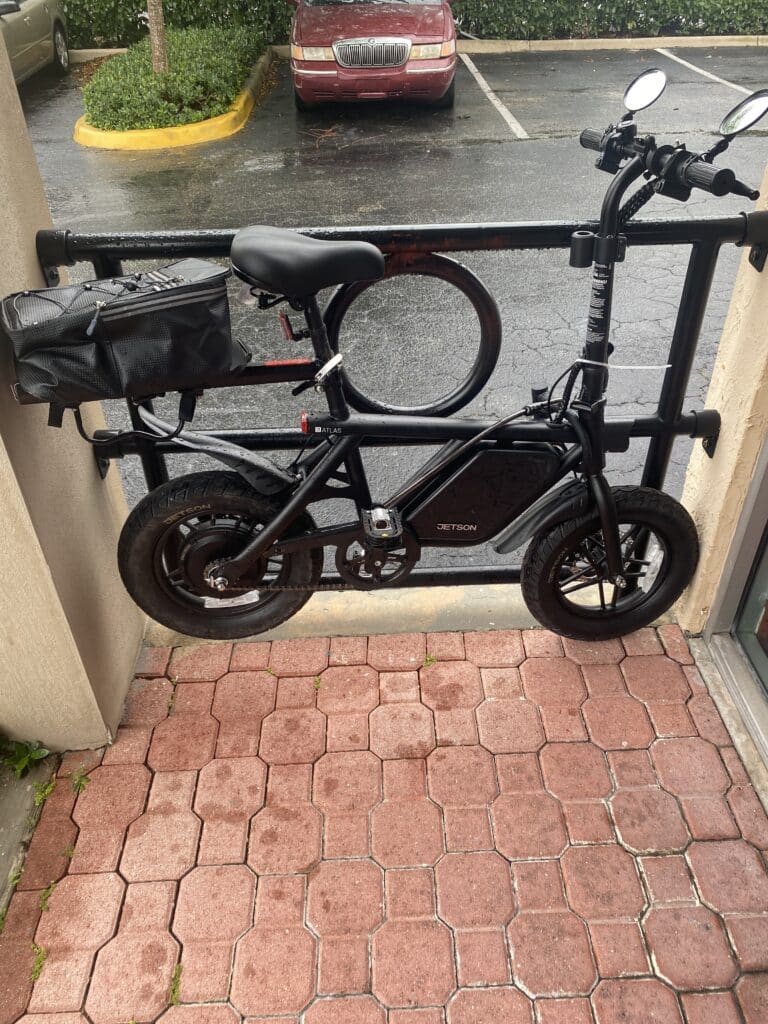
E-bikes were something I initially dismissed as “cheating” – until a knee injury left me struggling with my regular commute. Borrowing a friend’s e-bike for a week completely changed my perspective. I arrived at work without needing a shower, could maintain a consistent pace regardless of hills, and actually found myself biking MORE than before because the barrier to getting started was lower. They’re pricey, yeah, but if you calculate the cost against public transport or car expenses over a few years, many e-bikes actually pay for themselves pretty quickly.
When it comes to must-have features, fenders rank at the top of my list. I learned this lesson the hard way after arriving at an important meeting with an embarrassing brown stripe up my back from road spray. Quality full-coverage fenders are worth every penny. Racks and cargo capacity are my second priority – I started with just a backpack but quickly realized how much more comfortable it is to let the bike carry the weight instead of my shoulders. Chain guards might seem minor, but they’ve saved countless pairs of pants from grease stains and getting caught in the drive-train.
The geometry of a commuter bike makes a huge difference in comfort and practicality. I used to think a more aggressive, forward-leaning position was always better for speed, but for everyday commuting, a more upright posture has major advantages. It gives you better visibility in traffic, reduces strain on your wrists and neck, and makes it easier to keep an eye on what’s happening around you. After switching to a more upright position, my chronic wrist pain disappeared within weeks.
Maintenance requirements should be a major factor in your decision if you’re commuting daily. My first commuter had standard derailleurs that needed constant adjustment in wet weather. Switching to a bike with an internal gear hub was revolutionary – suddenly I could go months with minimal maintenance. Belt drives instead of chains are another game-changer if you can afford them – no grease, incredibly long-lasting, and virtually silent. If you’re mechanically disinclined like me, these low-maintenance features are worth prioritizing even if they cost more upfront.
Security features built into modern commuter bikes have come a long way. My current bike has wheel locks integrated into the frame, making quick stops so much more convenient – I can run into a coffee shop without unpacking my heavy U-lock for a five-minute stop. Some bikes now come with tracking devices cleverly hidden in the frame or integrated lighting that can’t be easily stolen. After having two lights stolen in a month, I switched to a dynamo hub system that powers permanently mounted lights – they’re always there, always charged, and never stolen.
The budget question is always tricky. After going through three cheap bikes in five years, I finally bit the bullet and invested in a higher-quality commuter. Four years later, it’s still going strong with minimal maintenance costs, making it cheaper in the long run than the budget options. Where to splurge? In my experience, contact points (saddle, grips, pedals), wheels, and anything related to weather protection are worth the investment. Components that dramatically improve the daily experience, like quality shifting systems or hydraulic disc brakes that work reliably in all weather, are worth the premium.
What I’ve learned from years of daily commuting is that the perfect commuter bike isn’t about finding the most expensive or trendiest option – it’s about honestly assessing your specific commute challenges and finding a bike that solves them. Consider your route, distance, storage situation, weather conditions, and maintenance willingness before making a decision. The right bike doesn’t just get you from A to B – it makes the journey between those points something you actually look forward to every day!
Maintenance On-The-Go: Roadside Repair Essentials
Let me tell you, nothing teaches you about bike repair quite like being stranded five miles from home in the pouring rain with a flat tire and no tools. That particular Tuesday evening adventure led to an expensive Uber ride, a soaking wet bike, and a firm resolve to never be caught unprepared again!
For carrying tools, I tried the trendy frame bags but found they interfered with my water bottle. I eventually settled on a combination of a small saddle bag for tools and parts, with larger items secured to mounting points on my rack using durable rubber straps. Whatever carrying method you choose, make sure it’s truly waterproof – I learned this lesson when I discovered my spare tube was sitting in a puddle inside a supposedly “water-resistant” bag.
Common commuting emergencies often have simple fixes if you’re prepared. Slipped chains can usually be fixed without tools, but knowing how to quickly pop them back on without getting filthy takes practice. Loose bolts on racks or fenders can be a major annoyance – I now do a quick “bolt check” before longer commutes. One unexpected tip I discovered: a broken spoke can be temporarily secured with a zip tie to prevent it from getting caught in your drive train until you can properly replace it. I carry three zip ties in different sizes which have fixed everything from broken fenders to loose reflectors.
The cleaning situation was something I never considered until I rode through freshly laid tar and had it splatter all over my legs and bike. Now I carry a small pack of baby wipes in a zip-lock bag – they’re perfect for cleaning hands after a chain repair or wiping down splatter from your frame. A microfiber cloth takes up almost no space and can be used dry or wet for cleaning glasses or lights covered in road grime. In really nasty conditions, I’ve used a small spray bottle of diluted dish soap to clean off mud or road salt.
The biggest lesson I’ve learned from years of commuting is that your repair kit should evolve based on your experiences. Start with the absolute essentials, then add items as you encounter problems. After every roadside issue, ask yourself: “What would have made this easier to fix?” Then add that item to your kit. The perfect balance is having everything you need without carrying tools you’ll never use. And remember to actually check your kit periodically – there’s nothing worse than discovering your spare tube has a hole or your multi-tool is missing a crucial bit when you’re already stranded!
Conclusion
Transforming your daily commute from a stressful necessity to an enjoyable part of your day is absolutely possible with the right gear! I’ve found that investing in quality commuter cycling essentials not only makes each ride more pleasant but also ensures you’ll stick with this healthy, eco-friendly transportation choice long-term.
When I first started commuting by bike, I was overwhelmed by all the options and gear recommendations. I made plenty of mistakes along the way from buying the wrong saddle that left me sore for days to getting caught in a downpour without proper rain gear. Each mishap taught me something valuable about what really matters for daily riders.
The safety equipment was my first priority after a close call with a delivery truck that simply didn’t see me in the early morning light. That experience convinced me that visibility isn’t optional – it’s essential! I upgraded to powerful lights and added reflective elements to my daily kit. The peace of mind alone was worth every penny.
Comfort came next on my journey. Those initial rides on an ill-fitted bike with the wrong saddle nearly made me give up altogether. But once I dialed in my bike fit and found the right saddle for my anatomy, my commute transformed from something I endured to something I looked forward to. There’s something almost meditative about a comfortable ride that prepares you for the day ahead or helps you decompress after work.
The tech gadgets were my final frontier. I resisted for years, thinking they were unnecessary extras. Now I can’t imagine commuting without my cycling computer and safety radar. They’ve not only made my rides safer but added an element of fun as I track my progress and routes over time.
Remember, you don’t need to acquire everything at once—start with the safety basics and gradually build your commuter toolkit as you identify your specific needs. Your perfect urban cycling setup is a personal journey that evolves with your experience. Some of my best gear discoveries came from talking with other commuters at bike racks or joining local commuter group rides.
Ready to roll? Grab these essentials, hit the bike lanes, and join the growing community of happy commuters who start and end their workdays with the simple joy of cycling! Trust me, that first morning when you zip past gridlocked traffic with the wind in your face, you’ll wonder why you didn’t start sooner.