Introduction
Did you know Americans spend an extra $2000 every year, just by owning a car? I’m an avid cyclist who has been commuting for 3 years straight, through college and the workplace. Combined with other trips, this has saved me $52 every single week, which adds up to $2496 per year that gets invested.
In this article, I’m here to show you how bike commuting can transform not just your wallet, but your entire morning routine.
There are a couple of strategies that I’ve been doing to make this work for me, and I will be giving you in this article a strong bike commuting guide in this article, including commuter cycling essentials, understanding the basics of bike maintenance, and learning how to take the best bike routes in your area.
I’ve got you covered with this complete guide that will take you from lost biker to a confident commuter cyclist!
Planning Your First Bike Commute
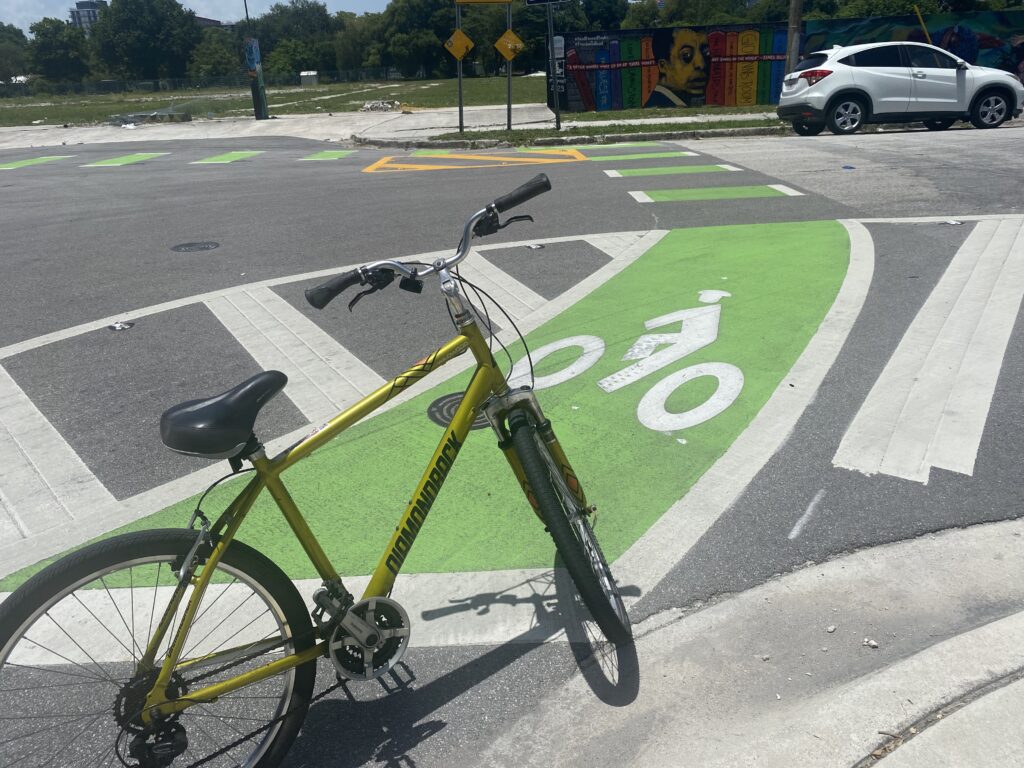
Keep this in mind, I was fearless and willing to try something new after my car broke down three years ago, I brought my yellow bike with me to go three miles to my classes. I’ll tell you this, I didn’t have too much trouble; however, one issue, I was late. The second time I did it, was still late. I was thinking there had to be a strategy to it, and I’ll teach you that here.
You have to plan everything you do when going beyond recreational cycling, as well as the way to make the most of the bike commuting guide I provide below.
Start With the Basics: Distance and Time
The first thing you have to do is measure your commute distance. I know it sounds obvious, but you’d be surprised how many people just wing it. I highly recommend Apple Maps or the Transit app for cycling; however, Google Maps is a good third option. You’ll never believe the first time I was put on a six-lane road going across 5 different intersections, now that I moved down to South Florida.
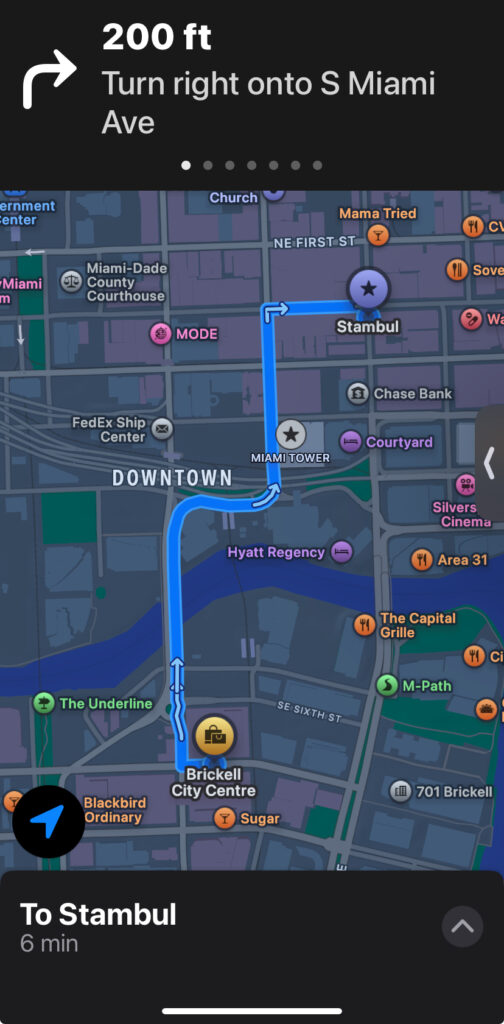
Here’s the real talk: most beginners need to begin on those 10-20 miles per hour city streets. That’s way different from cruising around your neighborhood on a Saturday morning. So if your commute is 5 miles, you’re looking at realistically 40 – 50 minutes of actual pedaling time, plus stops for traffic lights and intersections.
Finding Your Safest Route (This Part’s Crucial)
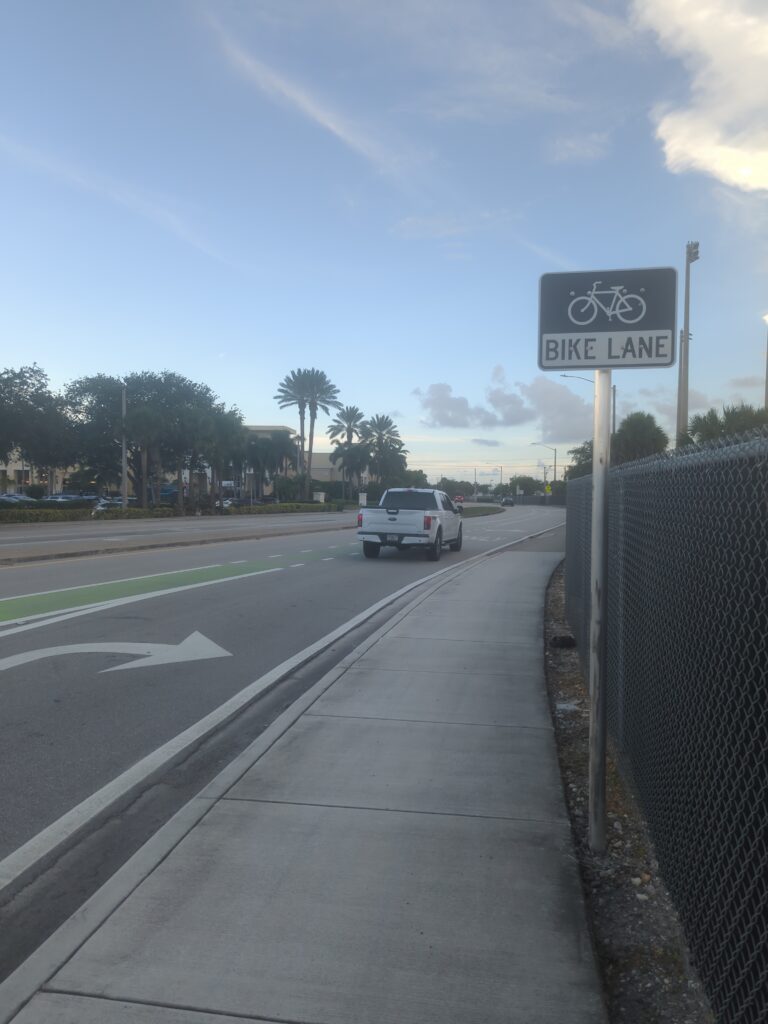
After my traffic nightmare, I became obsessed with route planning. The shortest route isn’t always the smartest route, especially when you’re dealing with busy roads and aggressive drivers. I spent hours researching bike lanes, side streets, and bike paths in my area.

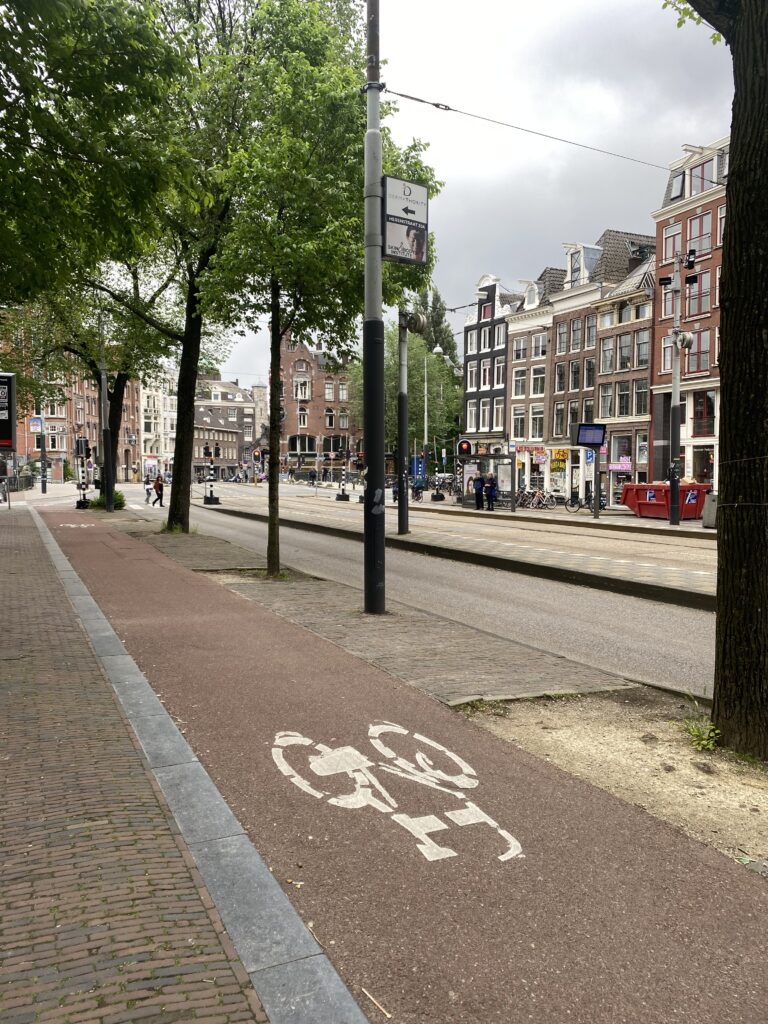
Most cities have bike route maps available online – seriously, check your city’s transportation website. These maps show dedicated bike lanes, shared roadways, and multi-use trails. I discovered a beautiful trail near me that saved me ten minutes on my commute, a complete game changer.
Apps That Actually Help
Strava’s route planner became my best friend during this process. It shows popular cycling routes that other riders use, which is pure gold for beginners. The heat maps show you where experienced cyclists ride, not just where bike lanes theoretically exist.

Google Maps has a cycling option too, but honestly, it’s not always perfect. Sometimes it’ll route you through sketchy areas or roads that technically allow bikes but aren’t safe for commuting.
Test Drive Everything
This might be the most important advice I can give you: test your route, or parts of your route, on an off-day. I cannot stress this enough. Weekend traffic is completely different from rush hour chaos, but at least you’ll know where you’re going and can time yourself without the pressure of being late for work.
I tested three different routes before settling on my favorite. One went up steep highway bridges (my legs were screaming), another had construction that made it dangerous, and the third one was just right, kinda like the Goldilocks of bike routes.
Weather planning saved my butt more times than I can count. Check your local weather patterns and have backup plans for rain, heavy winds, or extreme heat. Some days, it’s just smarter to take the bus if car-free.
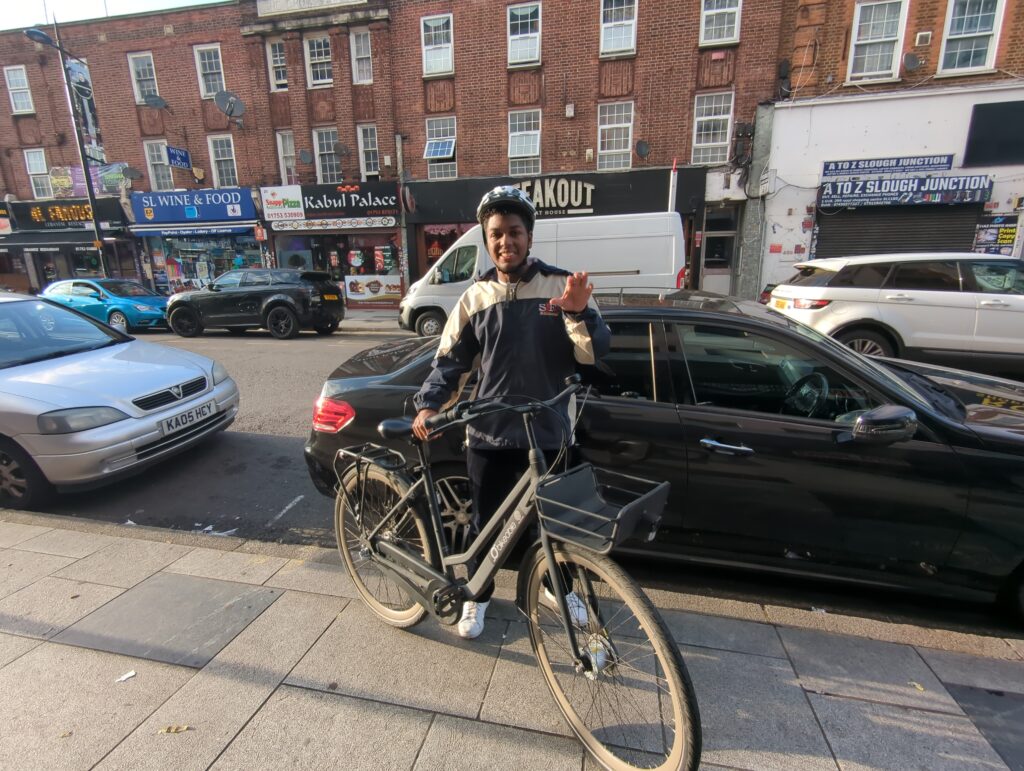
Essential Gear for New Bike Commuters
Week two of cycling, no lights, nearly invisible in the early morning darkness. Week three: showed up to work looking like I’d been through a washing machine because I had zero weather protection. Learned from that one for sure. In week six, I almost went back to driving my beat-up car.
But here’s the thing: you don’t need to spend a fortune or buy everything at once. When you realize you need it, get it! Don’t be me, dropping $120 at the bike shop in a panic-buying frenzy. Half that stuff just collected dust in my garage and went unused. Those lights, I could’ve just bought on Amazon Prime for next-day delivery, or hit my local bike shop, don’t get too redundant.
Your Bike: The Foundation of Everything
Choosing your commuter bike is probably the biggest decision you’ll make, and honestly, it doesn’t have to be complicated. I started with my old mountain bike from college, and you know what? It worked perfectly fine for the first couple of years and still goes; however, it’s pretty slow.
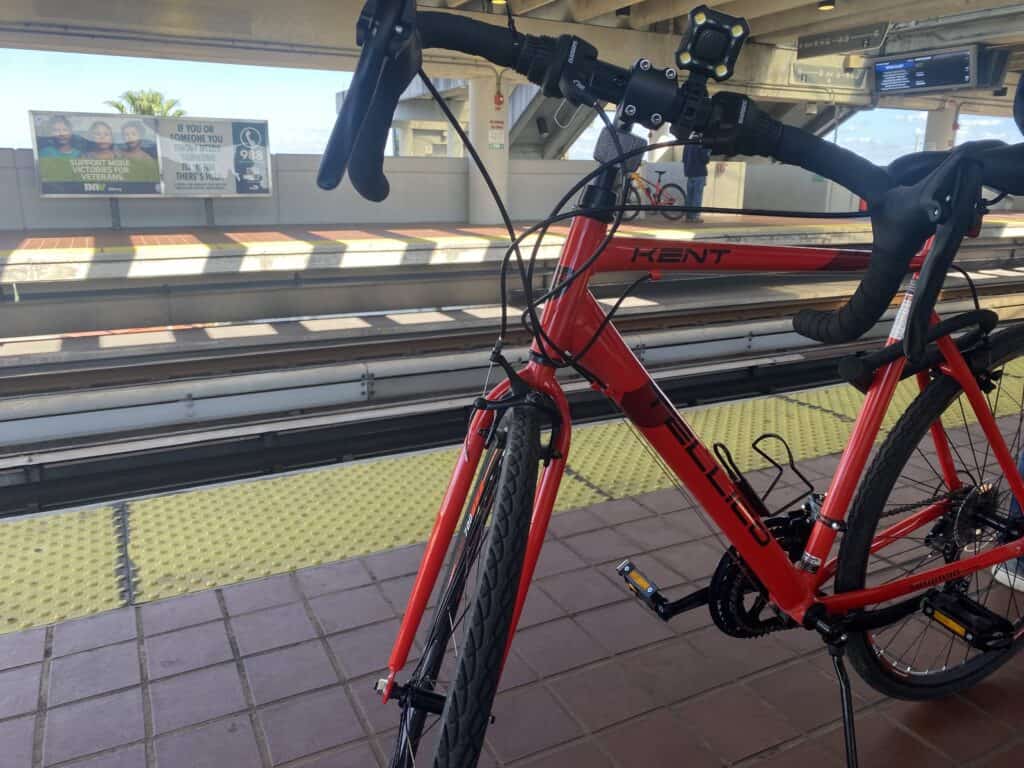
If you’re buying new, hybrid, or road bikes, they are arguably workhorses. They’re comfortable, handle city streets well, and won’t break the bank. I have a Kent bicycle, and while I’ll recommend a Trek bike, this has been very durable for plenty of months. Road bikes are fast it’s uncomfortable for daily riding if you’re going very far, especially if your route has any rough pavement. Mountain bikes work too, but they’re slower on pavement, though the upright position is great for visibility in traffic.
Here’s my real-world advice: whatever bike you choose, make sure it has mounting points for racks and fenders. Trust me on this one.
Safety Gear That Matters
I’m gonna be straight with you – the helmet debate gets heated in cycling circles, I always recommend it every time possible. I’ve had a close call with a car that was almost pushing me into the street, which shows how it’s worth it. Even though I have one, I don’t think it’s always necessary to wear depending on where you live and what routes you take.
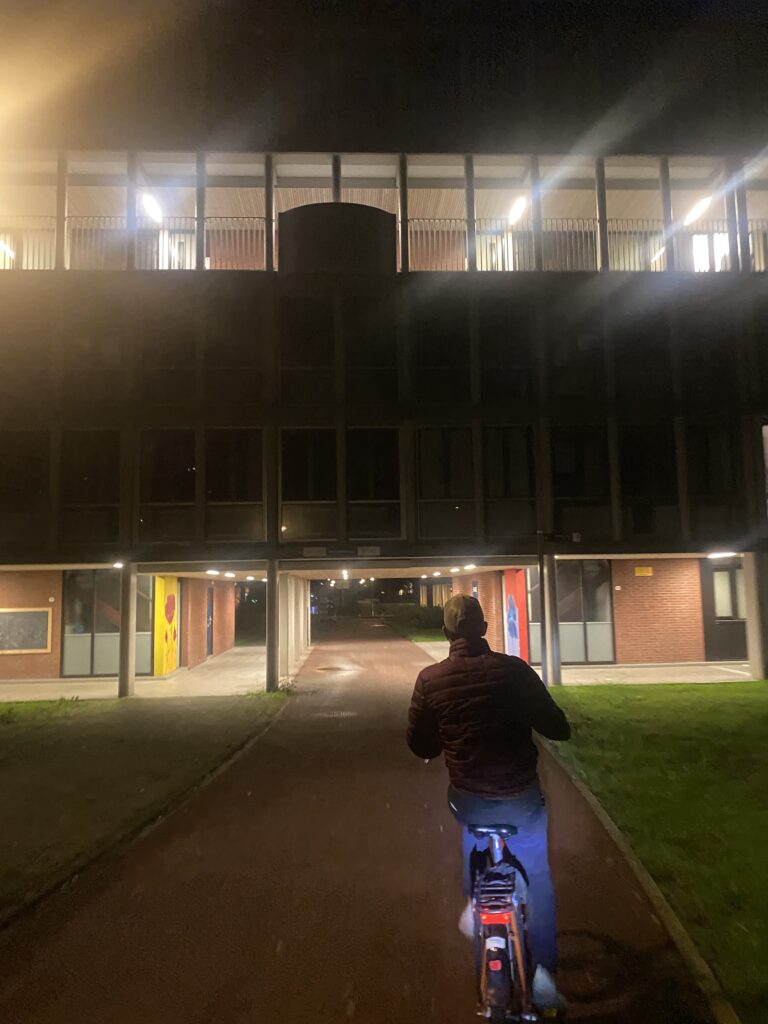
Lights are non-negotiable, period. I see so many cyclists riding in the dark with no lights, and it terrifies me. I remember being in my parents’ car and passing by a bike that they had to swerve around, nearly being invisible. You need a white front light and a red rear light, minimum. I use a light that makes a loud noise so I can be seen in both directions, got from Amazon. Twenty Dollars, Simple!
And if you want to go the extra route, carry a backpack with a reflective vest. Cars notice you way sooner with that extra visibility.
Weather Protection (Learn From My Mistakes)
Rain gear was my biggest learning curve. On my first rainy commute, I wore a thick jacket and jeans. Showed up looking like a drenched cat and smelled, classmates weren’t too keen on it.
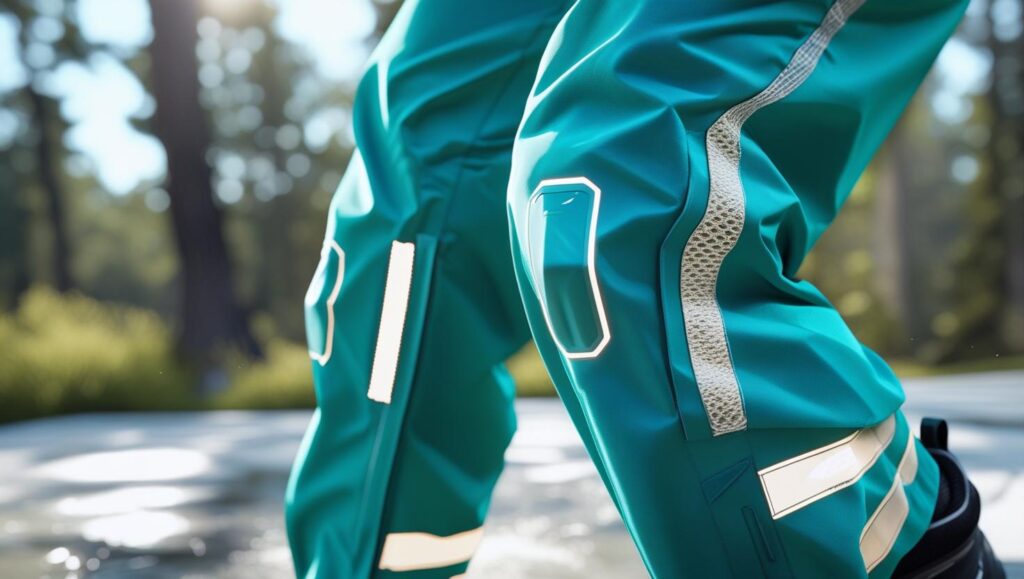
A basic rain jacket designed for cycling makes all the difference. Look for something with vents and a longer back – regular rain jackets ride up when you’re leaning forward on the bike. I picked this Nautica rain jacket with these very thin waterproof pants from Old Navy, and they’ve been great since. It dries out in 10 minutes.
Fenders are essential if you ride in wet conditions, trust me, even if no rain, that puddle will soak your pants. They keep road spray off you and your bike. I installed SKS Longboard fenders on my bike, and they’ve been worth every penny of the $40 I spent.
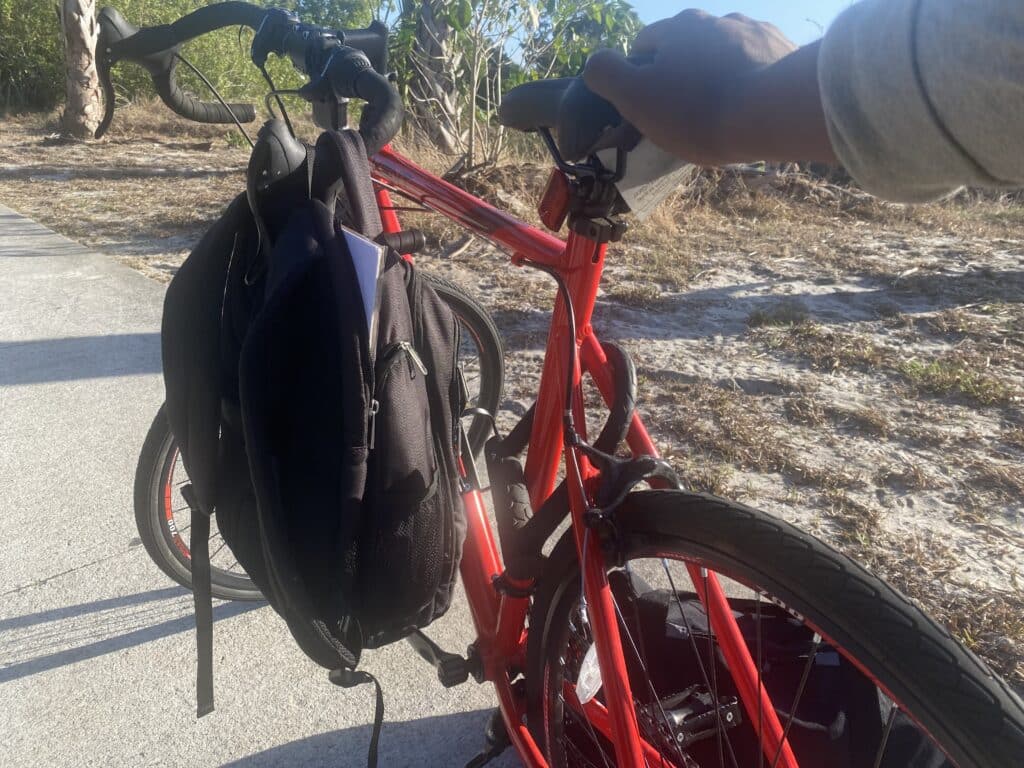
Carrying Your Stuff Without Breaking Your Back
Backpacks work, but they make you sweaty and throw off your balance. I used one for months before discovering panniers, and man, what a difference. Now, currently I’m still using Backpacks at times, but I recommend panniers if you get the money or a bike rack.
What I’ve done myself is use a bike rack for my bike carrying a bag, what a great solution! It’s saved me from tons of trouble going to the airport with two bags.
For lighter loads, a simple front basket works great too. I’ve got a Wald basket that holds my coffee, lunch, and random stuff. Cost me $25 and mounts easily to most bikes.
Budget-Friendly Starter Kit
If you’re just testing the waters, here’s my bare-minimum setup that won’t break the bank: a barebones helmet ($20), basic front and rear lights ($40), a simple rain jacket ($30), and a backpack you probably already own. That’s under $100 to get started safely.
You can always upgrade later as you figure out what you need. I wish someone had told me that instead of letting me blow my budget on gear I never ended up using.
What if I’ve never even touched a bike?
Let’s say you want to get into this with nothing, go on Facebook and find a free bike on there, take it straight to a bike shop, and hear the estimate they give you.
It’s a good way to learn about bikes, how they work, plus learn about where people bike in your city. Also, I recommend biking with groups on meetup.com in your city to make you more comfortable.
Remember, you won’t start at that high level of comfort or confidence of biking in crazy traffic. This is a good way of getting to a point of knowing your city, knowing your bike route, and knowing how to bike at night. Some skills will take a week, and some years, especially changing gears the right way.
Start small, be patient with yourself, and celebrate every milestone along the way. Bike one mile, celebrate! This is your cost-effective adventure. Have fun while commuting.