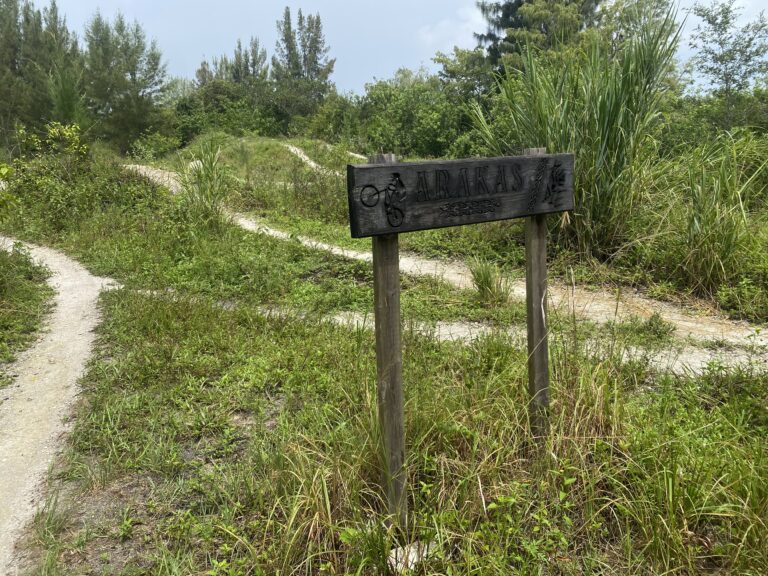
Think about a time you slide straight into sand on a trail. Embarassing.
This guide breaks down the essential mountain biking techniques you need to ride with more control, confidence, and speed. It’s designed for you building that foundation, sharpening MTB skills, and refining technical precision. If you want to know more about a beginner perspective click here.
You’ll learn practical tips you can apply on your next ride, plus safety like how to patch and seal mtb tires, setup, and training advice to help you progress faster and avoid common mistakes.
What Are Mountain Biking Techniques?
Bike Setup / Brakes
Start with a fit that lets you move: a comfortable reach, saddle height for efficient pedaling, and lever angle that aligns with your forearms. Be ready, in the neutral position, keep level pedals, a slight bend in elbows and knees, hips centered over the bottom bracket, and eyes scanning ahead. Shift to the ready position before features by dropping heels, hinging at the hips, lowering your chest, and lightening your grip so the bike can move under you.
Use both brakes smoothly, biasing the front for stopping power while keeping weight balanced to maintain traction. Squeeze, don’t grab—modulate pressure to avoid skids and keep the tires hooked up. Brake before corners and rough sections, then release to let the bike roll and grip through the feature.
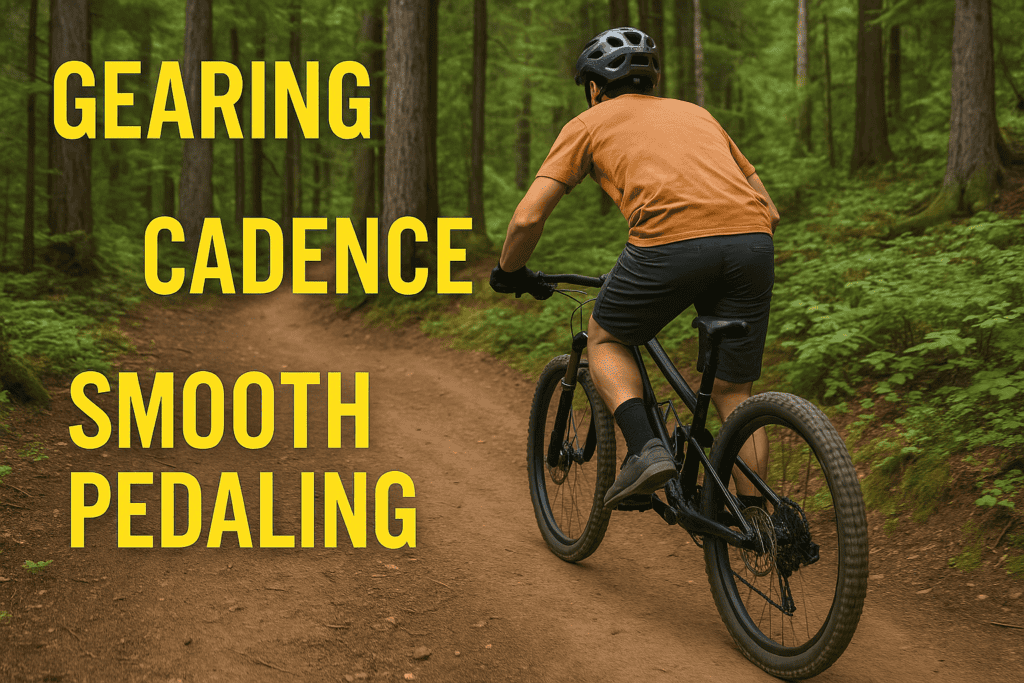
Gearing, Cadence, and Smooth Pedaling
Choose gears that keep your cadence steady and light so you can maintain traction and conserve energy. Anticipate terrain changes and shift early to avoid mashing or stalling. Focus on round, smooth pedal strokes and soft upper body tension to keep the bike stable.
Look where you want to go, turning your head and eyes through the exit early to guide the bike. Set speed before the turn, enter wide, clip the apex if safe, and exit wide while leaning the bike beneath a stable body. Drive weight through your outside foot, keep elbows out for control, and stay light on the bars so the tires can grip.
Climbing + Descending
Stay seated on steep climbs to keep rear-wheel traction, scooting forward slightly to keep the front planted. Use a smooth cadence and light hands to prevent wheel spin or front wheel lift. Stand briefly for power over steps or short pitches, but re-center quickly to maintain balance and traction.
Lower your center of gravity by hinging at the hips with level pedals and heels slightly dropped. Look far ahead, relax your arms and legs as active suspension, and let the bike move under you. Brake in straight lines before rough zones and release when rolling over obstacles to keep traction and speed.
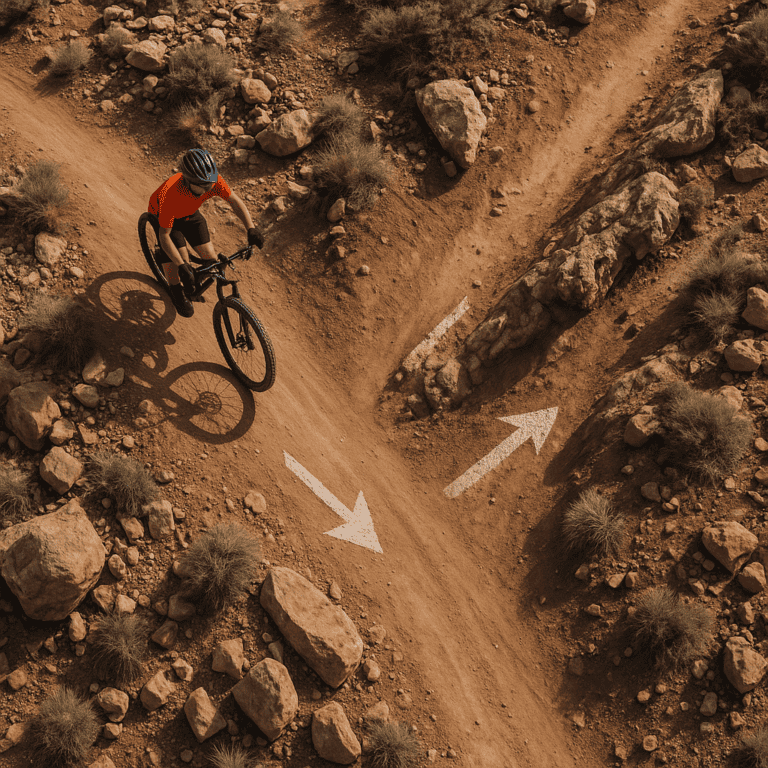
Line Choice and Trail Scanning
Scan ahead to spot the smoothest, safest, and fastest lines, not just what’s directly in front of your wheel. Choose lines that maintain momentum, avoid square edges, and set you up for the next feature. Commit to your line, but stay adaptable if conditions change.
FAQs on Mountain Biking Techniques
How long does it take to learn basic mountain biking techniques?
Most riders see noticeable improvements in two to four weeks with focused practice two to three times per week. Building reliable fundamentals like braking, cornering, and body position typically takes a few months. Consistency, feedback, and sessioning specific skills accelerate the timeline.
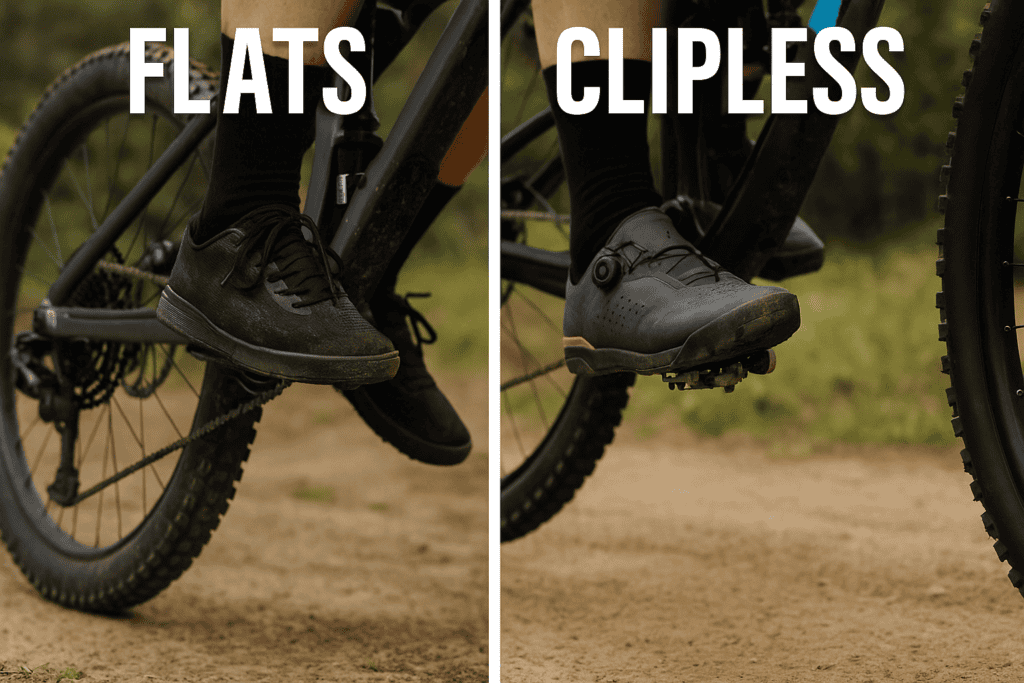
Should beginners use flat or clipless pedals?
Beginners benefit most from flats because they allow quick foot dabs and build confident technique without relying on being clipped in. Flats improve body position, bunny hops, and cornering fundamentals. Once you’re consistent, clipless can add efficiency for longer rides or racing.
How do I get over fear of drops and jumps?
Start on rollable features and table-tops that allow safe exits and progressive speed. Break the skill into steps: approach speed, body position, takeoff timing, and landing absorption, practicing each in isolation. Visualization, video review, and small, repeated successes build confidence safely.
What are the best drills to improve cornering?
Practice wide-entry, apex, and wide-exit on a repeatable corner, focusing on vision and bike lean beneath a stable body. Add braking markers to set speed early, then work on release and drive out. Use cones to narrow lines and increase precision as you improve.
How can I climb more efficiently on steep trails?
Shift early to maintain cadence, stay seated to keep traction, and scoot forward to prevent front wheel lift. Keep elbows relaxed and weight balanced, applying smooth power to avoid spin. Use micro-rests by easing effort on micro-plateaus while keeping momentum.
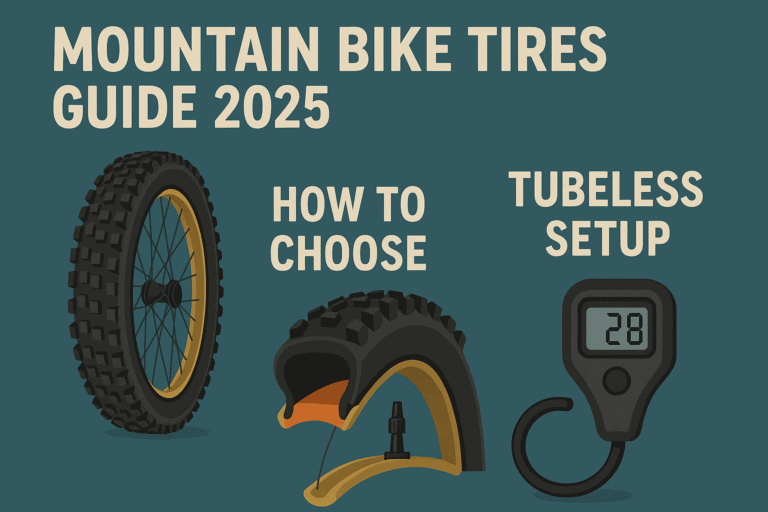
How do I set tire pressure for different trails?
Run the lowest pressure that avoids rim strikes and burping, adjusting for rider weight, casing, and terrain roughness. For rocky or high-speed trails, add a bit of pressure for protection; for wet or loose surfaces, lower slightly to increase contact patch. Check pressure before each ride and fine-tune based on feel and grip.
Intermediate MTB Techniques
Switchbacks (uphill and downhill)
For uphill switchbacks, look to the exit early, shift to an easier gear, and keep a steady cadence with a small front wheel lift if needed to clear the corner. On downhill switchbacks, brake early, enter wide, and rotate your hips and shoulders toward the exit while leaning the bike under a stable body. Stay relaxed, and use micro-pumps or light front wheel unweights to flow through tight turns.
For front wheel lifts, preload by compressing then quickly extending hips and arms while shifting weight back to raise the wheel. Rear lifts use a forward hip shift, quick ankle scoop, and light brake timing to unweight and pop the rear over obstacles. Practice at slow speeds first to build timing and control.
Bunny Hops (J-hop vs. English hop)
The English hop lifts both wheels with a simultaneous jump and is simpler but lower. The J-hop uses a pronounced front wheel lift followed by a rear wheel snap for higher, more controlled hops over trail features. Learn the J-hop by exaggerating the front lift, then tucking knees and scooping the rear to clear obstacles cleanly.
Generate free speed by pushing down into the backside of rollers and transitions while staying light over crests. Time your pumps with the terrain to maintain traction and momentum without pedaling. Keep your head level, hinge at the hips, and let arms and legs act like springs.

Drops and Roll-Downs
For roll-downs, keep wheels rolling by staying centered, light on the bars, and allowing the front wheel to follow the terrain. For drops, preload, lift the front wheel slightly, and push the bike forward to level out, landing with level pedals and soft knees. Spot your landing early and avoid braking on the lip or mid-air.
Approach with a speed you can manage, preload the face by compressing then extending smoothly, and keep the bike level in the air. Look to the landing, relax your grip, and absorb with ankles, knees, and hips. Start on table-tops to practice safe landings before progressing to gaps.
Advanced Mountain Biking Techniques
Manuals and Wheelies
Manuals balance on the rear wheel without pedaling, using a strong hip hinge and precise rearward weight shift to find the balance point. Wheelies add consistent pedal strokes and brake control to keep the front up while moving uphill or on flats. Practice in a safe area, covering the rear brake to keep progression controlled.
Look far ahead, choose a smooth, high line when possible, and keep light hands with active legs to let the bike dance. Maintain momentum, avoid braking on the roughest sections, and lift or unweight over square edges. Commit to your line, keep pedals level, and drive through with steady body position.
High-Speed Cornering and Berms
Brake early, then release and load the tires by leaning the bike and pushing through your outside foot. In berms, trust the wall, keep your head and chest low, and drive through the middle to exit with speed. Keep vision far ahead and adjust pressure based on grip to avoid slides.
Steep Chutes and Slabs
Enter in a ready position with heels dropped and chest low, scanning the runout first. Control speed before the steepest section, then stay off the brakes or use light, consistent pressure to preserve traction. Commit to a stable body position and let the bike angle beneath you without going rear-heavy.
Soften inputs, lower speed slightly, and prioritize smooth lines and braking. Run slightly lower tire pressure for grip, and avoid sudden weight shifts or sharp steering. Look for supportive terrain like roots aligned with your path and pack speed gradually rather than abruptly.
Training and Fitness for MTB Technique
Strength and Core Stability
Build a strong posterior chain with deadlifts, hip hinges, rows, and anti-rotation core work to stabilize the bike. Focus on high-quality movement patterns that mirror riding positions. Two to three short sessions per week improve control, endurance, and injury resistance.
Balance and Reaction Drills
Practice track stands, slow-speed figure eights, and single-leg balance to sharpen control. Add reaction drills like quick direction changes and cone slaloms to improve handling under pressure. Keep sessions short and frequent to ingrain neural adaptations.
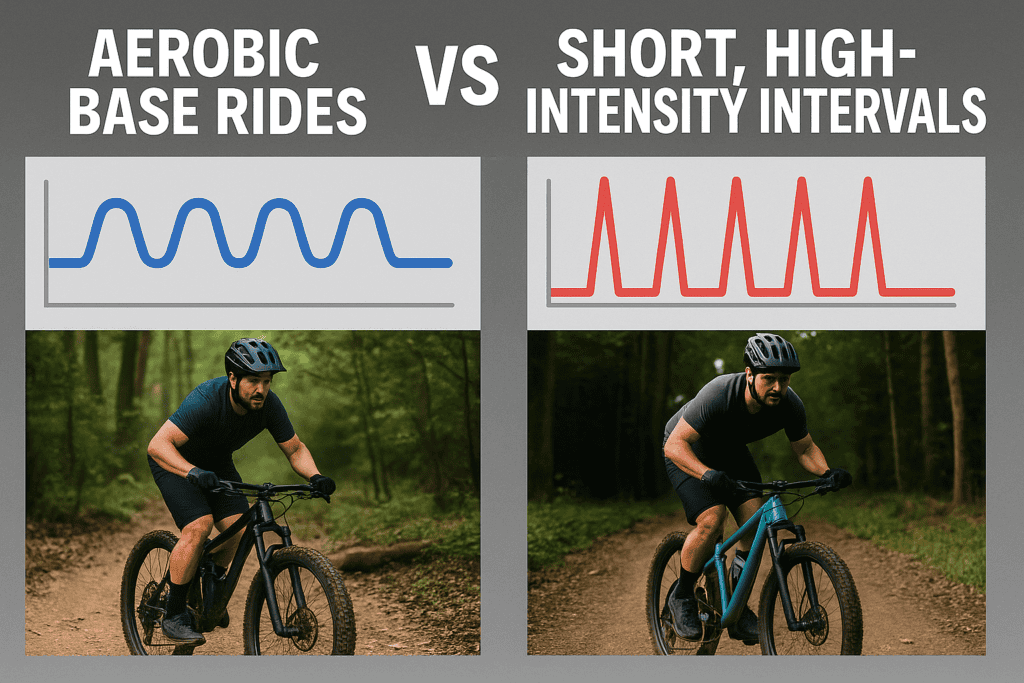
Something also you can do is combine aerobic base rides with short, high-intensity intervals to boost climbing power and recovery. Use hill repeats, seated sprints, and tempo efforts to simulate trail demands. Balance intensity with easy spins to maintain freshness and avoid burnout.
Mobility and Flexibility
Prioritize hip mobility, ankle dorsiflexion, and thoracic spine rotation to improve body position and comfort. Add daily soft-tissue work and dynamic warm-ups before rides. Better mobility reduces fatigue and makes technical movements smoother.
Bike Setup and Maintenance for Better Technique
Tire Choice and Pressure
Choose tread based on terrain: faster-rolling for hardpack, deeper lugs for loose or wet trails. Run the lowest pressure that prevents burps or rim strikes to maximize grip and comfort. Check pressure before every ride, adjusting for rider weight, casing, and conditions.
Suspension Setup (sag, rebound, compression)
Set sag to manufacturer guidelines, typically around 25–30% for trail use, to balance traction and support. Tune rebound so the bike returns quickly without kicking, and adjust compression to control dive and harshness. Recheck settings periodically, as temperature, terrain, and riding style affect performance.
Cockpit Fit (bar width, stem, lever angle)
Use a bar width that offers stability without compromising tight maneuvering, paired with a stem length that centers you over the bike. Angle brake levers in line with your forearms to reduce strain and improve modulation. Fine-tune lever reach and shifter position so you can cover brakes comfortably and shift without moving your hands.
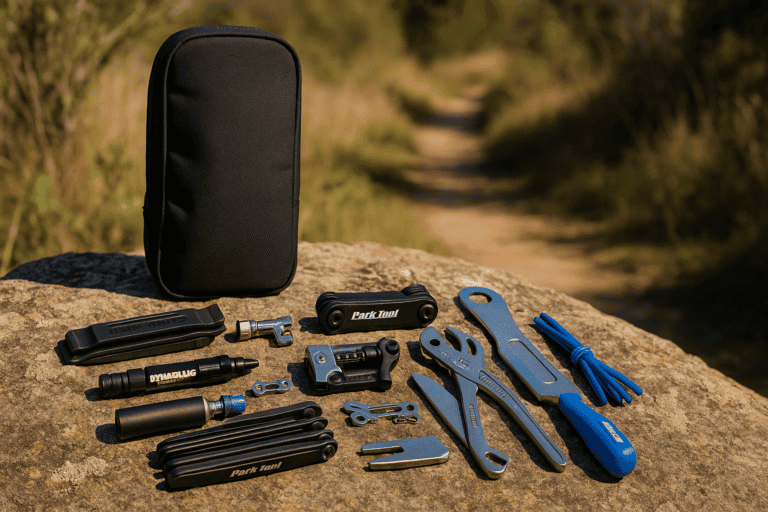
Brake and Drivetrain Checks
Inspect pads and rotors for wear, ensure firm lever feel, and bed in new pads properly for consistent braking. Keep the chain clean and lubricated, check for stretch, and verify smooth shifting under load. Address creaks and loose bolts promptly to prevent failures on trail.
Practice Plans and Drills
Parking-Lot Drills
Warm up with track stands, slow-speed circles, figure eights, and emergency stops to build control. Add front and rear wheel lifts, bunny hops, and cone slaloms to refine timing and balance. Keep sessions focused and repeatable, progressing difficulty gradually.
Trail Progressions and Feature Sessioning
Start on mellow trails to apply skills, then move to more technical features as confidence grows. Session corners, roots, and small drops repeatedly, changing line choice and speed to learn what works. Record what felt stable and replicate those patterns on new terrain.
Using Cones/Markers and Timing
Set cones to mark braking points, entry lines, apexes, and exits to train consistency. Use simple timing tools or lap features to measure improvements objectively. Adjust markers as you progress to challenge vision, precision, and speed.
Video Analysis and Feedback
Film from multiple angles and use slow motion to spot posture, timing, and line errors. Compare your runs to reference technique and note one or two changes per session. Ask experienced riders or coaches for concise feedback to accelerate learning.
Common Mistakes and How to Fix Them
Locked Arms and Death Grip
Rigid arms and a tight grip block the bike’s ability to track the ground and kill traction. Bend elbows, relax hands, and let the front wheel move while guiding with light pressure. Breathe out on rough sections to release tension and regain feel.
Over-shifting weight back unweights the front tire and reduces control. Center your hips over the bottom bracket with heels slightly dropped and chest low. Practice controlled braking while centered to rebuild trust in front-end traction.
Over-Braking in Turns
Braking mid-corner stands the bike up and reduces grip, causing slides. Set speed before the turn, then release brakes and lean the bike to load the tires. If you must slow down, apply light, even pressure and re-center immediately.
Staring at your front tire shortens reaction time and leads to poor line choice. Keep eyes up and scan through the exit of features to steer your body and bike. Practice calling out trail cues ahead to build the habit.
Pedaling Inefficiencies
Mashing a hard gear wastes energy and breaks traction, especially on climbs. Shift early, maintain a smooth cadence, and keep upper body quiet to stabilize the bike. Use a light, round pedal stroke to maintain momentum over rough patches.
Gear and Accessories That Support Technique
Flat vs. Clipless Pedals for Learning
Flats are ideal for learning because easy foot removal encourages experimentation and safer bails. And if you have some cheap shoes even better like some vans those work. Hence why I have some converse in my pictures at times.
Clipless pedals boost power and efficiency once fundamentals are solid. Start with flats to groove technique, then transition if your terrain and goals benefit.
A dropper post instantly lowers your center of gravity, improving cornering, descending, and mounting/dismounting on technical climbs. Set lever reach and post return speed for quick, controlled actuation. Practice timing drops and raises so seat height never interrupts technique.
Protective Gear (helmet, pads, gloves)
A modern, well-ventilated helmet and full-finger gloves are non-negotiable for MTB safety and control. Add knee and elbow pads for technical rides or when practicing new skills to reduce injury risk. Consider eyewear with lenses matched to light conditions to keep vision clear.
Conclusion and Next Steps
Focus on one or two mountain biking techniques at a time, practice them in controlled settings, then apply them on trail with deliberate sessioning. Track progress with simple timing, markers, and video feedback to make changes stick. If you want faster results, consider a reputable coach or skills clinic to personalize cues and ensure safe, steady progression.