Introduction
Finding the perfect tire pressure for your mountain bike can completely change how your ride feels. I still remember the first time I overinflated my tires and ended up losing control on my trail, in fact barely able to move, and had to go back home. A few PSI lower, and suddenly the bike felt alive, gripping corners and gliding over roots instead of fighting me the whole way.
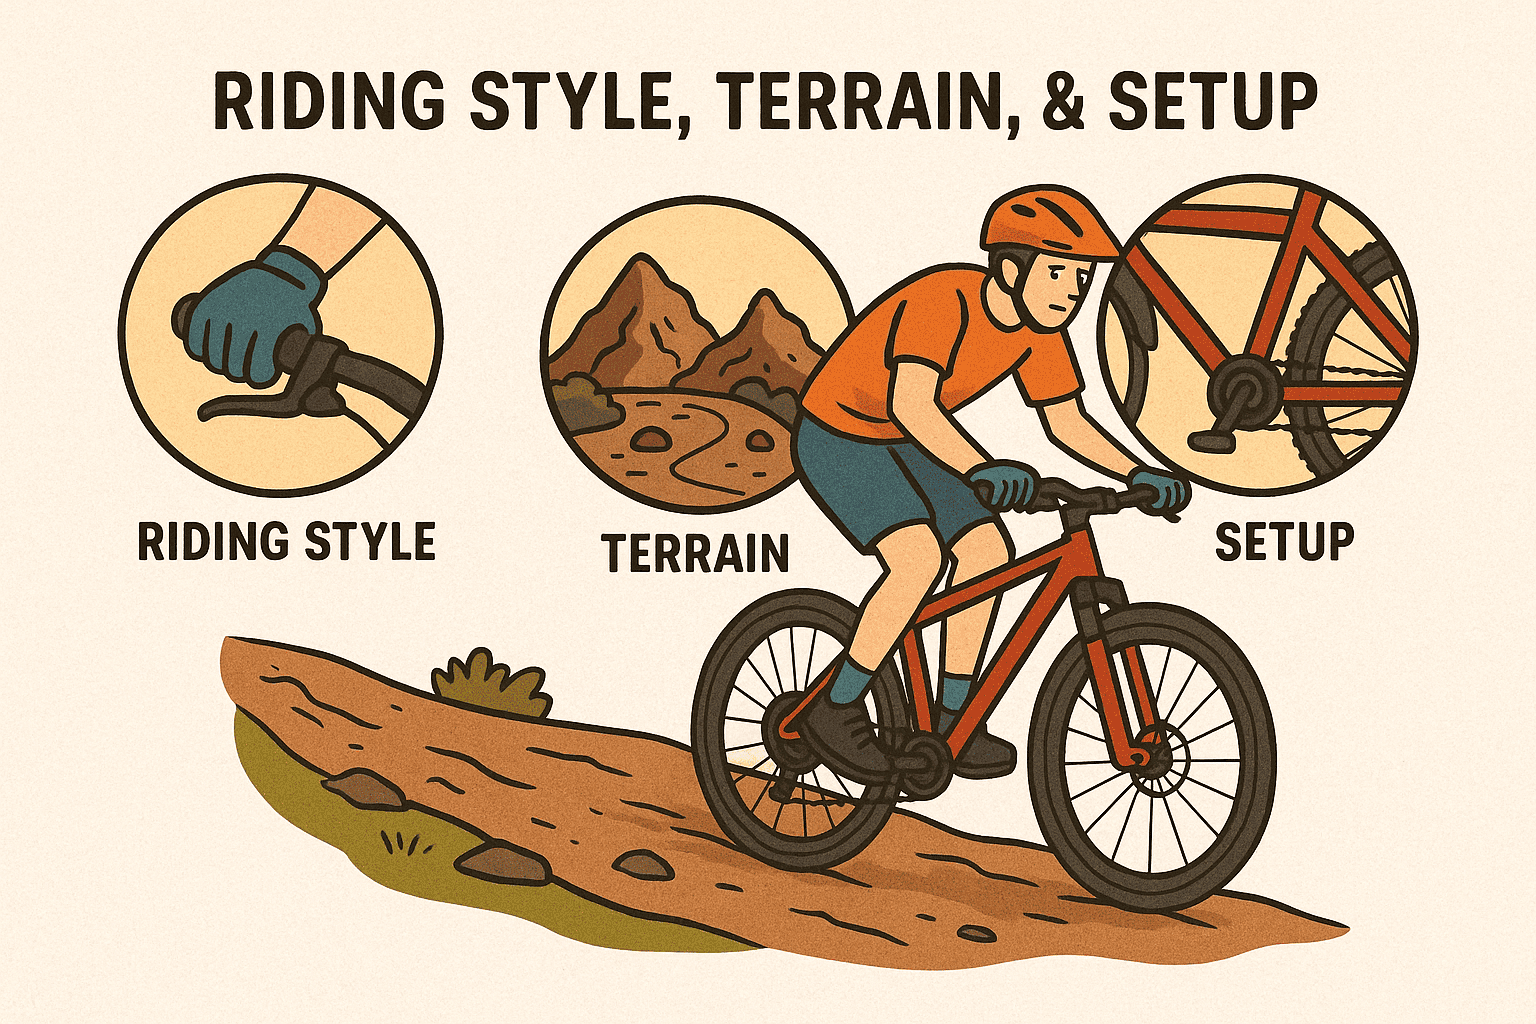
In this guide, we’ll look at how to dial in the best mountain bike tire pressure for your riding style, terrain, and setup.

You’ll also have to consider things that you consider when having great tire pressure like the best mountain bike tires, when to switch to tubeless tires, how to set up your MTB suspension, and even how the right MTB shoes and cycling gloves can change how your bike feels on the trail.
Whether you ride trail, enduro, or full downhill, finding the perfect PSI is one of the simplest ways to feel faster, smoother, and more in control.
Why Tire Pressure Matters for MTB Performance
Finding Out the Hard Way
I learned early on that tire pressure can make or break a ride. The first time I aired mine up too high, it felt like my bike was trying to buck me off with every root. Every small rock felt like a speed bump.
I thought firm meant fast, but I was completely wrong. Once I dropped just a few PSI, everything changed. The tires grabbed the dirt, and the ride felt smoother, like the bike finally understood the trail.
If you’ve ever had a similar experience, you’ll know how much difference a small adjustment makes, just like choosing the right mountain bike tires for your terrain.

The Balance Between Grip and Speed
Tire pressure isn’t just about comfort. It’s the foundation of traction, control, and rolling resistance. Too much air and you bounce; too little and your rim starts kissing rocks. Even a small PSI change can alter how your bike corners. When I switched to tubeless tires, I started running around 24 PSI in the front and 27 in the back, and it felt like my bike finally gripped instead of sliding out on turns.
Learning Through Small Adjustments
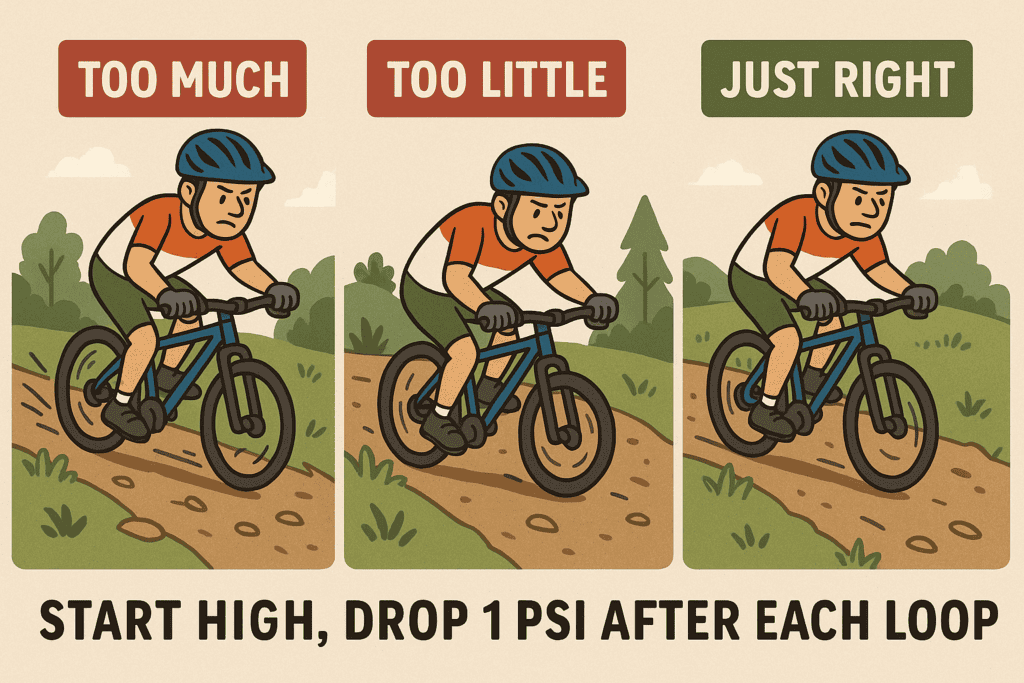
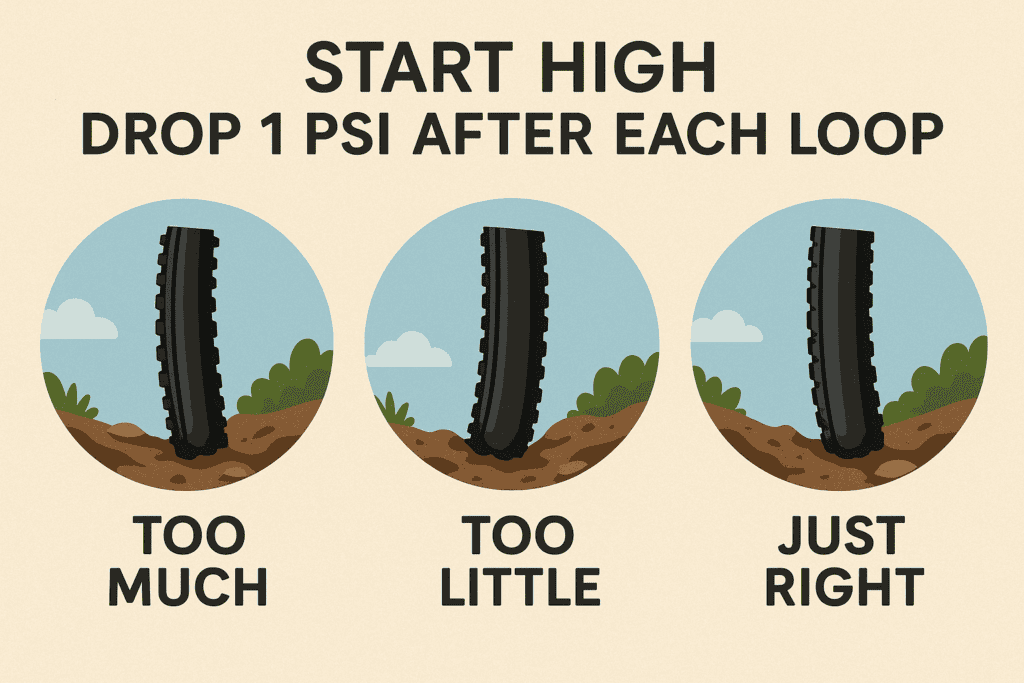
There’s no universal perfect PSI. What works on hardpack won’t work on muddy trails. The trick is to experiment. Start high, drop 1 PSI after each loop, and notice how your tires feel when leaning into corners or rolling over roots. Eventually, you’ll find the sweet spot that makes the trail feel natural. That’s when your setup is dialed in.
Recommended MTB Tire Pressure by Terrain
Trail Pressure Ranges
Different trails demand different PSI. For general trail riding, 24 to 28 PSI in the front and 26 to 30 in the rear is a good starting point for 2.4 to 2.6 inch tires. If you ride enduro or rocky terrain, try going a little lower, maybe 22 in the front and 25 in the rear. Downhill riders sometimes go as low as 20 and 23 PSI, but only if their rims and sidewalls are strong enough. Pairing that setup with a proper MTB suspension setup can drastically improve comfort and control.
If you want a quick reference, check out the MTB tire pressure chart for 2025 for terrain-specific PSI recommendations.
Adjusting for Rider Weight
Rider weight affects PSI more than most people realize. I used to copy a friend’s setup even though he weighed 30 pounds less, and I’d keep bottoming out on roots. If you’re under 150 pounds, drop a few PSI. Over 190? Add two or three to avoid rim strikes.
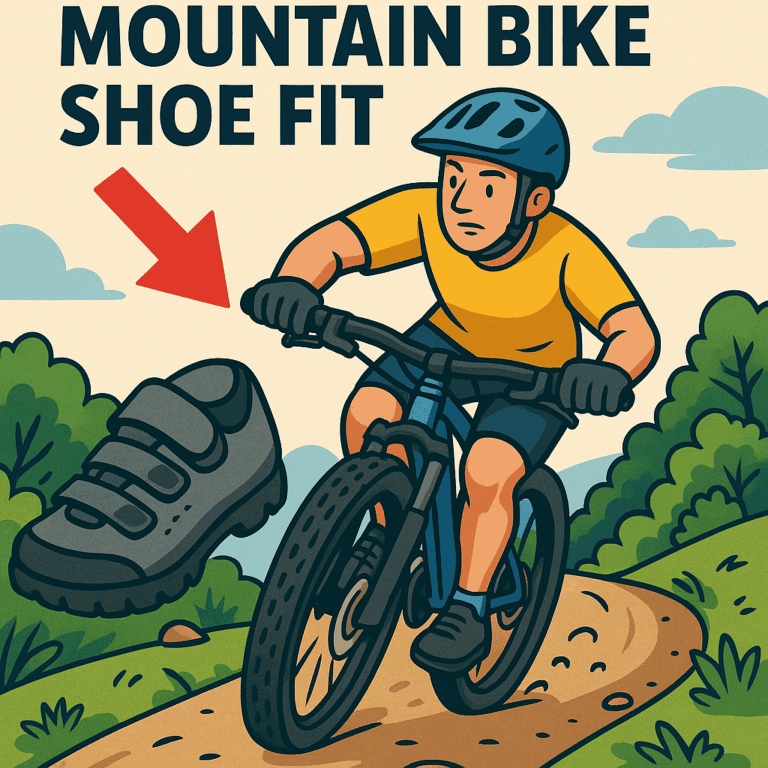
Also, think about how your setup interacts with MTB pants and shoes. Your gear affects how your body feels those PSI changes and can help you ride longer without fatigue.
Adapting to Trail Conditions
Sandy trails need higher pressure to stay on top. On slick roots or clay, lowering PSI increases traction. I always carry a small digital gauge so I can adjust mid ride. Even a 2 PSI tweak can transform handling. Combine that with a mountain bike gear checklist so you’re always ready for changing conditions.
Environmental Factors
Cold air can drop your PSI overnight, and higher altitude makes your tires feel firmer. Always check before a big ride, especially if you’re heading from local trails to a mountain descent.
Tubeless vs Tube PSI Differences
The Grip Advantage
Tubeless setups let you run lower PSI because there’s no inner tube to pinch. The casing molds around rocks for better grip and control. The improvement on rough trails is immediate. It smooths out chatter and adds stability.
Combine it with a solid pair of MTB shoes for wide feet for extra pedal security on rough descents.
Pressure Maintenance and Setup Tips
Tubeless systems can lose air gradually, so check PSI before every ride. Refresh sealant every few months and carry a plug kit. I usually run about 2 PSI less in the front tire for better steering traction. For a full breakdown of differences, see my Tubeless vs Tube MTB guide.
Rider Weight, Suspension, and Tire Pressure
Weight and PSI Relationship
The heavier you are, the more your tires flex. That means you’ll need slightly higher PSI to keep them from folding in corners. Lighter riders can run lower pressures for more grip. I weigh about 175 and run 25 PSI front and 27 rear, which works for most trails I ride, this is what some people don’t consider so I recommend a mini kit if necessary.
Hardtail vs Full Suspension
Hardtails usually need lower rear PSI to absorb impacts since they don’t have rear suspension. Full suspension bikes can use slightly higher pressure because the shocks do more work. If you’re not sure where to start, use my MTB suspension setup guide to match tire pressure with your bike’s suspension curve.
Testing Your Setup
Find a short technical section and ride it multiple times, dropping 1 PSI each run. When your tires feel planted but not sluggish, you’ve found your number. I test tire and suspension setups together since they work hand in hand.
Pro Tips for Perfect PSI Setup
Check PSI Before Every Ride
Check your pressure before every ride. Temperature changes can throw things off overnight. A small digital gauge is essential. It’s right up there with mountain bike gloves for comfort and safety.
Front vs Rear Pressure
Run slightly lower PSI up front for traction and higher in the rear for power and stability. Even a 2 PSI difference can transform cornering feel. I discovered this while testing tires for my Best MTB Shoes 2025 article. The better your shoes grip, the more you’ll feel those micro changes.
Fine Tuning Over Time
Start with recommended ranges and experiment. Every tire model behaves differently, and trails change throughout the year. Keep notes in your phone so you can compare setups later. Over time, you’ll develop your own custom PSI chart.
Conclusion
Dialing in your tire pressure is one of the easiest and most effective ways to upgrade your ride. It takes patience, but once you find that sweet spot, your control and comfort skyrocket. You’ll corner smoother, climb more confidently, and feel more connected to the trail.
To complete your setup, pair your PSI with quality mountain bike tires, comfortable MTB pants, and cycling gloves that match your riding style. Everything works together. The tires connect you to the ground, but your gear keeps you in control.