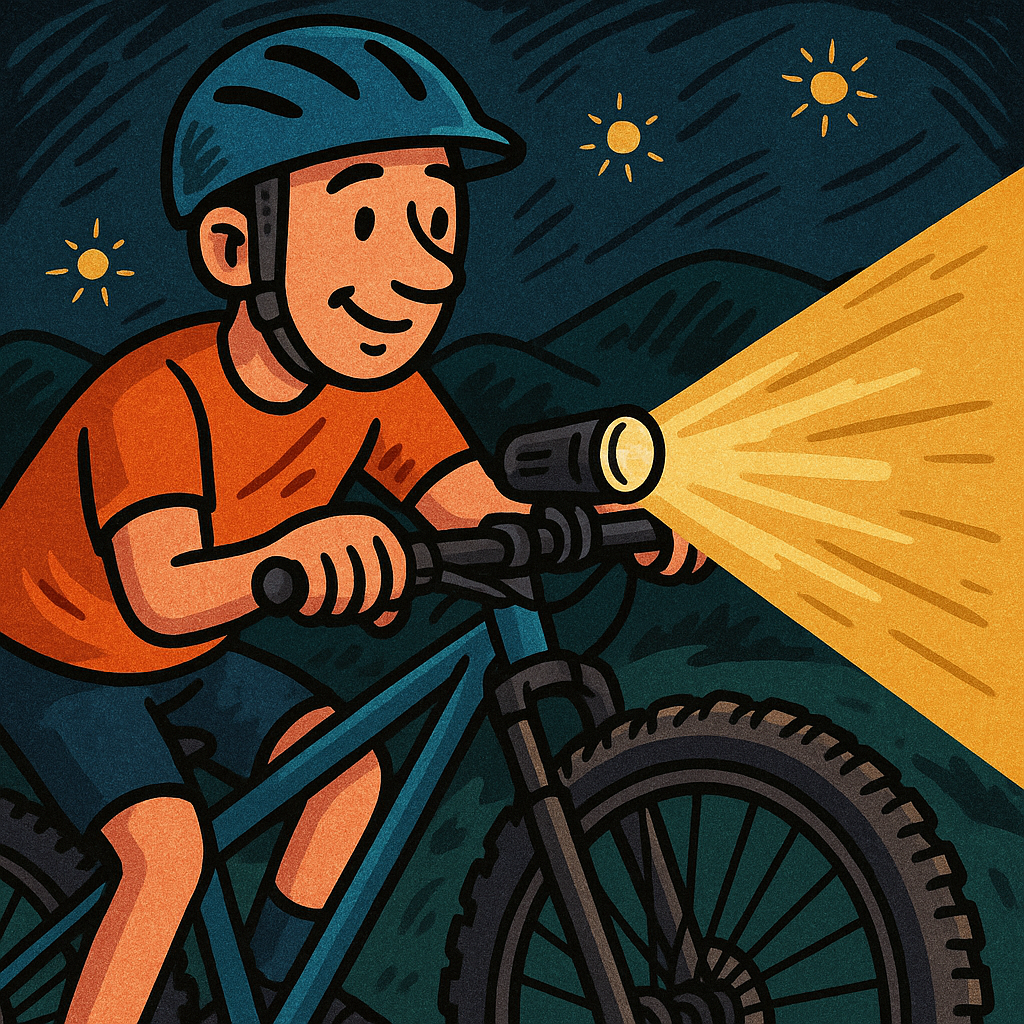
Why Proper Lighting Matters
Night riding transforms every mountain-bike trail into a brand-new adventure.
This is especially for my bikepacker crowd, the ones who love how every corner hides a little mystery. But those same thrills can turn risky if your gear isn’t dialed.
The right mountain bike night riding lights don’t just brighten the trail; they sharpen reaction time, reveal hidden roots, and give you the confidence to ride long after sunset.
I learned this the hard way. My first night ride was with a cheap aliexpress headlamp taped to my helmet.
It flickered halfway down a rocky descent, my depth perception disappeared, and I barely avoided a collision with an oak tree. Since then, I’ve created a setup that I can’t leave without, combined with a mountain bike gear checklist.
Table of Contents
Key Buying Factors for MTB Night Lights
Brightness & Beam Pattern
My first night ride taught me fast that brightness isn’t just a bragging number—it’s survival. For singletrack trails, I’ve found 1,000–1,500 lumens on the handlebar is the sweet spot.
Enough to reveal hidden roots without draining the battery in under an hour. Wide beams light up the edges of the trail, while a narrow beam cuts deep into the darkness so you can spot obstacles before they surprise you.
I like a wide beam on my bars and a narrow helmet light so I can “look through” corners before I reach them.
Battery Life & Power Options
Nothing kills a ride like a dying battery halfway down a descent. My first “deal” light barely gave me 45 minutes on high—scary stuff. Now I check real-world runtime, not just marketing numbers. I aim for at least two hours of solid output on high mode. Rechargeable packs are convenient, but replaceable batteries are great for longer adventures when you can’t stop to charge. Cold nights drain power faster, so I tuck external battery packs inside a jacket to keep them warm.
Weight, Mounting, and Waterproofing
Mounting might seem minor until a heavy light starts bouncing loose over every root. A tool-free, quick-release clamp saves headaches and lets you swap lights between bikes. Helmet vs. handlebar? Helmet lights follow your eyes and help with cornering, while handlebar lights give stable, even coverage. I run both.
And don’t overlook waterproofing—look for IPX5 or higher so rain, mud, or creek splashes don’t fry your investment.
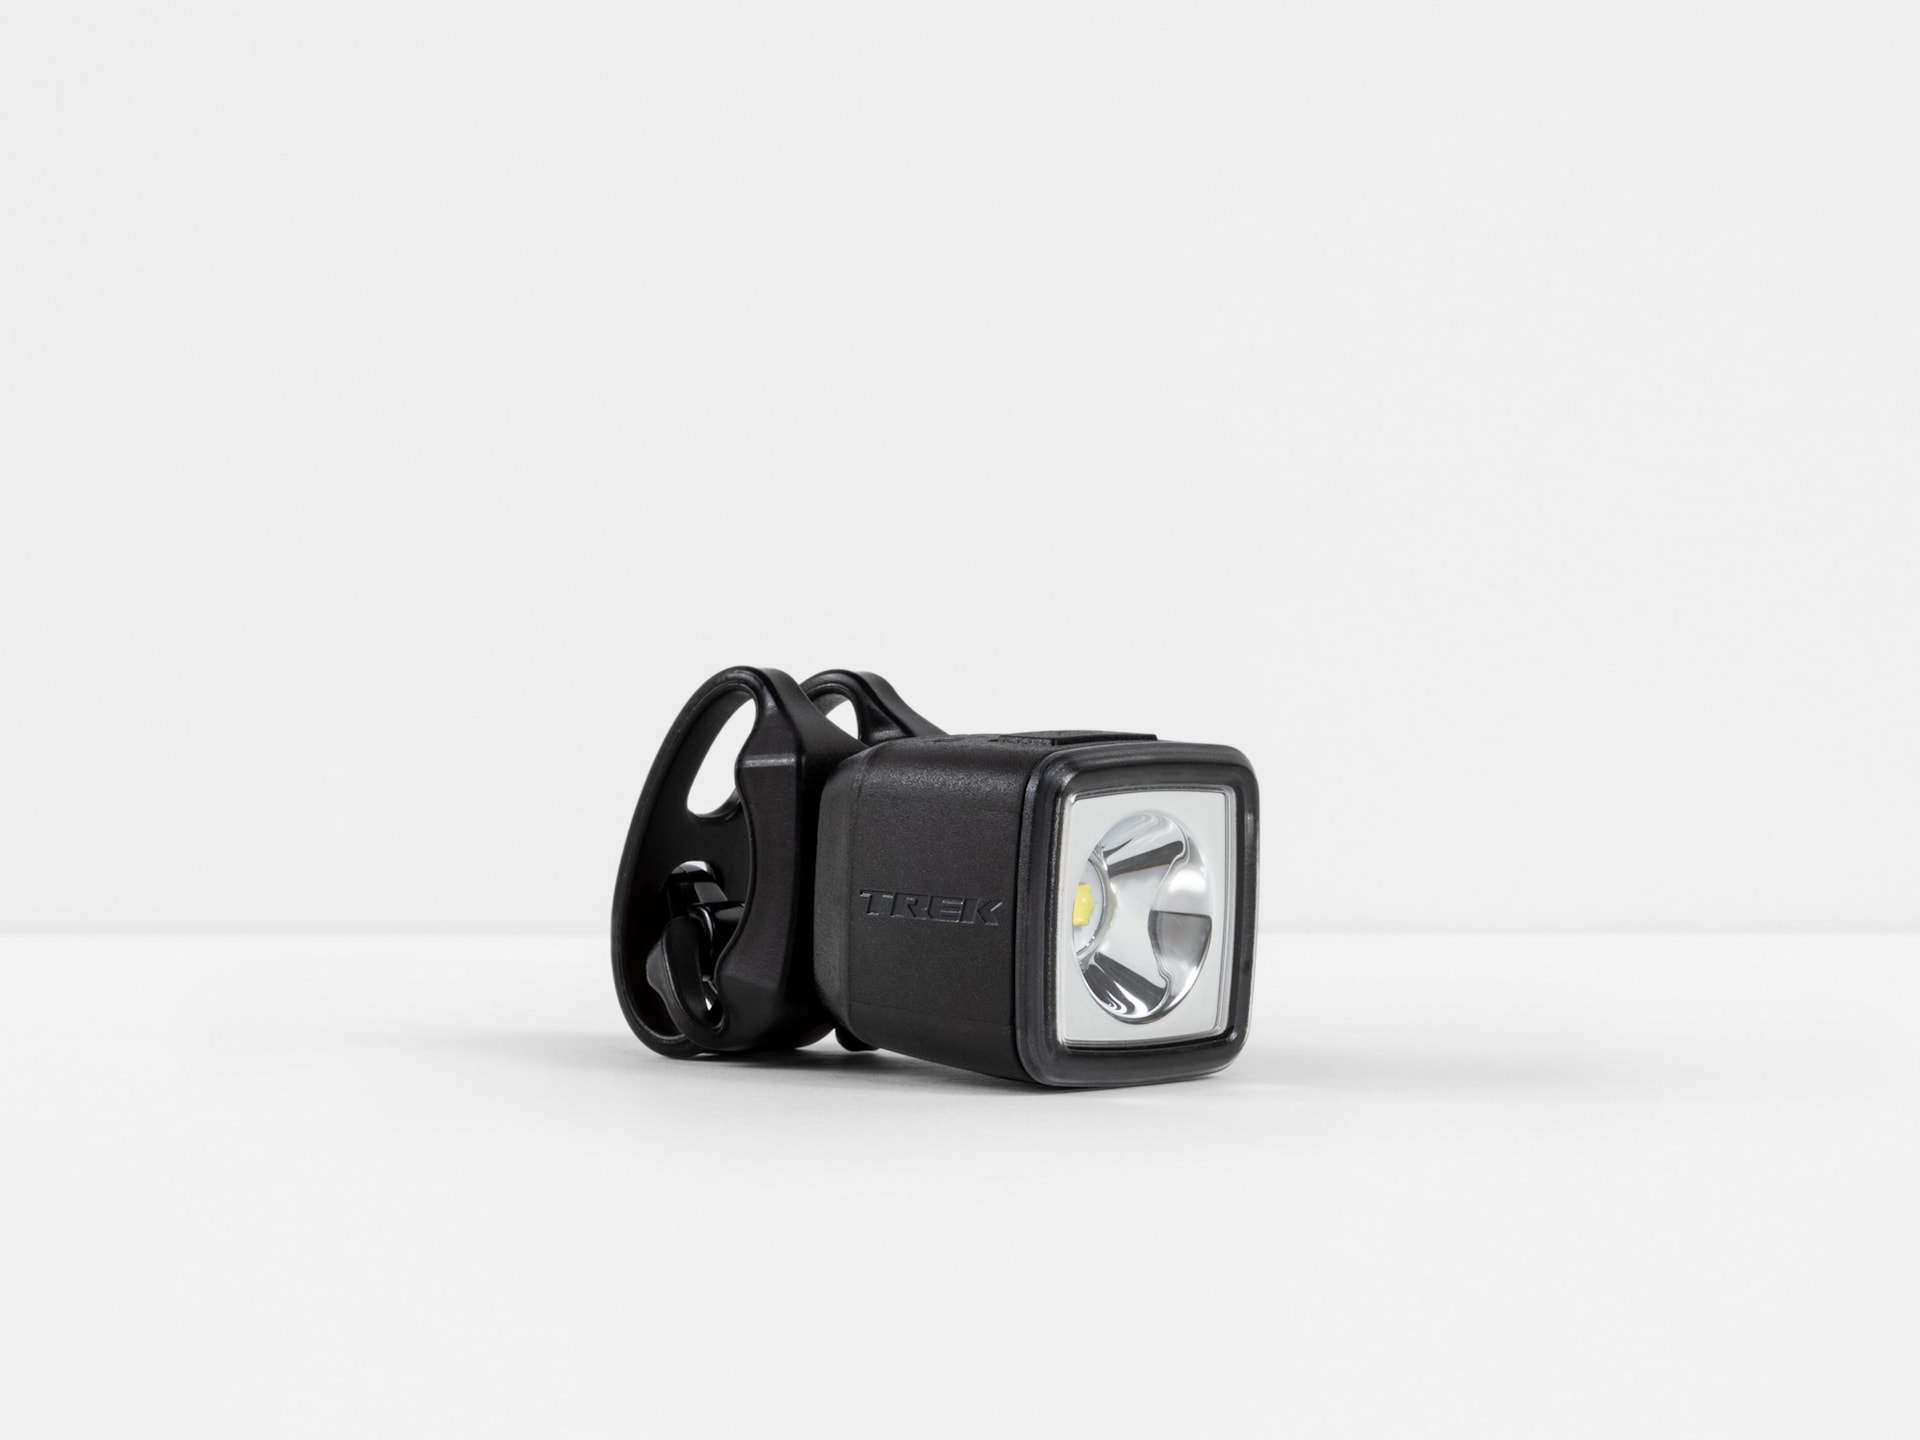
Top Handlebar Lights (Editor’s Picks)
Product 1 – All-Rounder Champ
This light packs roughly 1,500 lumens, a balanced beam pattern, and a rock-solid mount that stays put even on rocky descents.

Price sits mid-range, making it a great all-around pick for most riders.
Product 2 – Endurance King
Perfect for multi-hour adventures, this model offers a swappable external battery pack and over 4 hours of runtime on medium.

The beam pattern is wide enough for technical trails and the housing is sealed tight for wet conditions.
Product 3 – Budget Beast
If you’re just getting into night riding, this is the best bang for your buck.
Around 100 lumens, a slightly narrower beam, and roughly two hours of high-mode runtime. It’s lighter than premium models, but the savings are hard to ignore. This is a great portable option.
Best Helmet Lights for Night Riding
Helmet lights add depth and let you see where you’re looking, not just where your bars point. Here’s a quick comparison table to guide picks (replace placeholders with your chosen products):
| Product | Weight | Lumens | Run Time |
|---|---|---|---|
| Helmet Light A | 120g | 1,000 | 2 hrs |
| Helmet Light B | 150g | 1,400 | 3 hrs |
| Helmet Light C | 135g | 1,200 | 2.5 hrs |
\
I always pair a lightweight helmet light with a strong handlebar unit. The combo reduces shadows and gives you more time to react when a sudden switchback appears.
Budget vs. Premium Options
Low-Cost Picks for Casual Riders
Budget lights around the $60–$80 range work fine for short local loops. Expect 1,000 lumens, about two hours of runtime, and basic waterproofing.
Mid-Range Sweet Spot
Around $120–$150 gets you better beam patterns, longer battery life, and sturdier mounts. This is where most serious trail riders land.
Premium for Endurance or Competitive MTB
High-end systems ($250+) deliver 2,000+ lumens, swappable battery packs, and four or more hours of runtime. Perfect for endurance races or backcountry epics where failure isn’t an option.
Installation & Setup Guide
Mounting Tips
Angle your lights slightly down so you’re not blinding oncoming riders or hikers. Secure cables with reusable zip ties or Velcro to keep them from rattling loose on rocky sections.
A loose wire can snag on branches and yank a light right off the bar—been there, done that.
Dual Light System
Running both a helmet and a handlebar light is a game changer. The bar light floods the trail, while the helmet light follows your eyes, revealing obstacles before your bars even turn. It takes a little more setup and charging, but the extra visibility is worth every minute.
Maintenance & Battery Care
Charging Cycles & Storage
I always charge my lights the night before a ride and avoid draining the battery completely—it helps keep the cells healthy.
Lithium-ion packs last longer if you store them at about 50–70% charge when you’re not riding for a few weeks. After a long trip or race, I’ll give the battery a quick top-off and then unplug it instead of leaving it on the charger overnight.
Waterproofing Checks
Mud, rain, and creek crossings love to sneak past weak seals. After every wet ride, I wipe the housing with a soft cloth and inspect the O-rings and rubber port covers. If the rubber feels dry or cracked, I replace it before the next ride. A tiny dab of silicone grease on the seal can keep water out and make port covers easier to close.
Contact & Cable Care
Loose or dirty contacts can cause flickering lights right when you need them most.
I clean the charging port and battery contacts with a cotton swab and a bit of isopropyl alcohol once a month. For external battery packs, I also check the cables for fraying and make sure connectors snap firmly in place.
Off-Season Storage
If you’re hanging up the bike for a while, store batteries in a cool, dry place away from direct sunlight. I learned the hard way that leaving a light in a hot car can cook the cells and cut capacity in half. A closet shelf or gear bin inside the house is perfect.
Final Recommendations
Night riding is pure magic when your gear keeps up. My advice? Match brightness to your trail type, aim for at least two hours of reliable runtime, and invest in mounts that won’t loosen on rough terrain.
Pair a solid handlebar light with a lightweight helmet light for the best depth and coverage.
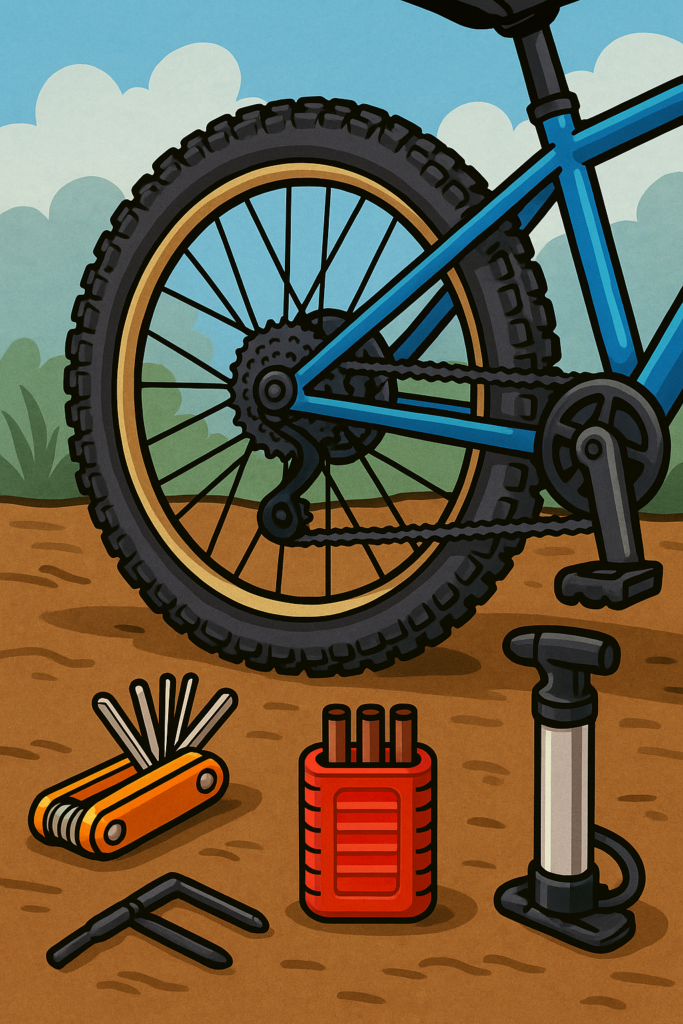
And while you’re at it, check out other night-riding essentials like a multitool, tubeless repair kit, and mini pump so you’re ready for anything the dark throws your way.