Did you know that improper an improper MTB suspension setup can reduce your fork and shock performance by up to 40% in just one riding season? That’s a staggering statistic that hits close to home for any mountain biker who’s ever wondered why their once-plush ride now feels like a Pogo stick on steroids!
I’ve been there – bombing down technical trails only to realize my suspension feels more like a rigid bike with extra weight. The good news? Most suspension issues are completely preventable with proper maintenance. Whether you’re a weekend warrior hitting your local single trails or a hardcore pushing limits every ride, understanding suspension maintenance isn’t just about performance. This is about safety, longevity, and getting the most bang for your buck from expensive components.
In this comprehensive guide, we’ll dive deep into everything you need to know about keeping your mountain bike suspension running like butter. From basic cleaning routines that take minutes to complete overhauls that save hundreds in shop fees, you’ll discover the insider secrets that mechanics use to keep suspension components performing at their peak!
Understanding Your MTB Suspension Setup
Here’s the thing about mountain bike suspension that nobody tells you when you’re starting out: it’s not just about comfort. Sure, that’s part of it, but suspension is basically your bike’s way of keeping your wheels glued to the ground when the trail gets gnarly. The more contact your tires have with the dirt, the more control you’ve got trust me, control is everything when you’re bombing down a technical descent at 25 mph.

Let’s start with the basics. You’ve got two main types of mountain bikes: hard-tails and full suspension. Hard tails only have front suspension (usually 100-120mm of travel for trail riding), while full suspension bikes have both front and rear shock absorption. I rode hard-tails for years thinking full suspension was just for lazy riders who couldn’t handle rough terrain. Boy, was I wrong about that one.
The real decision most riders face isn’t hard-tail versus full suspension – it’s air versus coil suspension. Air suspension uses compressed air as the spring medium, which makes it lightweight and infinitely adjustable. You literally just pump it up or let air out to change the spring rate. Coil suspension uses a metal spring and tends to be more sensitive to small bumps, but it’s also heavier and less adjustable. Usually air-suspension is the more common type that mountain-bike riders use.
I learned this the hard way when I bought a used bike with coil suspension that was way too soft for my 180-pound frame. Every root and rock would bottom out the shock, and I spent months thinking the bike was junk before a shop mechanic explained spring rates to me. Turns out I needed a spring that was about 100 pounds heavier than what was installed.
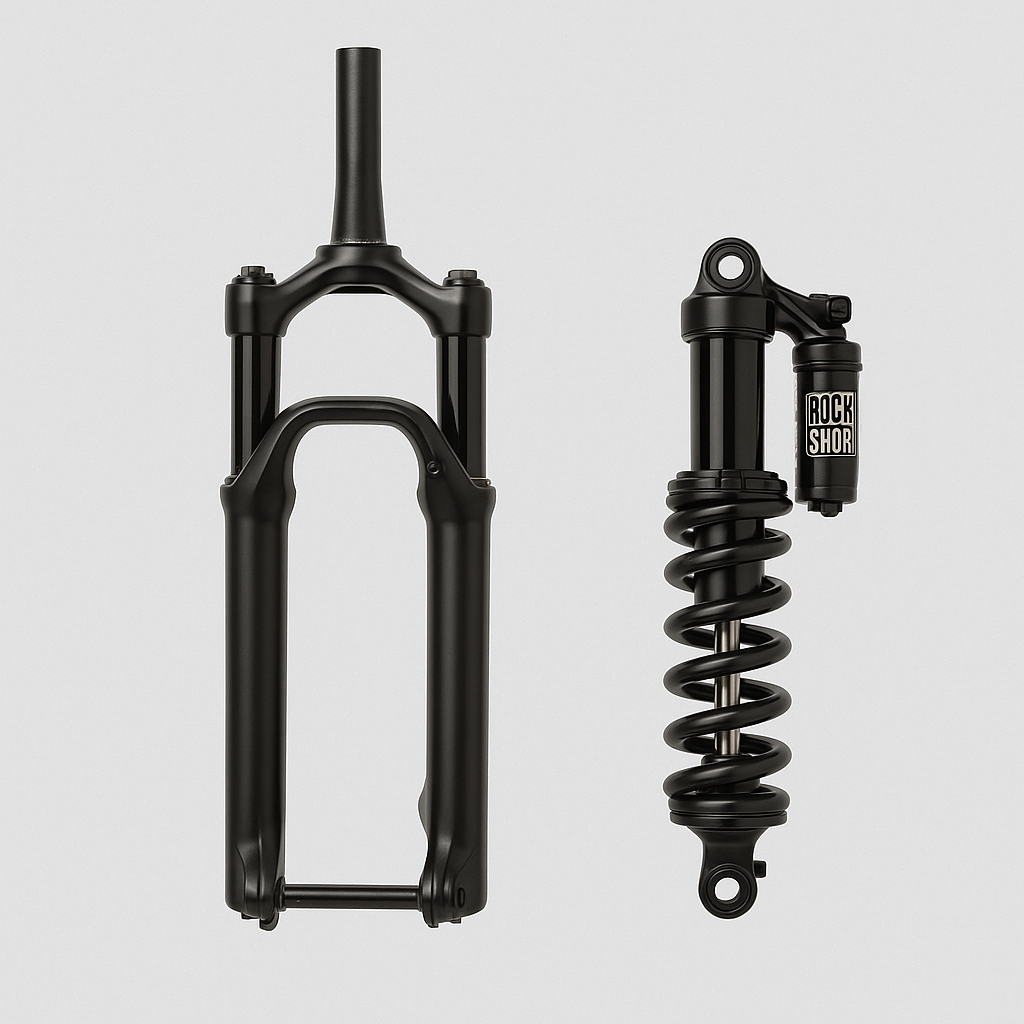
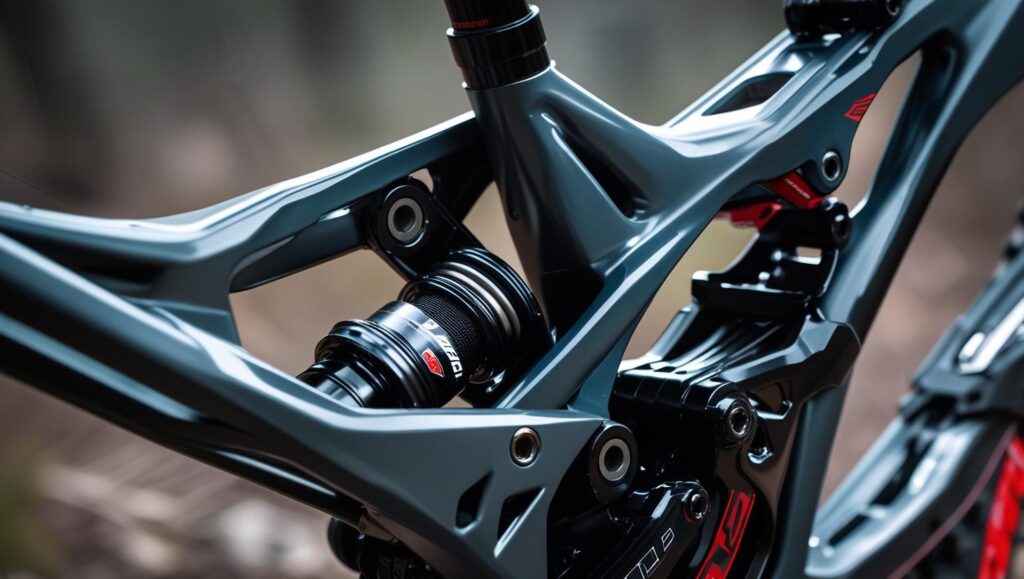
Your fork is probably the most important suspension component because it handles steering and front-wheel tracking. Modern forks have two main jobs: providing spring force to absorb impacts and damping to control how fast the fork compresses and rebounds. The stanchions (those shiny upper tubes) slide into the lowers, and there’s a whole mess of seals, bushings, and oil keeping everything smooth.
Here’s how you know when your suspension needs attention: if it’s making weird noises, feeling harsh over small bumps, or if you can see oil leaking from seals, it’s service time. But replacement? That’s usually only necessary if the damper cartridge is shot or if the fork legs are damaged beyond repair. Most suspension problems can be fixed with a good service and maybe some new seals.
The biggest mistake I see riders make is ignoring their suspension until it completely stops working. Regular maintenance isn’t just about performance – it’s about safety too, especially when you’re riding technical terrain where a suspension failure could send you over the bars.
Essential Tools and Supplies for DIY Suspension Maintenance
I’ll be brutally honest here, my first attempt at suspension maintenance was a complete disaster. I thought I could service my fork with a regular floor pump and some WD-40. Yeah, I was that guy. Three hours later, I’m covered in fork oil, my kitchen table is destroyed, and I’m driving to the bike shop with my tail between my legs and a fork that wouldn’t even compress.
That expensive lesson taught me that having the right tools isn’t just helpful – it’s absolutely critical if you want to avoid turning a simple maintenance job into a money pit nightmare.
Let’s start with the absolute essentials that every mountain biker should own, even if you’re just doing basic maintenance. A high-quality shock pump is non-negotiable. I learned this after struggling with a crappy pump that was off by 15 PSI, my suspension felt terrible and I couldn’t figure out why.
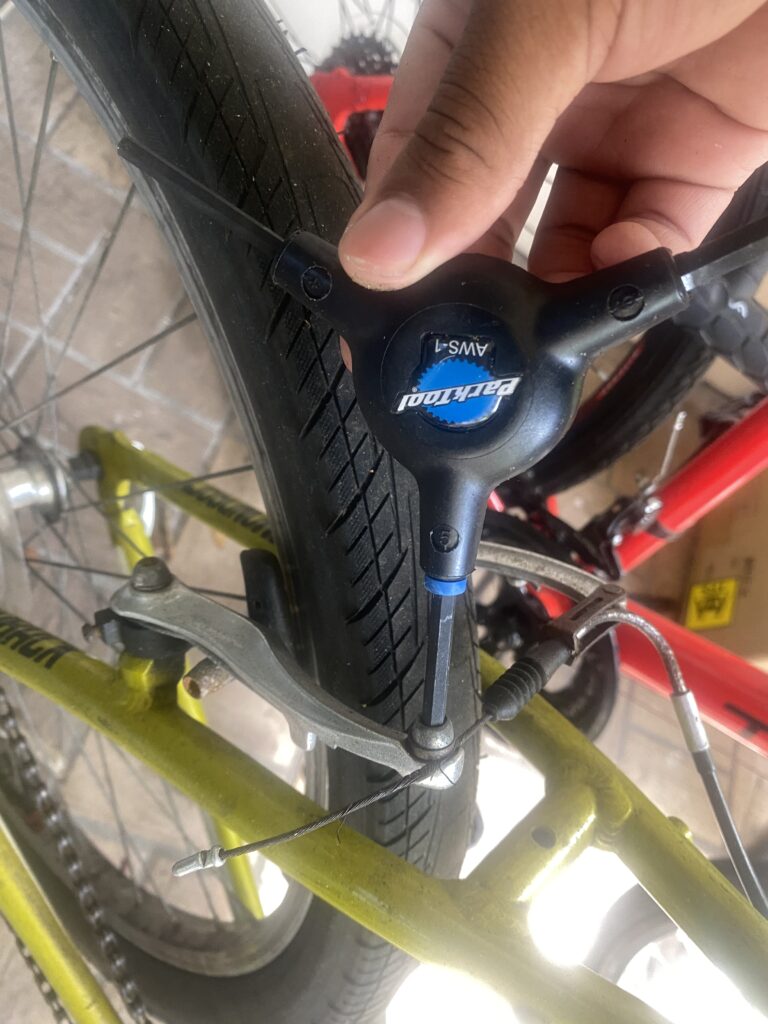
A proper torque wrench is your second must-have tool. Carbon fiber components can crack if you overtighten bolts, and suspension hardware needs to be torqued to specific values. I use a 2-25 Nm wrench for most suspension work, I ended up finding mine at Trek Bicycles though you’ll want something that goes higher for shock mounting bolts. Park Tool makes solid options, but honestly, any quality brand will work fine.
For cleaning supplies, skip the fancy bike-specific stuff and grab some Simple Green degreaser, microfiber cloths, and cotton swabs. I also keep a bottle of isopropyl alcohol around for cleaning seals and stanchions. The key is being gentle, suspension seals are surprisingly delicate, and aggressive scrubbing can damage them.
Basic Suspension Maintenance: Weekly and Post-Ride Care
I used to be one of those riders who’d finish a muddy ride, hose off the bike, and call it good. Six months later, my fork seals were blown and my shock was making sounds like a dying whale. Turns out, proper post-ride care isn’t just about keeping your bike looking pretty, it’s about preventing expensive repairs that could’ve been avoided with 10 minutes of basic maintenance.
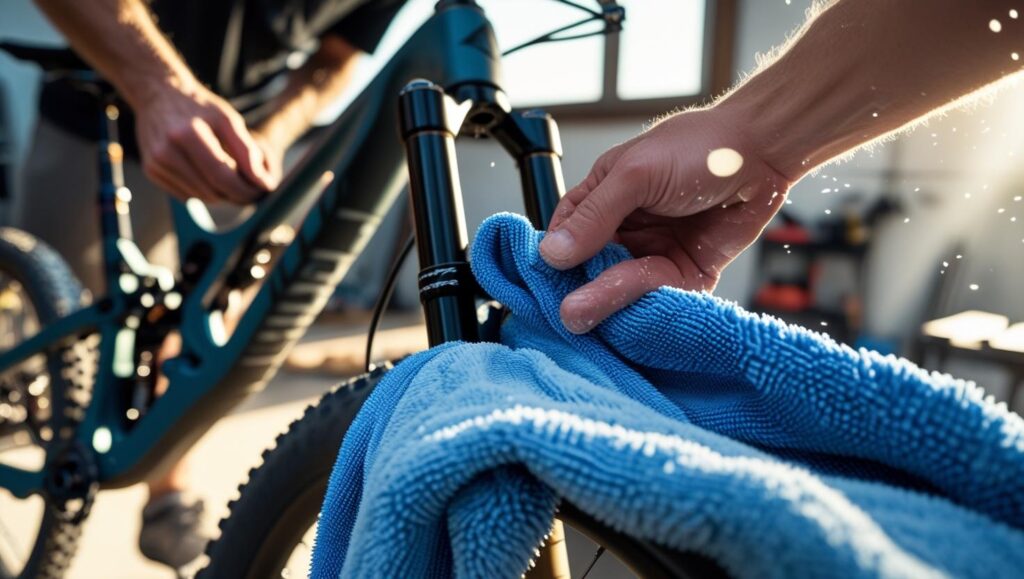
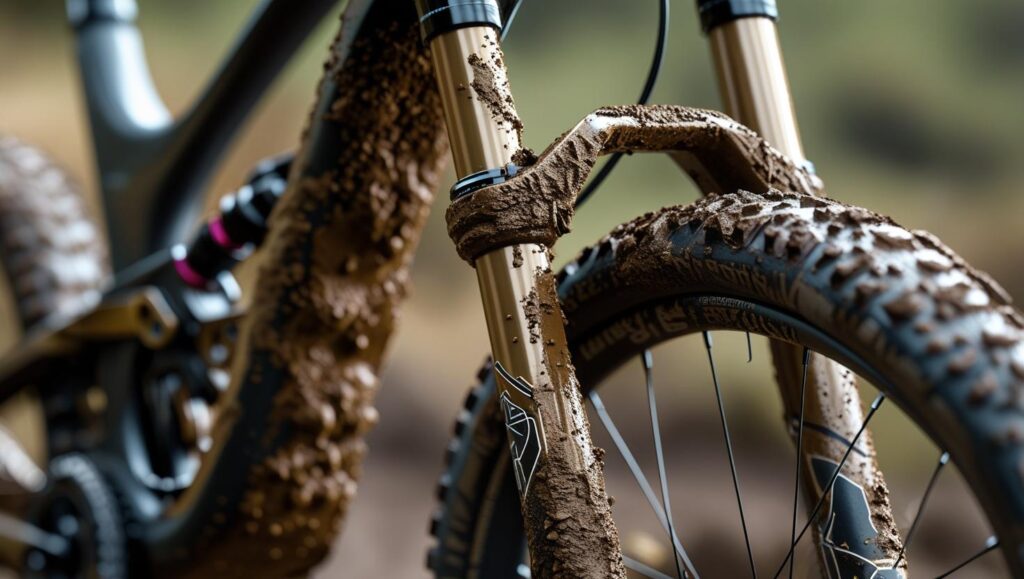
The biggest mistake I see riders make is blasting their suspension with high-pressure water right after a ride. I did this for years before realizing I was essentially forcing dirt and water past the seals. Now I use low-pressure water or just a damp cloth to wipe down the stanchions and shock body. If there’s caked-on mud, I let it dry first, then brush it off gently with a soft brush.
Here’s my post-ride routine that takes maybe 5-10 minutes but has saved me hundreds in shop bills: First, I wipe down the stanchions with a clean microfiber cloth, checking for any nicks or scratches. Even tiny scratches can tear seals, so if I find anything significant, I know it needs attention before my next ride. Then I inspect the dust seals, those rubber rings at the bottom of the fork legs. If they’re flipped inside-out or damaged, dirt is getting into places it shouldn’t be.
Weekly pressure checks are absolutely crucial, especially if you’re riding regularly. Air suspension loses pressure naturally over time, and running low pressure is a fast way to damage internal components. I check my fork and shock pressure every weekend before I ride, and I’m always surprised how much pressure they lose. My fork typically drops 5-10 PSI per week, which doesn’t sound like much, but it completely changes how the suspension feels and you could find issues with your rim or tire.
Sag settings are something most riders set once and forget about, but I’ve learned to check mine regularly. Sag is basically how much your suspension compresses under your body weight – usually around 25-30% for trail riding. I use a zip tie on my stanchion to mark where the fork sits with me on the bike, then measure after a ride to see how much travel I’m using. If I’m not getting close to full travel on big hits, I might need to reduce air pressure or adjust my riding style.
The pivot points on full suspension bikes need love too, but this is where a lot of riders go overboard. I used to drown my linkage bearings in grease thinking more was better. Wrong move, excess grease just attracts dirt and creates a grinding paste that wears out bearings faster. Now I just add a tiny drop of light oil to each pivot point every few rides, wiping away any excess.
One thing that took me way too long to learn: your suspension settings change with temperature, humidity, and even altitude. I live at sea level, and the pressure difference is noticeable. I’ve started keeping a small notepad with pressure settings for different conditions.
Quick troubleshooting has saved my bacon more times than I can count. If my fork starts feeling harsh over small bumps, I first check if the rebound is set too fast – a common problem that makes the fork feel rigid. If there’s any oil on the stanchions, I know the seals are starting to fail and I need to plan for service soon. Unusual noises usually mean something is worn or loose, and I’ve learned not to ignore them.
The most important lesson I’ve learned about basic maintenance is consistency. Spending 10 minutes after every ride doing these simple checks beats the hell out of dealing with a completely blown suspension component in the middle of a ride. I keep a small toolkit in my garage specifically for post-ride maintenance – shock pump, torque wrench, cleaning supplies, and a headlamp for when I get back after dark.

Here’s something nobody tells you: suspension maintenance gets easier the more you do it. What used to take me 30 minutes now takes 10, and I can spot problems before they become expensive failures. The key is making it part of your routine, just like checking tire pressure or adjusting your helmet.
Intermediate Maintenance: Monthly Deep Cleaning and Adjustments
The first time I tried to replace fork seals, I spent three hours watching YouTube videos and still managed to install them backwards. There I was, covered in fork oil, with seal lips pointing the wrong direction, wondering why everything felt terrible. That humbling experience taught me that intermediate suspension work requires patience, the right technique, and accepting that you’re gonna screw up a few times before getting it right.
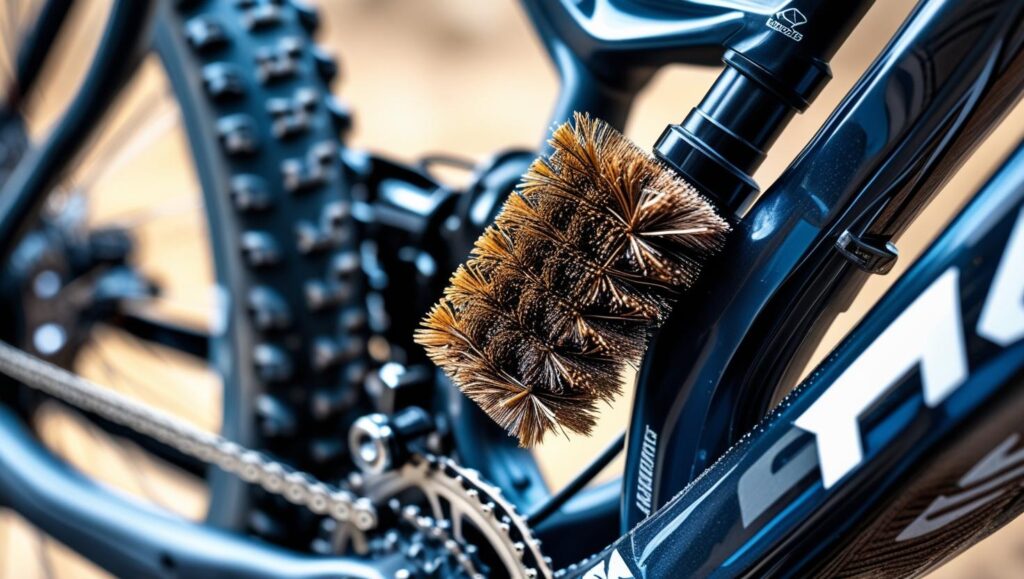
Monthly deep inspections are where you catch problems before they become expensive disasters. I start by completely removing the wheels and cleaning every inch of the suspension with degreaser and a soft brush. This isn’t the gentle post-ride wipe-down – I’m talking about really getting into all the nooks and crannies where dirt loves to hide. The area around the dust seals is especially important because that’s where most contamination enters the system. You can usually get these brushes in kits.
When inspecting my fork, I look for oil weeping from the seals, scratches on the stanchions, and any play in the bushings. Here’s a trick I learned from a suspension mechanic: grab the front brake and rock the bike back and forth while watching the fork closely. Any movement between the upper and lower legs means your bushings are worn. I ignored this for months on an old bike and ended up needing a complete rebuild instead of just new bushings.
Replacing seals and o-rings was intimidating at first, but it’s actually not that complicated once you understand the process. The key is keeping everything clean and using the right tools. I made the mistake of trying to pry out old seals with a screwdriver, which scratched the seal groove and caused the new seals to leak immediately. Now I use proper seal picks and take my time – rushing this job always backfires.
O-rings are trickier than they look because they come in dozens of different sizes, and using the wrong one can cause catastrophic failure. I learned this when I replaced an air seal with an o-ring that was 1mm too small. The thing blew out during my first ride and nearly sent me over the bars. Now I either order OEM parts or measure everything twice with digital calipers.
Bleeding air from damping systems is something most riders never attempt, but it’s crucial for optimal performance. Air bubbles in the oil create inconsistent damping and can make your suspension feel like it’s fighting you. The process varies by brand, but generally involves cycling the suspension while the damper is partially disassembled. I’ve found that Fox systems are pretty straightforward, while RockShox can be more finicky about bleeding procedures.
Dialing in compression and rebound settings took me years to really understand. I used to just turn knobs randomly until something felt better, which is basically the worst way to approach suspension tuning. Now I start with manufacturer recommendations and make small adjustments based on specific feedback. Too much rebound damping makes the bike feel dead and harsh, while too little makes it feel bouncy and unpredictable.
Here’s something that completely changed my riding: adjusting suspension for different terrain and riding styles. My trail bike runs totally different settings for climbing versus descending. For climbs, I increase compression damping and reduce sag to prevent bob and maintain pedaling efficiency. For descents, I open up the compression and increase sag for better traction and compliance over rough terrain.
Temperature affects everything in suspension work. Cold oil is thicker and harder to bleed properly, while hot components can give false torque readings. I learned to do major suspension work at room temperature and let everything stabilize before final assembly. It sounds obsessive, but suspension components are precision machinery that responds to these details.
The reality is that intermediate maintenance requires investing in quality tools and accepting a learning curve. My first few attempts were disasters, but each failure taught me something valuable. Now I can service most suspension components myself, which saves money and gives me a deeper understanding of how my bike works.
Troubleshooting Common Suspension Problems
Nothing ruins a good ride faster than suspension that’s acting up, and I’ve learned this lesson more times than I care to admit. Just last month, I was halfway through a 20-mile loop when my fork started making this horrible grinding noise that sounded like someone was shaking a jar full of broken glass. Turns out a seal had failed and dirt was getting ground between the stanchion and bushings. It nearly cost over $100 to fix this issue.
Diagnosing harsh suspension feel is probably the most common problem riders face, and it’s usually not what you think it is. Most people immediately assume they need more air pressure or different settings, but nine times out of ten it’s actually a maintenance issue. I spent months fighting with a fork that felt like riding a jackhammer before realizing the rebound circuit was completely clogged with old, contaminated oil. Once I cleaned everything out and refilled with fresh oil, it was like getting a new fork.
Overly soft suspension is trickier to diagnose because it can be caused by worn seals, incorrect oil levels, or just plain old worn-out components. I had a rear shock that was gradually getting softer over several months, and I kept adding air pressure thinking that would fix it. Eventually I realized the air seal was leaking internally – the shock would hold pressure for a few hours, then slowly lose it into the oil chamber. That’s a rebuild situation, not something you can fix with more air.
Oil leaks drive me crazy because they’re often intermittent at first. You’ll see a tiny bit of oil on the stanchion after a ride, wipe it off, and then not see anything for weeks. Meanwhile, dirt is getting past the compromised seal and doing internal damage. I’ve learned to take even minor leaks seriously and plan for seal replacement as soon as possible. The longer you wait, the more expensive the fix becomes.
Seal failures usually start small but escalate quickly once dirt gets into the system. The telltale signs are oil on the outside of the stanchions, reduced performance over small bumps, and sometimes a sucking sound when the suspension cycles. I once ignored a minor seal leak for three rides because I had a big trip planned and didn’t want to deal with maintenance. By the end of the trip, the fork was barely functional and needed a complete rebuild instead of just new seals.
Weird noises from suspension always mean something, even if the performance still feels okay. Clicking sounds usually indicate worn bushings or loose hardware, while squeaking often means dry seals or contaminated oil. I had a shock that developed this subtle clicking noise that only happened under hard compression. Took me weeks to track it down to a worn bushing in the shock mount – something that could’ve caused a catastrophic failure if I’d ignored it longer.
Bottoming out is either a setup issue or a sign that your suspension is worn out. If you’re consistently using full travel on normal terrain, you either need more air pressure, more compression damping, or volume reducers to make the spring curve more progressive. But if increasing pressure makes the suspension feel harsh over small bumps, your suspension might be worn out and losing its ability to ramp up properly through the travel.
Poor rebound can make your bike feel like a pogo stick or completely dead, depending on whether it’s too fast or too slow. I learned this by accidentally turning my rebound adjuster the wrong direction and wondering why my bike suddenly felt like it was made of concrete. Too little rebound damping makes the bike bounce around and feel unstable, while too much makes it pack down and lose traction on successive hits.
Emergency trail fixes are something every rider should know, even if you’re not mechanically inclined. If your fork loses all its air pressure on a ride, you can often limp home by cranking up the compression damping to firm up the suspension. I carry a shock pump on long rides specifically for this situation. A completely blown seal is harder to deal with, but I’ve stuffed paper towels around the seals to keep dirt out for short distances.
Cable ties are the duct tape of mountain biking and can solve a surprising number of suspension problems temporarily. I once had a shock mount come loose on a remote trail and used zip ties to secure it enough to ride out safely. Obviously this isn’t a permanent fix, but it beats hiking 10 miles with a bike on your shoulder.
Temperature changes can create problems that seem like suspension failures but are actually just physics. Cold weather makes oil thicker and air denser, so your suspension feels harsh and over-sprung. Hot weather does the opposite – everything feels soft and weak. I keep notes about pressure settings for different temperature ranges because what feels perfect at 70 degrees might be terrible at 30 degrees.
The biggest mistake I see riders make is immediately adjusting settings when they notice a problem, instead of first checking for mechanical issues. If your suspension suddenly feels different, start with basic maintenance checks before tweaking knobs. More often than not, cleaning the seals and checking air pressure will solve the problem without any complicated adjustments.
Here’s something that took me years to understand: suspension problems rarely appear overnight unless something is actually broken. If your bike gradually starts feeling worse over time, it’s usually wear-related and needs maintenance, not adjustment. Learning to recognize these gradual changes and address them early has saved me from countless expensive repairs.
Seasonal Maintenance Schedules and Service Intervals
I used to be that rider who’d completely ignore suspension maintenance until something catastrophically failed mid-ride. My wake-up call came three years ago when my fork seals blew during the first ride of spring after sitting all winter. Turns out, suspension components don’t just pause their aging process when you’re not riding – they actually deteriorate faster when left sitting with contaminated oil and worn seals. That expensive lesson taught me that proactive maintenance scheduling isn’t just about performance, it’s about avoiding those “oh crap” moments when you’re miles from anywhere.
Creating a realistic maintenance calendar was harder than I expected because my riding habits are all over the place. Some weeks I’m out five days, other times I don’t touch the bike for three weeks. I finally settled on a system based on actual riding hours rather than calendar dates. I track my rides in Strava anyway, so adding up weekly hours wasn’t difficult. For every 40 hours of riding, I do basic maintenance checks. Every 100 hours gets intermediate service, and 200+ hours means it’s time for complete overhauls.

Pre-season preparation is where most riders screw up, myself included. I used to just pump up the tires and go riding, then wonder why everything felt terrible for the first few rides. Now I start prepping about two weeks before I plan to ride regularly. Air pressure checks are obvious, but I also cycle the suspension through its full travel several times to redistribute oil and check for any stiction that developed over storage. If the bike sat for more than two months, I usually do a complete inspection including checking all bolts and examining seals closely.
The storage part took me way too long to figure out properly. I used to just hang my bike in the garage and forget about it until spring. Big mistake – suspension components actually prefer to be stored with some pressure to keep seals properly seated. Now I store my bikes with about 50% of normal air pressure and cycle the suspension monthly if possible. I also make sure everything is clean before storage because leaving dirt and grime on seals for months is asking for problems.
Different suspension brands have wildly different service recommendations, and honestly, some of them seem overly conservative while others are probably too optimistic. Fox recommends full service every 125 hours or annually, whichever comes first. RockShox says 200 hours or annually for their higher-end stuff. But here’s the thing – these recommendations assume perfect conditions and regular basic maintenance. If you’re riding in muddy, sandy, or salty conditions, cut those intervals in half.
Tracking maintenance history used to be a pain until I started using a simple spreadsheet. I track service dates, hours since last service, what work was done, and what parts were replaced. This has saved me hundreds of dollars by catching problems early and avoiding duplicate work. Plus, having detailed records helps when dealing with warranty claims – manufacturers love detailed maintenance logs when considering warranty coverage.
Component wear tracking is something most riders never think about, but it’s crucial for budgeting and planning. Suspension seals typically last 100-200 hours depending on conditions. Bushings might go 300+ hours in good conditions but could wear out in half that time if you’re riding hard and rough. Oil changes are usually annual regardless of hours, because suspension oil breaks down from heat cycling and contamination even during normal use.
Professional service planning is where having a good relationship with a local shop pays off. I schedule major services during slow seasons when shops aren’t swamped and turnaround times are reasonable. Trying to get suspension work done in peak riding season usually means either paying rush fees or waiting weeks for service. I typically plan major overhauls for late fall or early winter when I’m not riding as much anyway.
Warranty considerations are more important than most people realize, especially with expensive suspension components. Most manufacturers require proof of regular maintenance to honor warranty claims. I had a shock fail within the warranty period, but the manufacturer initially balked because I couldn’t prove I’d been maintaining it properly. Having detailed service records changed their tune pretty quickly.
The costs add up faster than you’d expect. A basic service runs $150-200 per component, while complete rebuilds can hit $300+. I budget about $400-500 annually for suspension maintenance across both my bikes, which sounds like a lot until you consider that neglect can easily cost twice that in premature component replacement.
One trick that’s saved me money is batching service work. Instead of taking one component in at a time, I plan my maintenance so multiple items need service simultaneously. Many shops offer package deals, and you’re not paying multiple trip fees. Plus, having everything serviced at once means your whole suspension system is working optimally together. You’ll see at shops like Conte’s and Treks nearby they have a full tune-up which is always great to do.
Conclusion
Mastering mountain bike suspension maintenance isn’t just about saving money on shop visits – though the hundreds of dollars you’ll save each year certainly don’t hurt! It’s about developing an intimate understanding of your bike that makes you a better, more confident rider. When you know your suspension inside and out, you can fine-tune it to match your riding style perfectly.

Remember, consistent basic maintenance beats sporadic major overhauls every single time. Start with simple weekly cleaning routines and gradually build your skills toward more complex procedures. Your suspension components will reward your attention with years of reliable performance and that buttery-smooth feel that makes every trail ride memorable.
Don’t let poor suspension maintenance rob you of the riding experience you deserve. Start implementing these techniques today, and you’ll be amazed at how much better your bike performs – and how much more confident you feel tackling challenging terrain!