Introduction
Have you ever gotten tired while biking up that dreaded hill in your neighborhood? Not to mention how your legs feel after cycling uphill. The good news is that picking up your feet is as easy as mastering a small technique.
From an amateur to an experienced cyclist, a skill gap can be overcome by understanding what is most comfortable to you and where you end up cycling. These are simple answers and ideas on where to start when it comes to city cycling and commuting up these hills near you.
I can give you 3 of the most important ideas you’ll read throughout the article.
- Should I take a different bike route?
- The right bike-route will not just depend on your legs, but also whether you have the right bike for the hill itself. As you read, you’ll be able to see the routes themselves that I like to bike on and why, also how to climb them if you need to.
- How to select Gears on your bike that work for the hill you’re using.
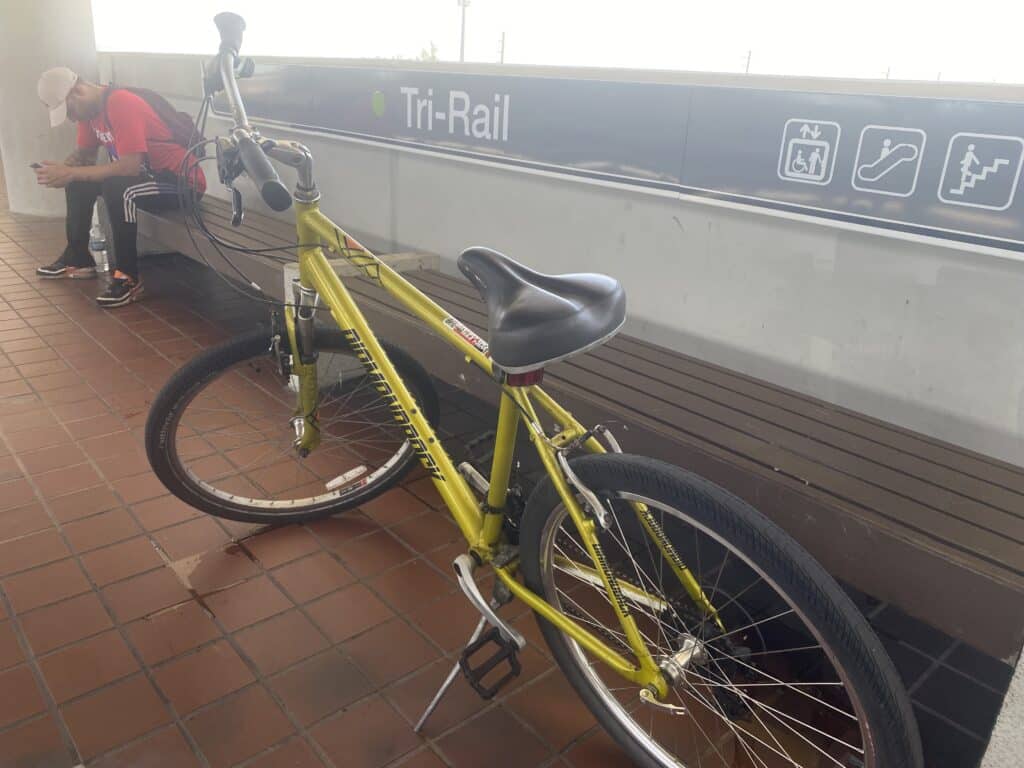
- Bikes like a 3 Speed are going to simply be gear 1 for a steep hill and gear 3 for nearly flat surfaces to get the most speed. You can expect to pay more for an actual road bike compared to a cruiser bike that you’ll rent at the beach.
- Do I sit or do I stand on my bike for hills?
- I’ll go more indepth later, but I will always recommend you standing while on a 3-speed bike. Otherwise you’ll be pushing the bike up the hill for 5 minutes, trust me it’s ridiculous.
Essential Body Position and Posture for Uphill Cycling
Let me tell you about the day I learned that my climbing struggles weren’t just about being out of shape – they were about doing everything wrong from a posture standpoint. I’d been cranking up hills for months, wondering why I felt like I was fighting my bike on every climb.
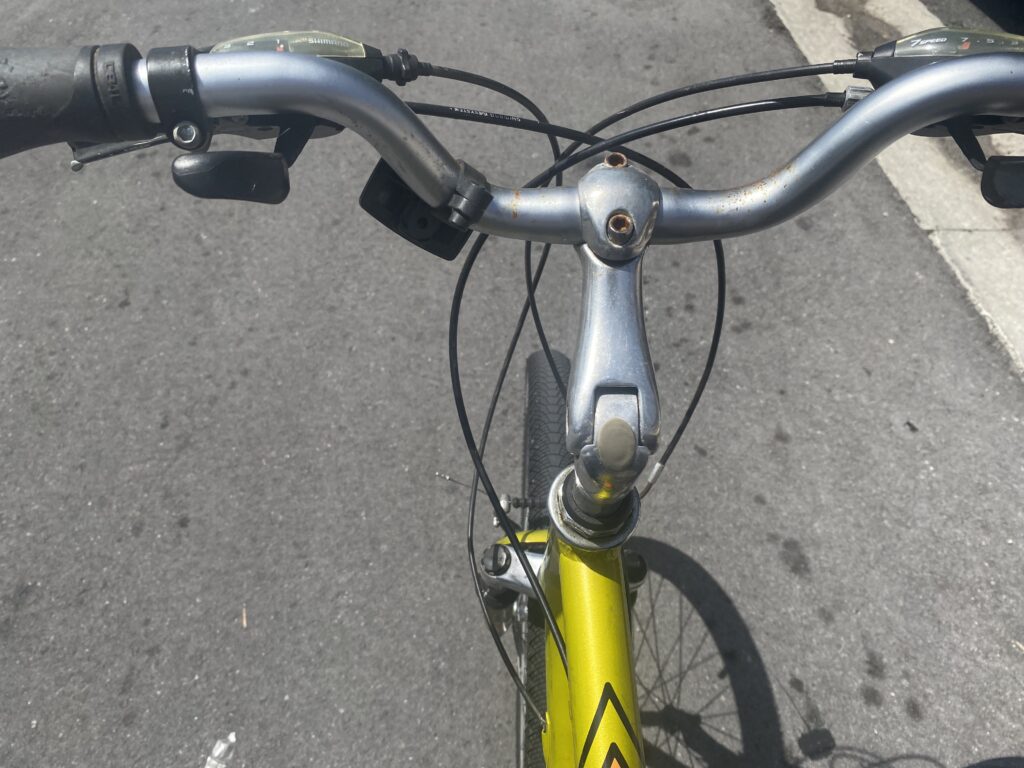
The breakthrough came during a friendly ride with this older guy, on the sidewalk, not the bike lane, just gliding past me on a steep section while I was stopped on the side of the road. I noticed that he was using a 7-speed road bike, wearing the full road-bike outfit. He pointed out the way I need to switch gears.
Getting Your Saddle Position Dialed In
So I actually learned this through trial and error, I found out that my saddle position was why it was one of the most grueling tasks. For climbing, you want your saddle about an inch higher than your regular position, you can also imagine this is why a road-bike makes doing this task a lot easier. Your leg extension should hit about 25-30 degrees of knee bend at the bottom when climbing.
Weight Distribution That Works
Here’s where I was making a huge mistake – I was gripping the handlebars like my life depended on it. Your upper body should be doing the minimum amount of work possible when climbing. The sweet spot is about 60% of your weight on the saddle, 40% distributed between your feet and hands.
Sometimes you can shift to more like 50/50, but never go full weight on the handlebars. I learned this the hard way during a group ride with my boys on city streets. My shoulders were destroyed by mile 2 because I was essentially going light the whole time.
Core Engagement (The Game Changer)
This is the part nobody talks about enough, but engaging your core properly is like unlocking a hidden gear. Your abs and lower back should work together to create a stable platform for your legs to push against. Tighten your abs just enough that you feel supported but not so much that you’re holding your breath.
Head and Shoulder Position
One mistake I frequently see is looking down at the road directly in front of your wheels when climbing. Your head weighs about 10-12 pounds, and where it goes, your body follows. Look ahead 15-20 feet up the climb, not down at your front tire. Keep your shoulders relaxed and level – they shouldn’t be hunched up around your ears.
Gear Selection and Cadence Management Strategies
I’ll never forget the first time I took a hill, especially one of those in my city, you’d be surprised even in Florida. My legs were screaming, and took a slow descent, all my weight was in my back. That’s when I realized gear selection isn’t just about having the right equipment – it’s about knowing how to use it.
The worst part? I had a perfectly good climbing gear sitting there unused because I thought shifting down was slower. Man, was I wrong about that.
Timing Your Shifts Like a Pro
The key to smooth shifting is doing it before you need it, not when you’re already struggling. I start shifting down about 50 meters before a climb begins. This gives me time to find the right gear without the pressure of an increasing gradient.
During the climb, shift early and often. If you feel your cadence dropping below 70 RPM, shift down immediately. Don’t wait until you’re grinding at 50 RPM – by then you’ve already lost momentum and wasted energy.
Keeping Smooth Pedal Strokes Under Load
When the going gets tough, focus on pulling up on the pedals during the upstroke, not just pushing down. Think of it like pedaling in circles rather than just stomping. This technique distributes the workload across more muscle groups and keeps your stroke smoother.
Common Gear Selection Mistakes
The biggest mistake? Staying in too hard of a gear for too long. I see riders all the time who’d rather suffer in a big gear than shift down. Your bike has all those gears for a reason – use them! Another common error is shifting under full load, which can damage your drivetrain and creates jerky power delivery.
Remember: there’s no shame in using easy gears. The goal is to get up the hill efficiently, not to impress anyone with your gear selection.
Breathing Techniques and Rhythm Control
I used to think breathing was just something that happened automatically – until I found myself gasping like a fish out of water three minutes into every climb. Turns out, there’s actually a method to breathing efficiently when you’re pushing your body up a mountain, and nobody ever taught me the basics.
The lightbulb moment came during a climb in the Rockies when my riding buddy noticed I was breathing all wrong. “Dude, you’re breathing like you’re having a panic attack,” he said. He wasn’t wrong – I was taking these short, shallow breaths that weren’t doing me any favors.
Diaphragmatic Breathing for Long Climbs
The first thing I learned was to breathe with my diaphragm, not my chest. Put one hand on your chest and one on your belly – when you breathe correctly, only the bottom hand should move. Your belly should expand on the inhale, not your chest rising up toward your shoulders.
This felt super weird at first, especially while trying to pedal uphill. I practiced it during easy rides until it became second nature. The difference is huge – you get way more oxygen per breath, and it’s less tiring than that rapid chest breathing I was doing before.

Syncing Breathing with Pedal Strokes
Here’s where it gets interesting – you can actually time your breathing with your pedaling for better efficiency. On moderate climbs, I use a 2:2 pattern: breathe in for two pedal strokes, breathe out for two pedal strokes. It creates this nice rhythm that keeps everything smooth.
When things get steeper, I switch to 1:1 – one breath in, one breath out for each pedal stroke. Sounds like hyperventilating, but it’s actually controlled and rhythmic. The key is keeping it steady, not panicked.
Managing Oxygen Debt on Steep Sections
Sometimes you hit a wall on a really steep pitch, and your breathing just can’t keep up. When this happens, don’t fight it – accept that you’re going into oxygen debt and manage it smartly. Take three deep belly breaths, then settle into a sustainable rhythm even if it means slowing down.
I learned this the hard way on a 20% grade in San Francisco. Tried to power through without adjusting my breathing, and I basically had to stop completely to recover. Now I recognize when I’m getting behind on oxygen and adjust immediately.
Breathing Patterns for Different Intensities
Easy climbs (conversational pace): 3:3 or 4:4 breathing works great. You should be able to talk while climbing at this intensity. Medium climbs: 2:2 is your friend. Hard climbs: 1:1, but make sure each breath is deep and controlled.
The mistake I made for years was trying to use the same breathing pattern regardless of how hard I was working. Your breathing should scale with your effort level.
Recovery Breathing on Switchbacks
Those little flat sections between switchbacks are gold for recovery breathing. I do what I call “reset breaths” – three really deep diaphragmatic breaths to clear out the CO2 and get fresh oxygen in. Even a 10-second flat section can help if you use it right.
Don’t waste these opportunities by just gasping. Be intentional about those recovery moments, and you’ll feel stronger heading into the next steep section.
Standing vs. Seated Climbing: When and How to Switch
For the longest time, I thought standing up while climbing was always the “strong” move. I’d pop out of the saddle on every little rise, thinking I was being aggressive and powerful. Turns out, I was just wasting a ton of energy and making climbs way harder than they needed to be.
The reality check came during a 40-mile ride with lots of rolling hills. By mile 25, my legs were absolutely cooked from all that unnecessary standing, while my riding partner, who stayed seated most of the time, was still fresh. That’s when I realized there’s actually a strategy behind when to stand and when to stay put.
The Biomechanical Truth About Each Position
Seated climbing is your efficiency king. You’re using your glutes, quads, and calves in a smooth, circular motion while your body weight stays supported by the saddle. It’s like cruise control for climbing – you can maintain this position for hours without destroying yourself.
Standing shifts the workload to different muscles, mainly your calves and the stabilizing muscles in your core and upper body. You’re also using your body weight to help drive the pedals down, which can generate more power for short bursts. But here’s the catch – it uses about 10-15% more energy than seated climbing.
Smooth Transitions That Don’t Kill Your Momentum
The key to switching positions is timing your gear changes. About two pedal strokes before you stand, shift to an easier gear. This prevents that jarring feeling when you suddenly put all your weight on the pedals. When you sit back down, shift to a slightly harder gear to maintain your cadence.
I learned this the hard way after countless awkward transitions that felt like I was fighting my bike. Now the switch feels natural – gear down, stand smoothly, find your rhythm, then gear back up when you sit. The whole transition should take about 3-4 seconds.
Engaging Different Muscle Groups Effectively
When seated, focus on pulling up with your hamstrings during the upstroke while pushing down with your quads. Think of it as pedaling in complete circles. When standing, let your body weight do more of the work on the downstroke, but don’t just stomp – maintain that circular motion.
Standing also engages your core way more than seated climbing. Your abs and lower back are working to stabilize your body while your arms lightly guide the bike side to side. Don’t death-grip the handlebars – that just wastes energy.
Power vs. Efficiency Trade-offs
Standing can produce 5-10% more peak power, which is why it’s great for short, steep pitches or when you need to accelerate quickly. But that power comes at an energy cost. For anything longer than 30-45 seconds, you’re better off seated unless the gradient demands otherwise.
I use standing for steep sections over 12%, brief accelerations to get over a crest, or when my glutes need a break during really long climbs. Everything else stays seated.
Reading Terrain Like a Pro
Short, steep punches (under 100 meters): Stand and power over them. Long, steady gradients: Stay seated and spin. Variable terrain with lots of grade changes: Mix it up, but lean toward seated as your default.
The biggest mistake I see is people standing for entire long climbs. Save your standing for when you really need it – your legs will thank you later.
Training Methods to Improve Climbing Performance
I used to think the only way to get better at climbing was to just… climb more. So I’d head out and suffer through the same routes over and over, wondering why I wasn’t improving much. Turns out, there’s actually a method to building climbing fitness, and randomly grinding up hills isn’t it.
The breakthrough came when I started following an actual training plan instead of just winging it. Within six weeks, I was crushing climbs that used to leave me gasping. The difference wasn’t more time on the bike – it was smarter training.
Indoor Training That Doesn’t Suck
Trainer sessions are perfect for controlled climbing intervals, especially during bad weather. I use a structured workout that alternates between seated and standing climbing efforts – 5 minutes seated at moderate intensity, then 30 seconds standing at high intensity. I picked this up as a fun way to work out.
The key is varying the resistance to simulate real climbs. I’ll do 20-minute blocks that mimic a long mountain pass, something like when I was in Costa Rica start easier, gradually increase the resistance, then back off slightly for recovery sections. It’s way more specific than just grinding away at the same resistance for an hour.
Recovery That Builds Fitness
Here’s what nobody tells you: you don’t get stronger during workouts, you get stronger during recovery. I take at least one complete rest day after hard climbing sessions, and I do easy spinning rides between intense days.
Sleep and nutrition matter just as much as the training itself. I aim for 7-8 hours of sleep and make sure I’m eating enough carbs to fuel my workouts and recovery.
Equipment and Bike Setup for Optimal Climbing
spent my first two years of cycling convinced that my climbing struggles were purely fitness-related. Then I rode a friend’s bike that was actually set up for climbing, and holy crap – it was like riding a completely different machine. Suddenly I had gears I could actually use on steep stuff, and the bike felt way more stable and comfortable on long ascents.
That ride taught me that equipment setup can make or break your climbing experience, especially if you’re dealing with serious elevation gain on a regular basis.
Choosing Gear Ratios That Actually Work
Your gear ratios should match your local terrain, not your ego. If you’re regularly hitting 10-15% grades, you need a compact chainring (50/34) or even a sub-compact (48/32) paired with a wide-range cassette like an 11-32 or 11-34.
I made the mistake of running a standard 53/39 chainring for way too long because I thought it made me look more serious. All it did was force me to grind up hills at 50 RPM instead of spinning efficiently. The day I switched to a compact setup, my climbing transformed overnight. There’s zero shame in having gears you can actually use.
Weight Distribution and Handling Tweaks
Small adjustments to your bike position can make huge differences on climbs. I moved my saddle forward about 5mm to get a more aggressive climbing position – this puts more weight over the front wheel and improves traction on steep pitches.
Bar width matters too. If you’re constantly climbing out of the saddle, consider narrower bars that give you better leverage and control. I went from 44cm to 42cm bars and immediately felt more stable when standing on climbs. The bike just feels more connected to your body movements.
Tire Pressure Sweet Spots
This one surprised me – running slightly lower tire pressure improves climbing traction, but you can almost compare it to a car. I dropped from 50 PSI to 40 PSI and gained way better grip even on my light, rough climbs, experiencing way less penalty on my city trails.
The key is finding that sweet spot where you have good traction without feeling sluggish. For reference, I’m 165 pounds and run 85 PSI front, 90 PSI rear on 25mm tires. Heavier riders need more pressure; lighter riders can go lower.
Clothing That Doesn’t Fight You
Long climbs generate serious heat, so layers are your friend. I start with a base layer and arm warmers that I can strip off as I warm up. A good vest is clutch – you can unzip it completely on the climb but still have wind protection for the descent.
Shorts matter more than you’d think. Look for bibs with good ventilation and compression that won’t ride up during long efforts. Nothing kills a good climbing rhythm like constantly adjusting your shorts.
Maintenance for Reliable Performance
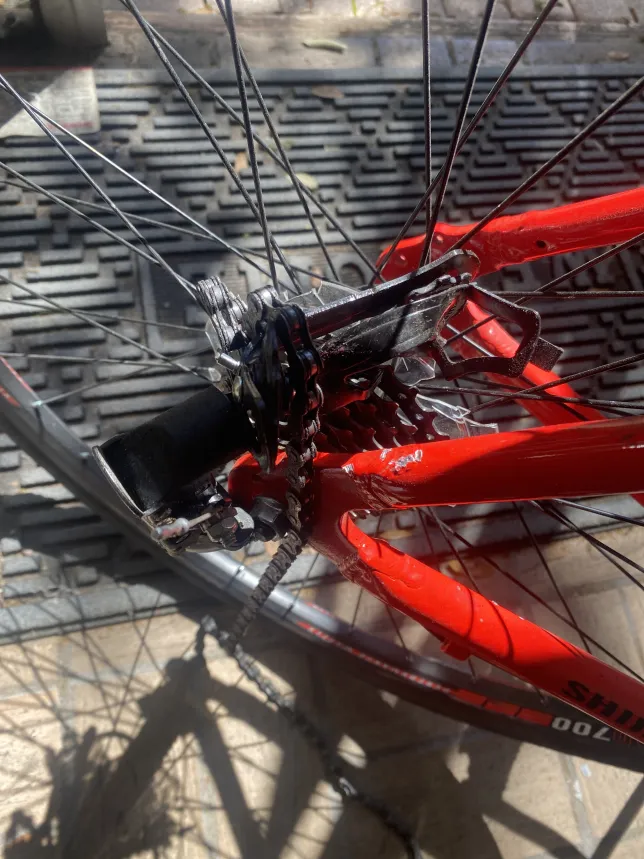
A clean, well-lubed drivetrain is essential for climbing efficiency. I clean and lube my chain every 200 miles or after any wet rides. You’re always going to one of these to prevent a chain breaking like mine in the past; climbing puts extra stress on your drivetrain, and a dirty chain can cost you watts you can’t afford to lose.
Check your brake cables regularly too – nothing’s worse than having a brake drag during a long climb. I learned this lesson during a 20-mile ascent when my rear brake started rubbing at mile 15. Those extra 5 miles were absolute torture.
Keep your tires properly inflated and check for wear regularly. Climbing beats up tires faster than flat riding, especially if you’re doing a lot of out-of-saddle work on rough surfaces.
Conclusion
Mastering uphill cycling technique isn’t about becoming superhuman – it’s about working smarter, not just harder. By implementing proper body positioning, strategic gear selection, and consistent breathing patterns, you’ll find yourself conquering climbs that once seemed impossible!
The key is consistent practice and gradual progression. Start with shorter, less steep climbs and gradually work your way up to more challenging terrain. Your future self will thank you when you’re effortlessly spinning up that mountain pass you once dreaded.
Ready to put these techniques into action? Pick one technique from this guide and focus on it during your next ride. Small improvements compound quickly, and before you know it, you’ll be the cyclist others look up to on those challenging climbs!