Mountain biking after dark hits different: it’s faster, more immersive, and way less forgiving of bad lighting. As someone who’s been learning the ins and outs of night riding, and have looked for the best high lumen mountain bike lights. I’ve realized that high-lumen lights aren’t about chasing the biggest number; they’re about seeing the trail the way you need to see it. It also fits the spec of the best cold weather mountain biking gear and it’s good to check that out as well.
Multiple factors, such as roots, ruts, rocks, and shadows, change completely once the sun sets, and your light setup becomes just as important as your tires or brakes. And with the right lumen output, the right beam shape of the light, and the right aiming, all decide whether a descent feels smooth and controlled or chaotic and unsafe.
This guide breaks down everything that actually matters: your beam quality, lumen needs, the time it runs is so dang important, mounting choices, plus how it engages with the environment, never forget.
Overview
How High-Lumen Lights Matter
While mountain biking, even in the day you can see so much further, make a read on small things such as terrain textures, such as rocks that could potentially destroy your tire, and react faster at speed. And that tire thing happens more often than you think.
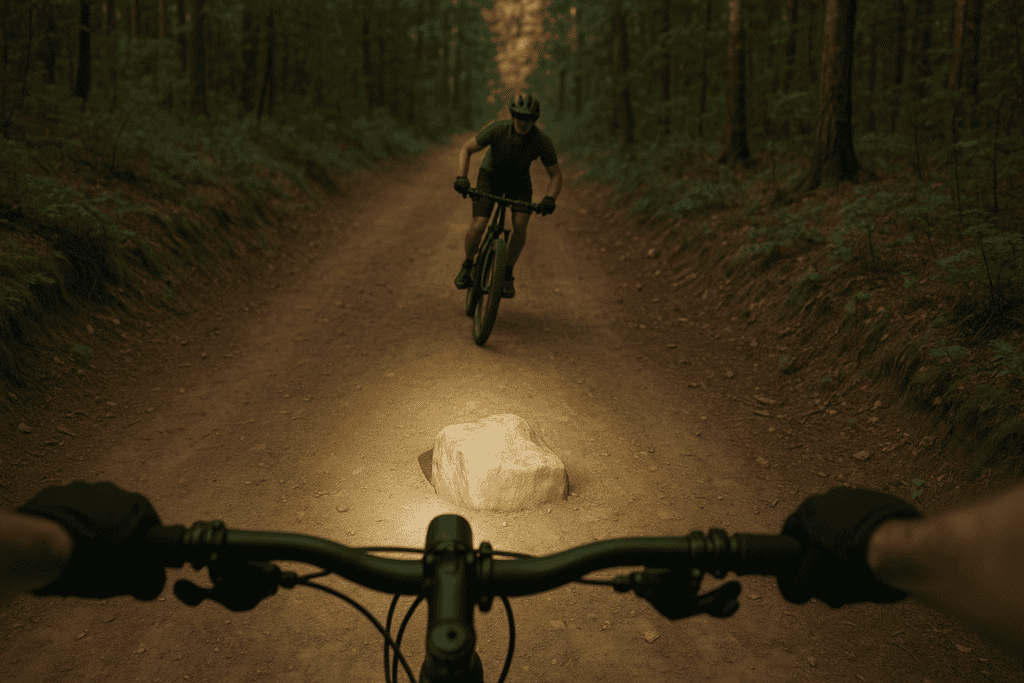
Trails have unpredictable obstacles and low-reflectivity surfaces, so more output and better beam quality are essential for safe cornering and braking. It’s best said that the best mountain bike lights with high lumens deliver not just brightness, but controlled throw and flood that preserve depth perception.
At night, you need full trail illumination with to avoid tunnel vision it’s hard to see anything. At dusk and dawn, lower ambient contrast demands more lumens than you think to keep things like shadows seen and even animals that may be out there.
Too much uncontrolled light creates glare, washes out texture, and ruins night vision on dusty or foggy trails. A narrow spot-only beam causes harsh shadows and missed obstacles off the main line. Poor aiming blinds riders, wastes lumens into the sky, and reduces effective range; correct aim and an MTB light beam pattern matter more than a max spec.
How Many Lumens Do You Need for MTB?
Singletracks = 800–1200 lm
For tight singletrack and slow, technical climbs, 800–1200 lumens with a wide, even beam is typically enough. Prioritize near to read small terrain features and traction. A well-aimed 1000-lumen bar light can beat a poorly shaped 2000-lumen spot. Like lights on the side of the bike, as well as one to be seen behind.

When considering high speeds, they require more stability, so 1500–2500+ lumens with strong center intensity is ideal. Controlled spill preserves the periphery without dazzling oncoming riders or your group.
Faster riders and rockier terrain demand more intensity and wider spill to maintain safe reaction time. Dust, fog, and rain scatter light, so consider neutral color temperature and slightly lower aim to reduce glare. Skilled riders can run lower lumens with better beam control, but extra headroom helps during fatigue and in variable conditions..
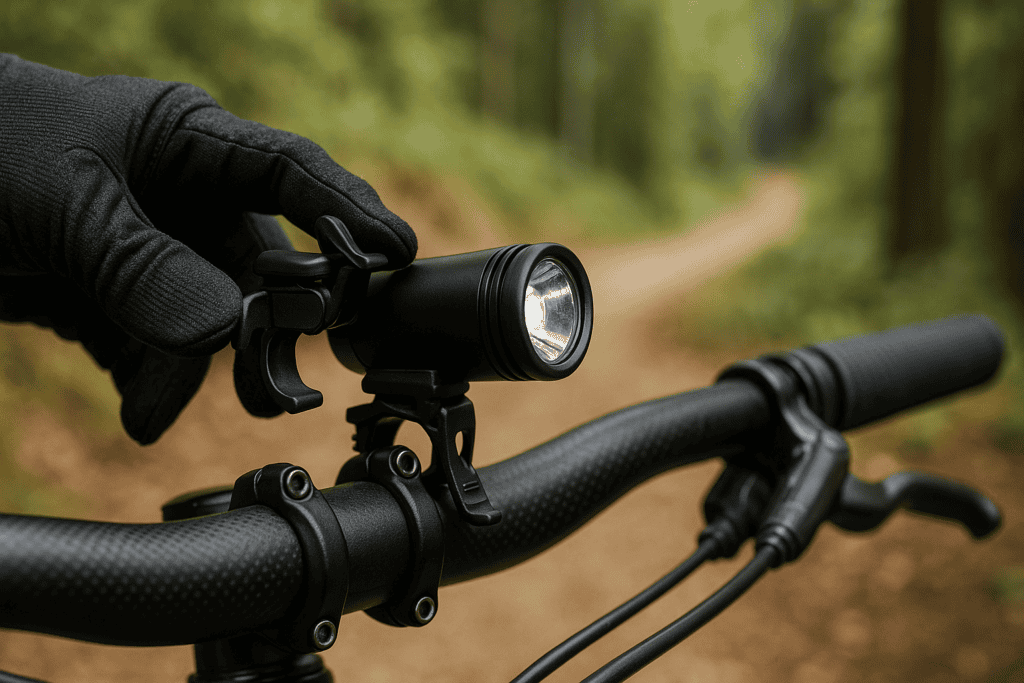
Mounts and Compatibility
GoPro-style mounts vs proprietary systems
What I will you tell you through experience is that GoPro-style mounts are versatile, low-profile, and compatible with many stems, bars, and helmets. Proprietary systems can be more difficult to get a handle on but they can still work well through trial and error.
Vent strap mounts are light and simple, but verify that strap routing avoids pressure points. Adhesive bases offer a low silhouette on smooth shells; clean thoroughly and allow full cure time. Always add a tether to prevent loss during crashes or low-hanging branches.
Quick-release mounts speed charging and swapping between bikes, ideal for daily riders. Bolt-on setups maximize rigidity for long, rough descents and heavier lights. Use rubber shims, friction paste, or textured clamps to stop rotation on wet carbon bars.
Riding Tips for Night MTB
Managing speed and braking distances
Ride at a speed that matches your visible stopping distance on your chosen mode. Enter corners a gear lower to maintain traction and keep vision relaxed. Use consistent, earlier braking to avoid panic stops when shadows hide features.
Look for shadow edges that reveal ruts, roots, and drops, and triangulate with your helmet and bar lights. Keep your head moving to scan, not just your eyes, to stabilize perception. Practice on familiar trails to calibrate your brain to nighttime contrast.
Fog, dust, and rain strategies (warm vs cool light, lower angle)
In fog and dust, tilt lights lower and reduce output to cut backscatter glare. Neutral or warmer tints and high-CRI LEDs improve penetration and texture reading. Wipe lenses periodically and favor flood over intense spot in heavy particulates.
Accessories Checklist
Spare cells/packs, remote switches, diffusers, head straps
Carry spare 18650 or 21700 cells or a charged pack to avoid cutoffs mid-ride. Remotes streamline mode changes, and diffusers soften hotspots for tight trees. A head strap converts your helmet light for camp or repairs.
Backup light, tail light, reflective gear
Pack a small backup light in case of failure and a low-glare rear flasher for road links. Reflective bands and decals add passive safety without battery drain. Redundancy matters when you’re deep in the woods at night.
Helmet-specific mounts and tethers
Use mounts designed for your helmet’s vents and curvature to prevent wobble. Always attach a short tether to save the light if a mount fails in a crash. Check fasteners regularly and replace worn straps before big rides.
Conclusion
Pick lumen levels based on speed and terrain: 800–1200 for tech climbs, 1500–2500+ for fast descents, and a balanced bar-helmet duo for versatility. Prioritize beam quality, runtime, thermal stability, and solid mounts over raw lumen marketing. With smart aiming, respectful trail etiquette, and reliable power management, your MTB night riding light setup will be safer, faster, and more enjoyable.